Hello everyone! You may be wondering what a tag is — and we’re here to clarify it for you.
Tags are labels that you can assign to your contacts and companies to help you identify, group, and classify them based on shared characteristics. They allow you to organize your database more efficiently and segment your audience with ease.
To assign or modify tags in bulk for your contacts or companies, start by opening your Crono homepage and navigating to the Lists section.
Here, you will see a table containing all your contacts or companies along with their associated information (as explained in the related article). You can select one or multiple records by checking the box next to each contact or company name. Alternatively, you can select the checkbox at the top of the list to select all items displayed on the page (up to 50 at a time).
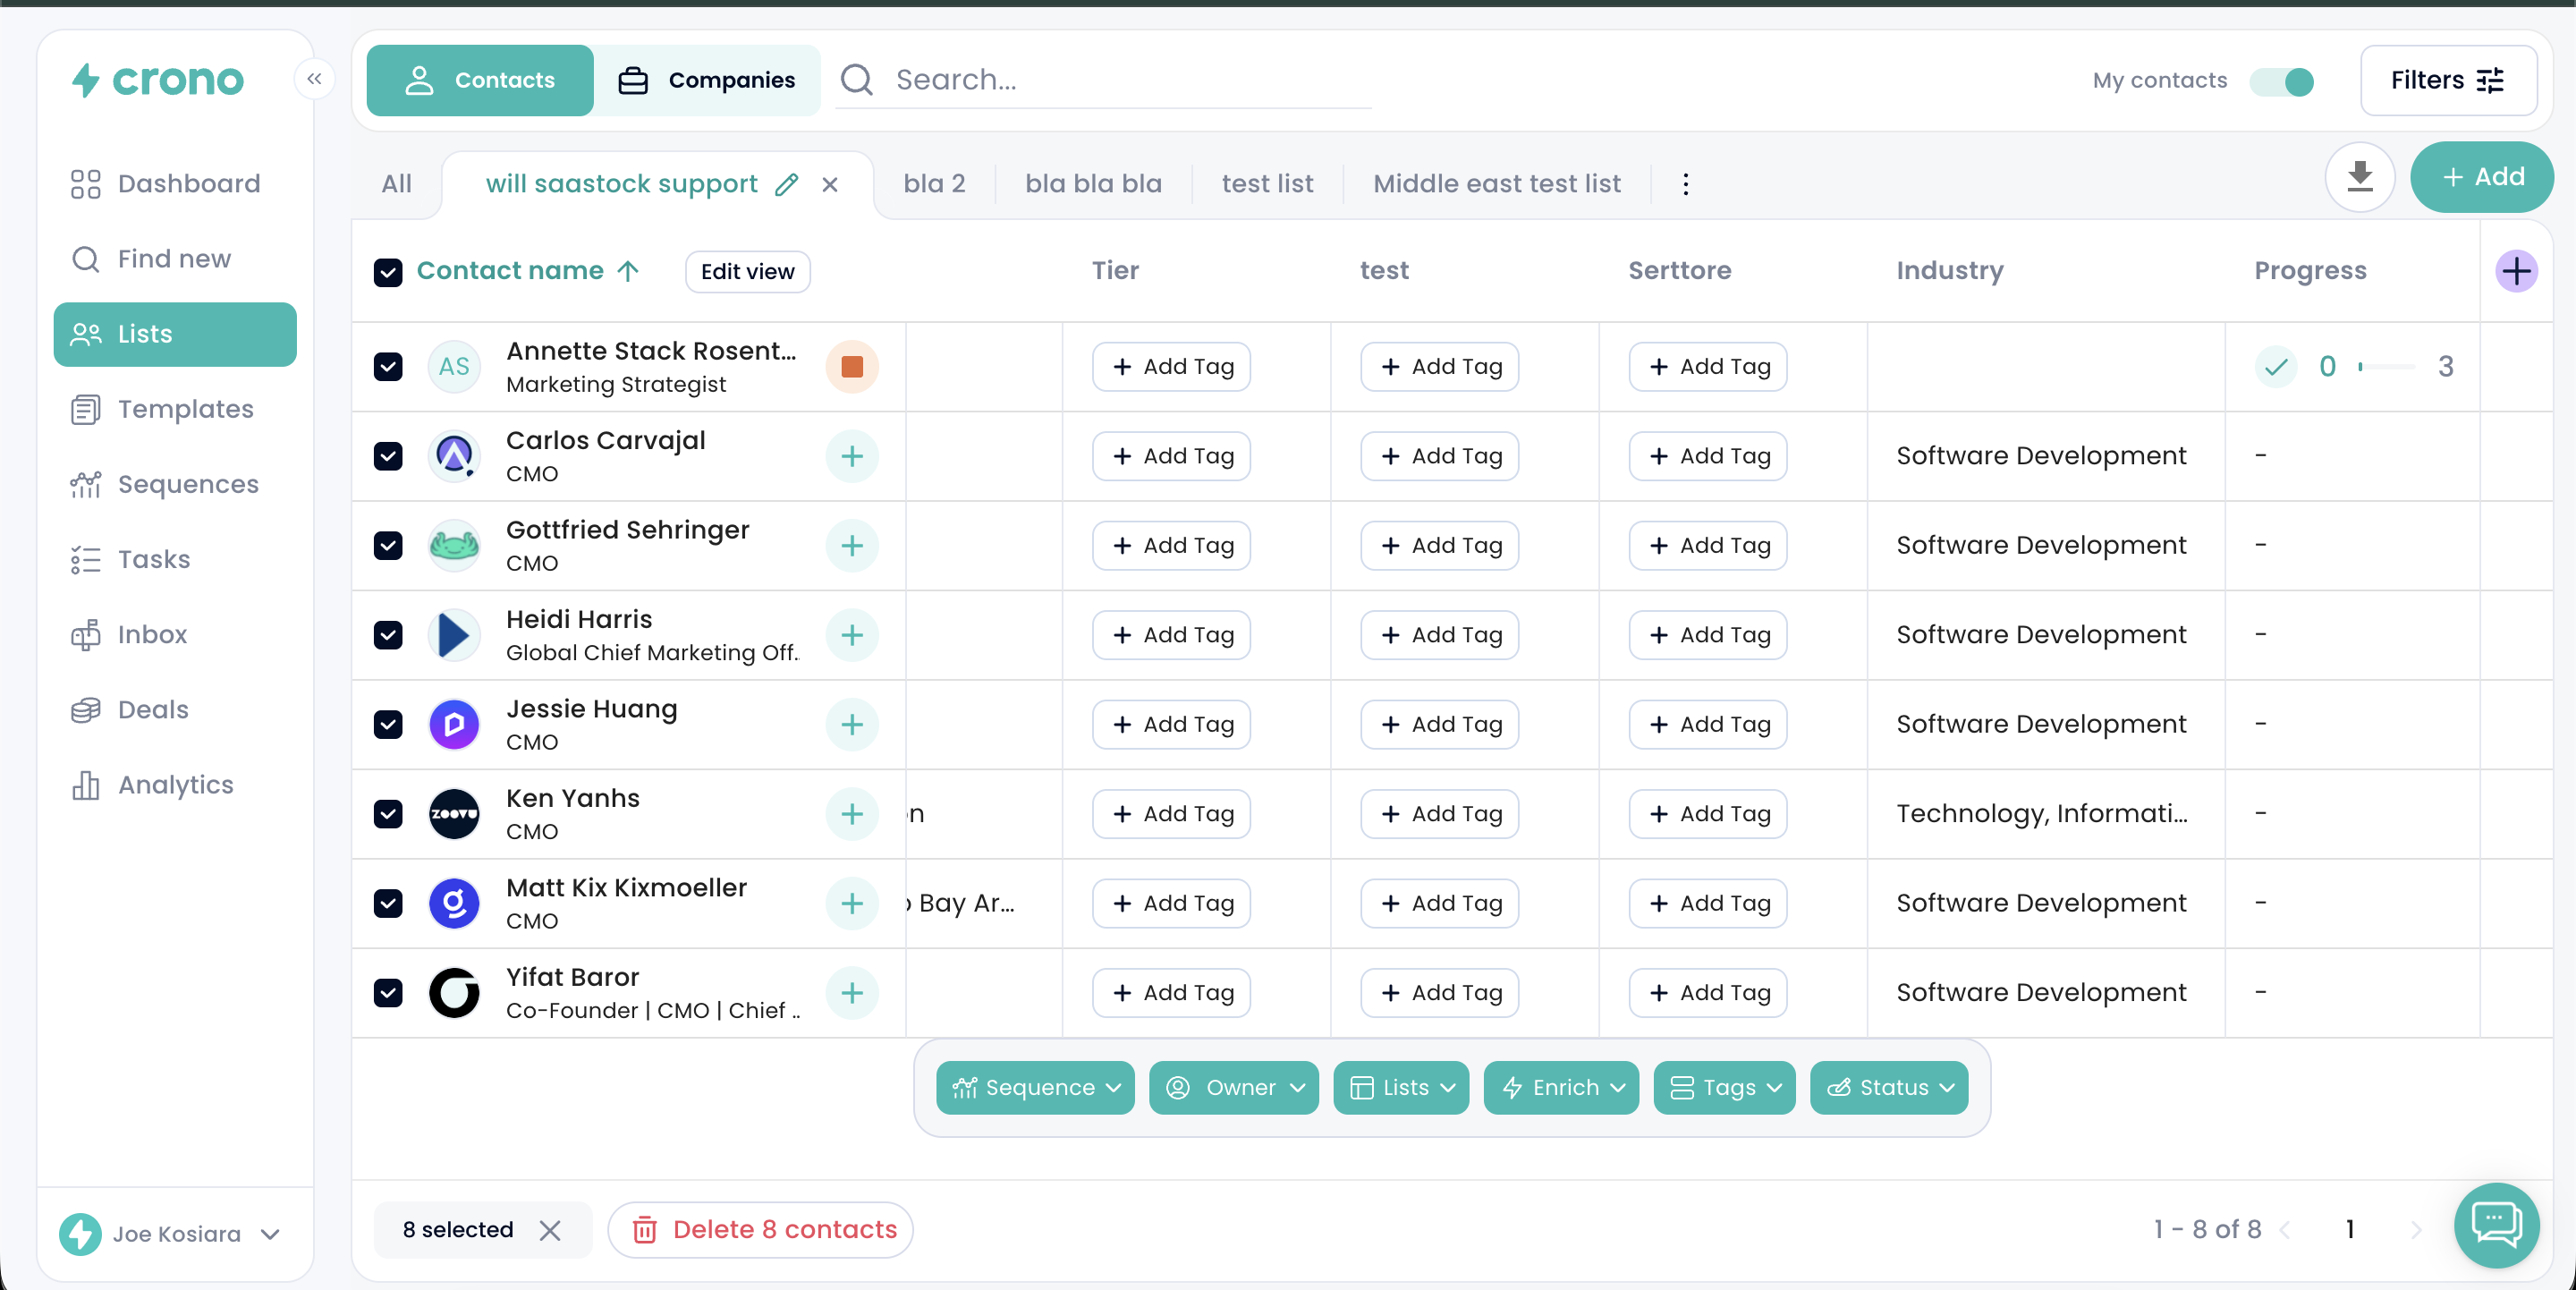
Once you have selected the contacts or companies you want to edit, a toolbar will appear at the bottom of the page. From there, choose the tag(s) you wish to assign to the selected items. After selecting the appropriate tag(s), click Apply to confirm and update them.
First of all, it’s important to note that only the subscription manager of a the Crono subscription can create tags. Once created, these tags become available and usable for all members within that Crono workspace, ensuring consistency across the team.
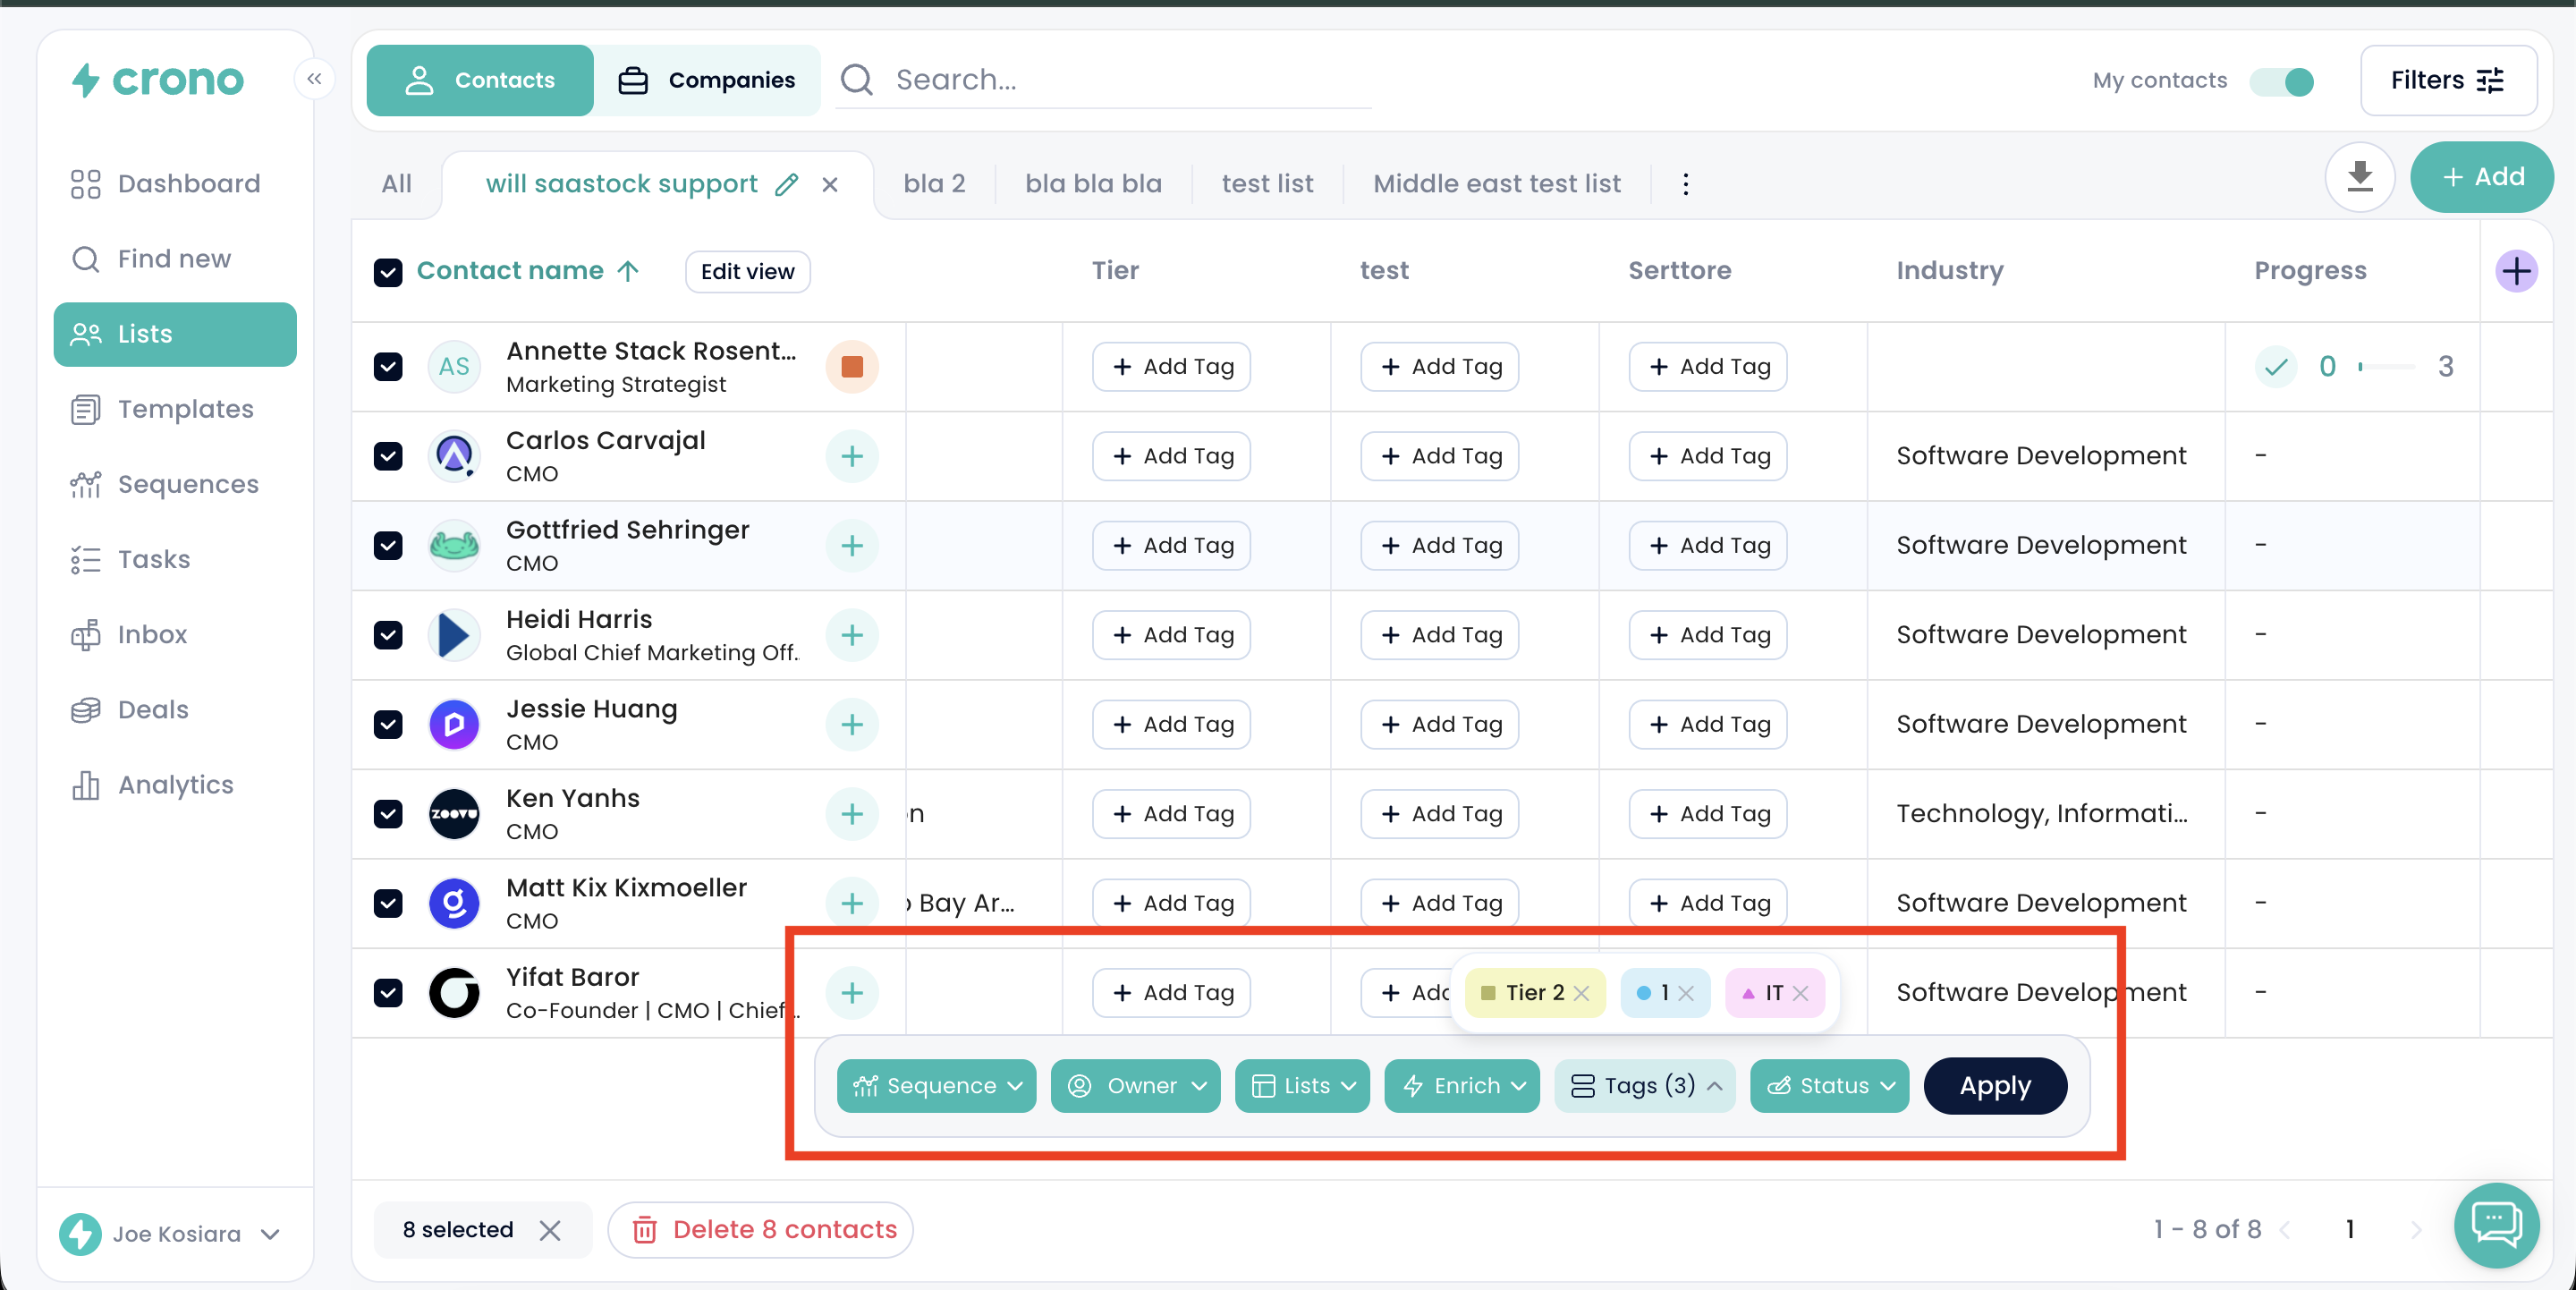
To create a new tag, go to your Account Settings and navigate to the Tag Management section. From there, you can add and manage all tags available to your team.
By clicking Create new, you can add a new tag to your workspace.
You can choose whether to create a tag that exists only inside Crono (and is not synced with your CRM) and specify whether the tag should apply to Companies or Contacts.
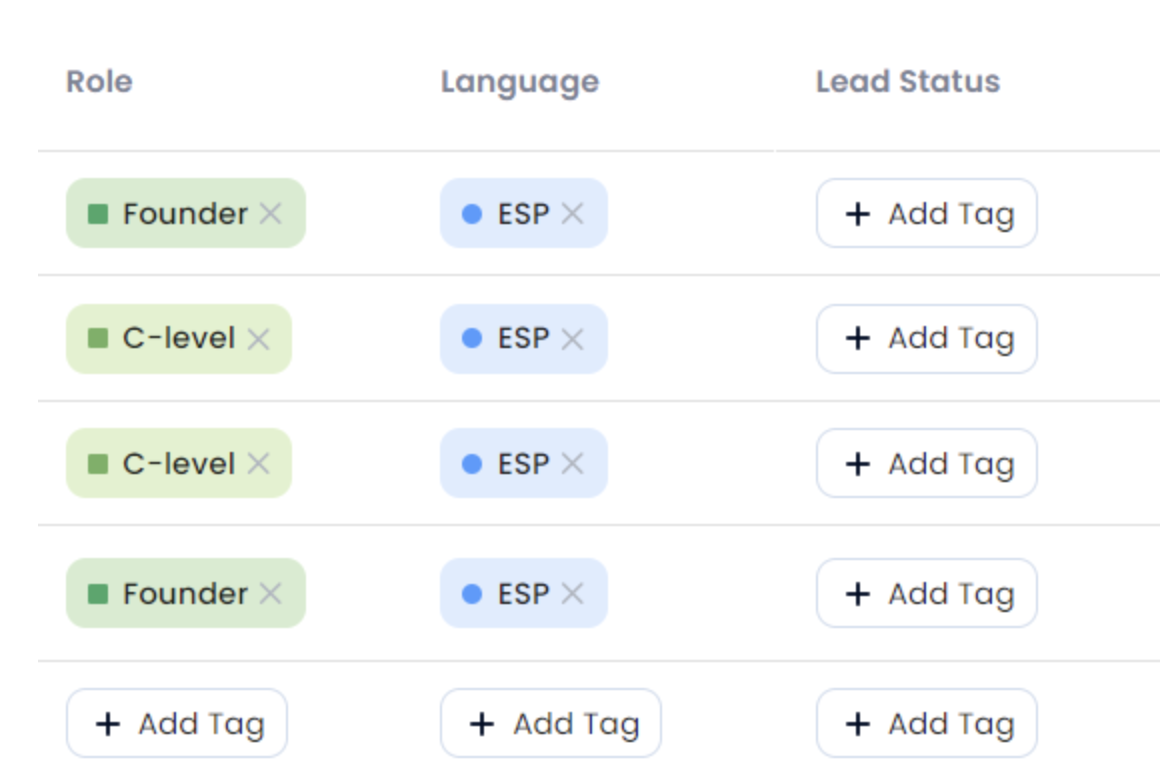
Next, assign a tag name (Property name) and define the values that users will be able to select when applying that tag.
For example, in the image shown, we are creating a tag to identify the language spoken by each prospect.

If you are integrated with a CRM, you can choose to create a tag in Crono that is linked to any tag or property you already have in the CRM.
To do so, create a tag and select the option “Linked with the CRM.” When the selection window appears, choose the corresponding tag or property from your CRM.
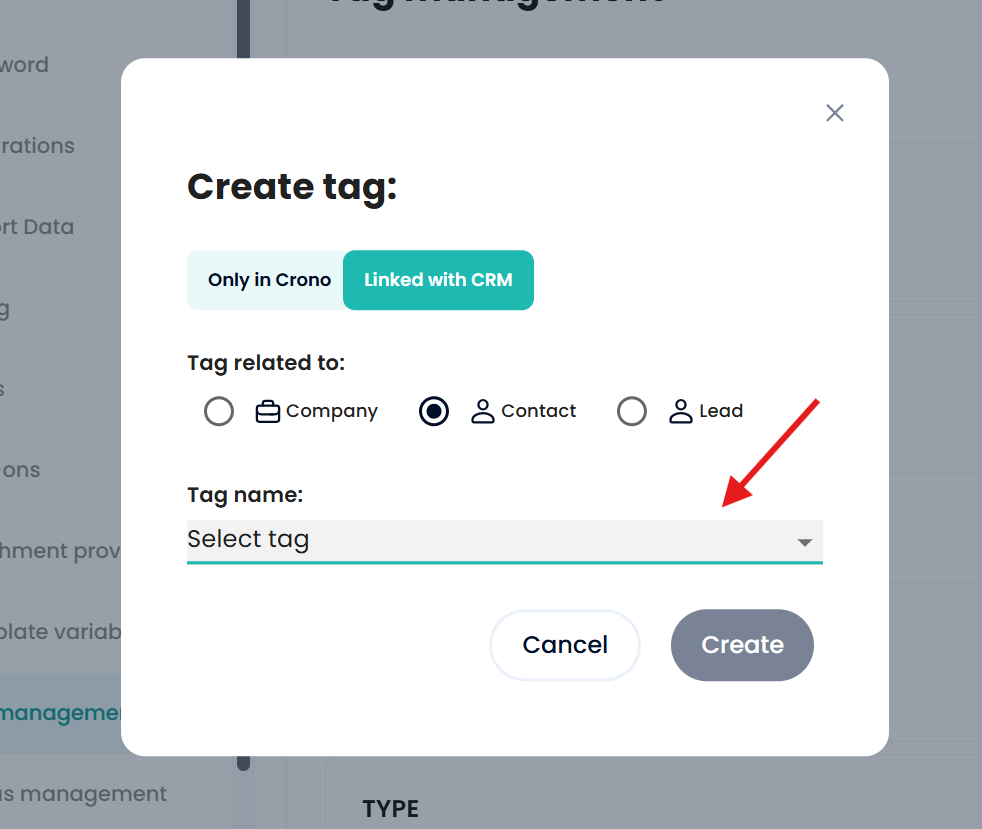
Once selected, confirm by clicking “Create” on the bottom right.
From that moment on, whenever you assign that tag or property to a contact or company in Crono, it will also be tagged in the connected CRM.
Likewise, any contact or company synced from the CRM to Crono with that property will also be visible in Crono.
