
You can add one or multiple contacts to a sequence directly from the Lists page. Follow the steps below.
1. Open the Lists page
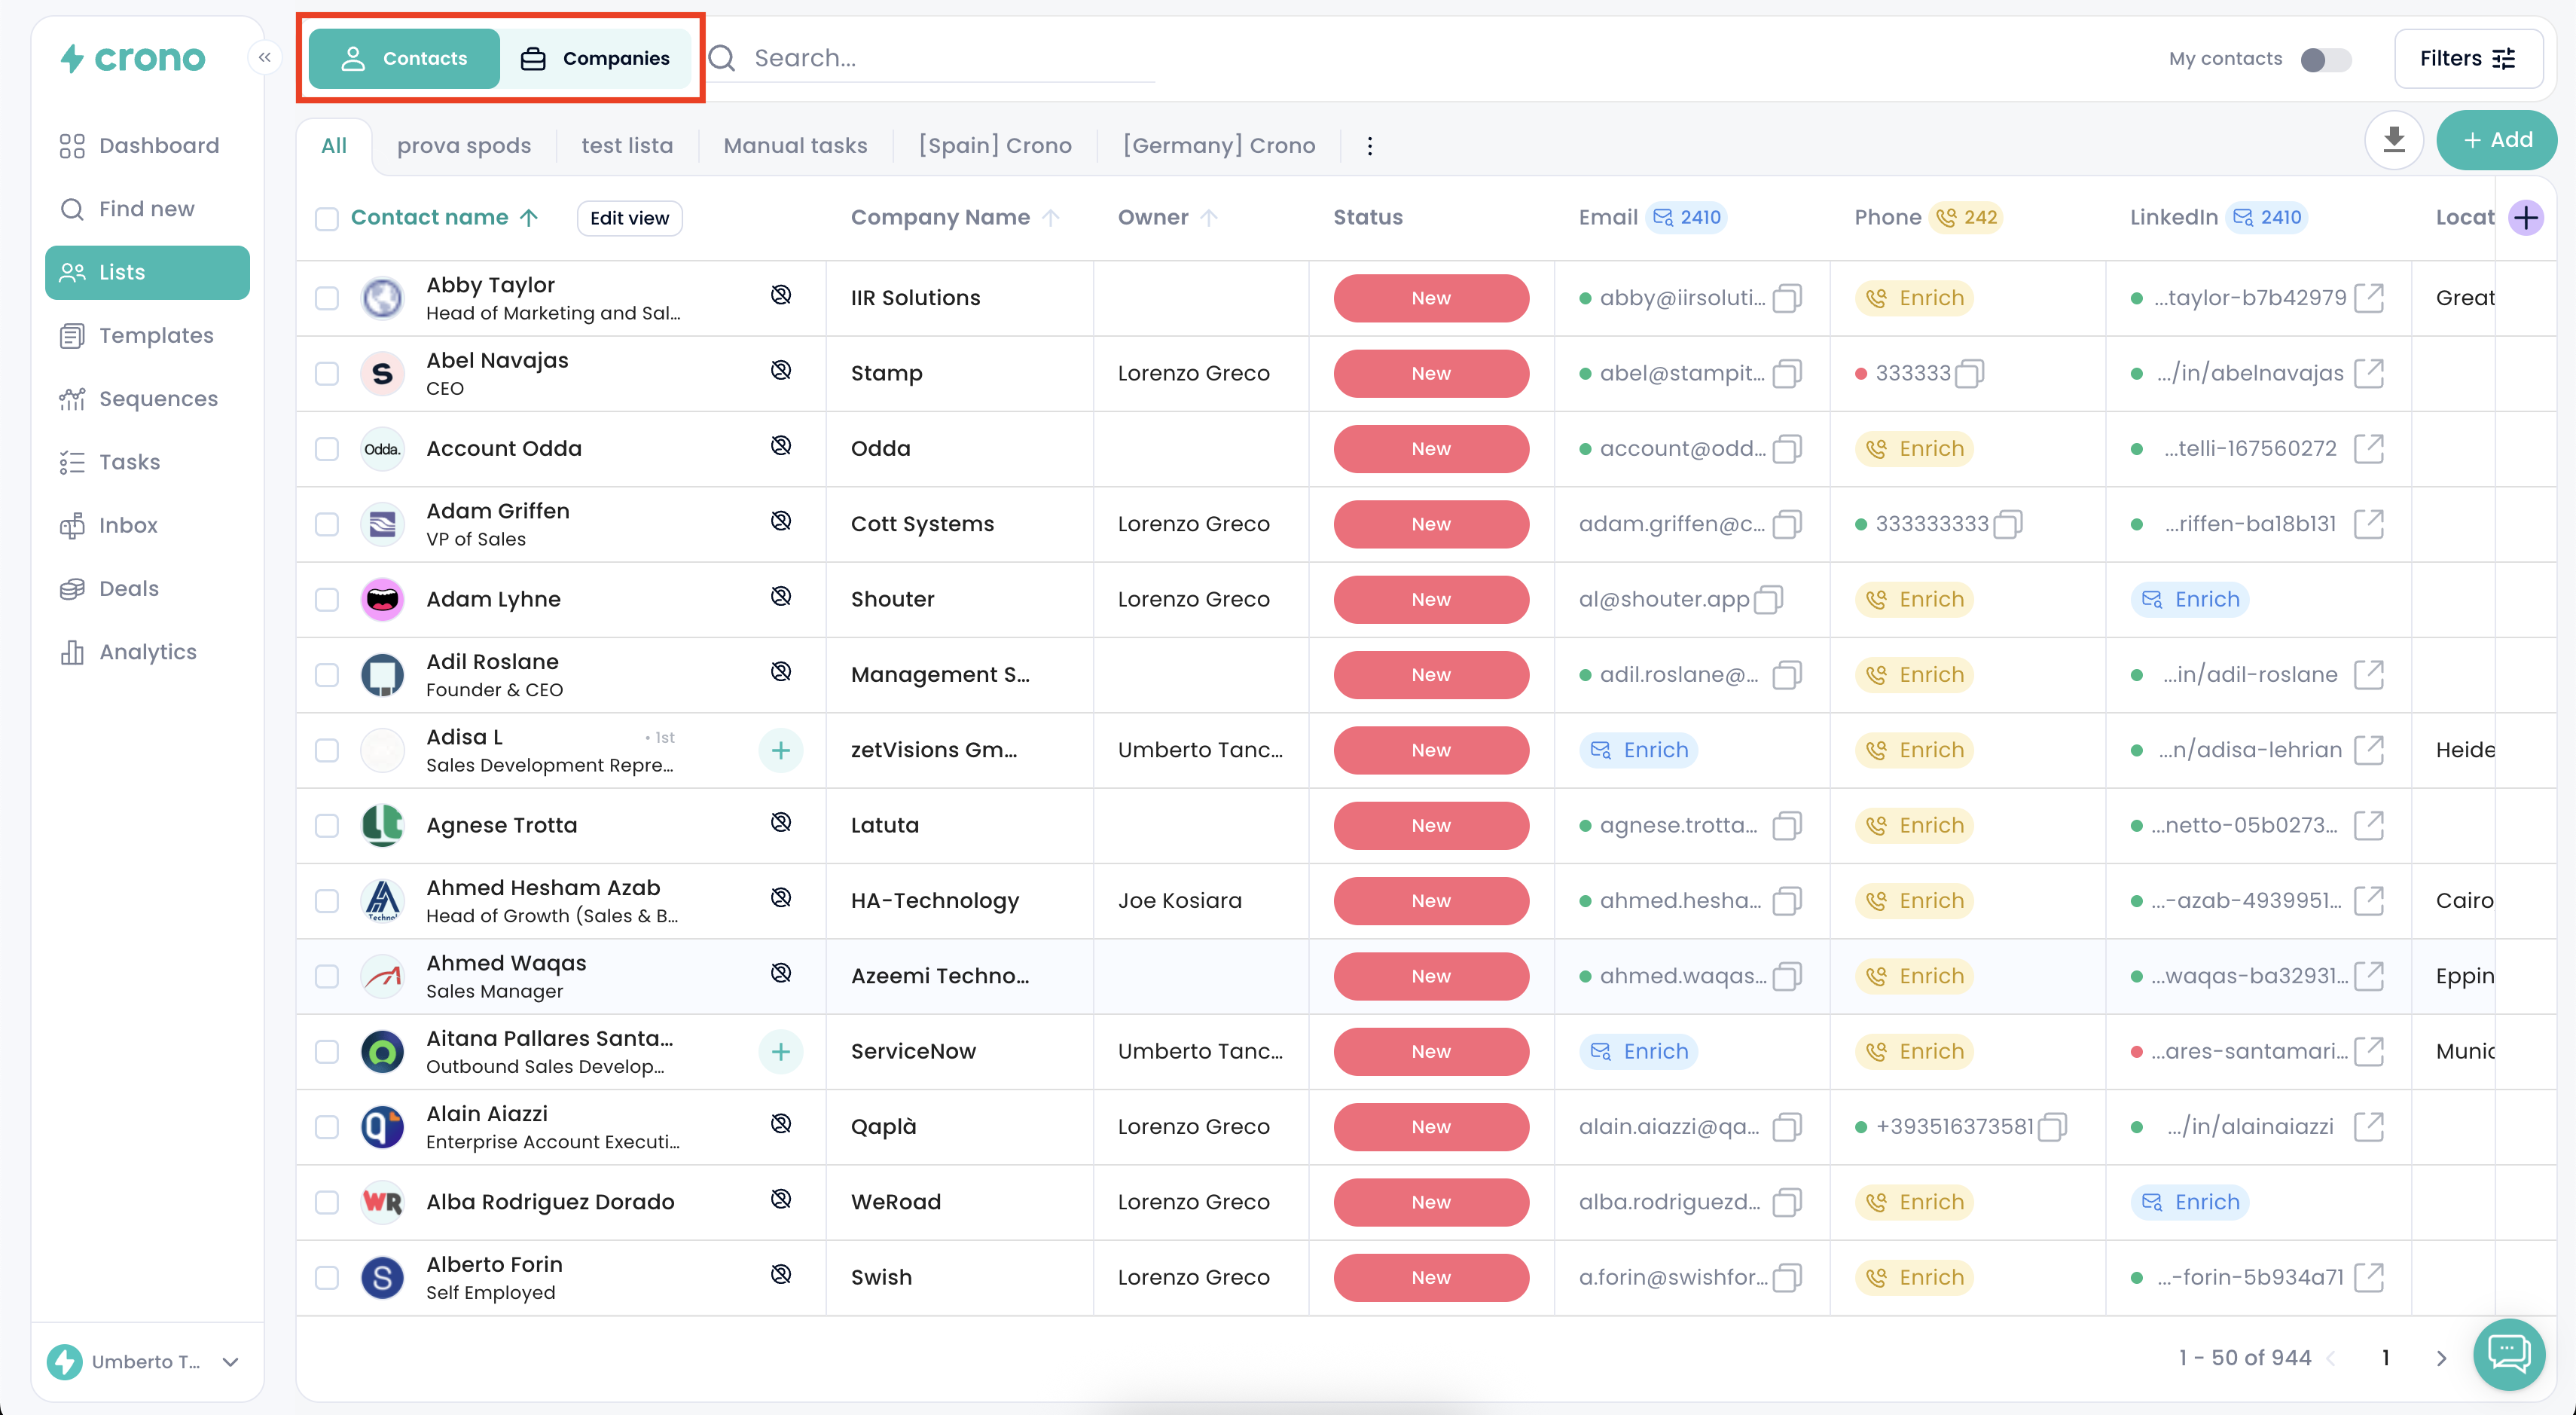
Open Crono and navigate to Lists. Here you will find all your Companies and Contacts. Switch to the Contacts tab if not already selected.
2. Select the contacts
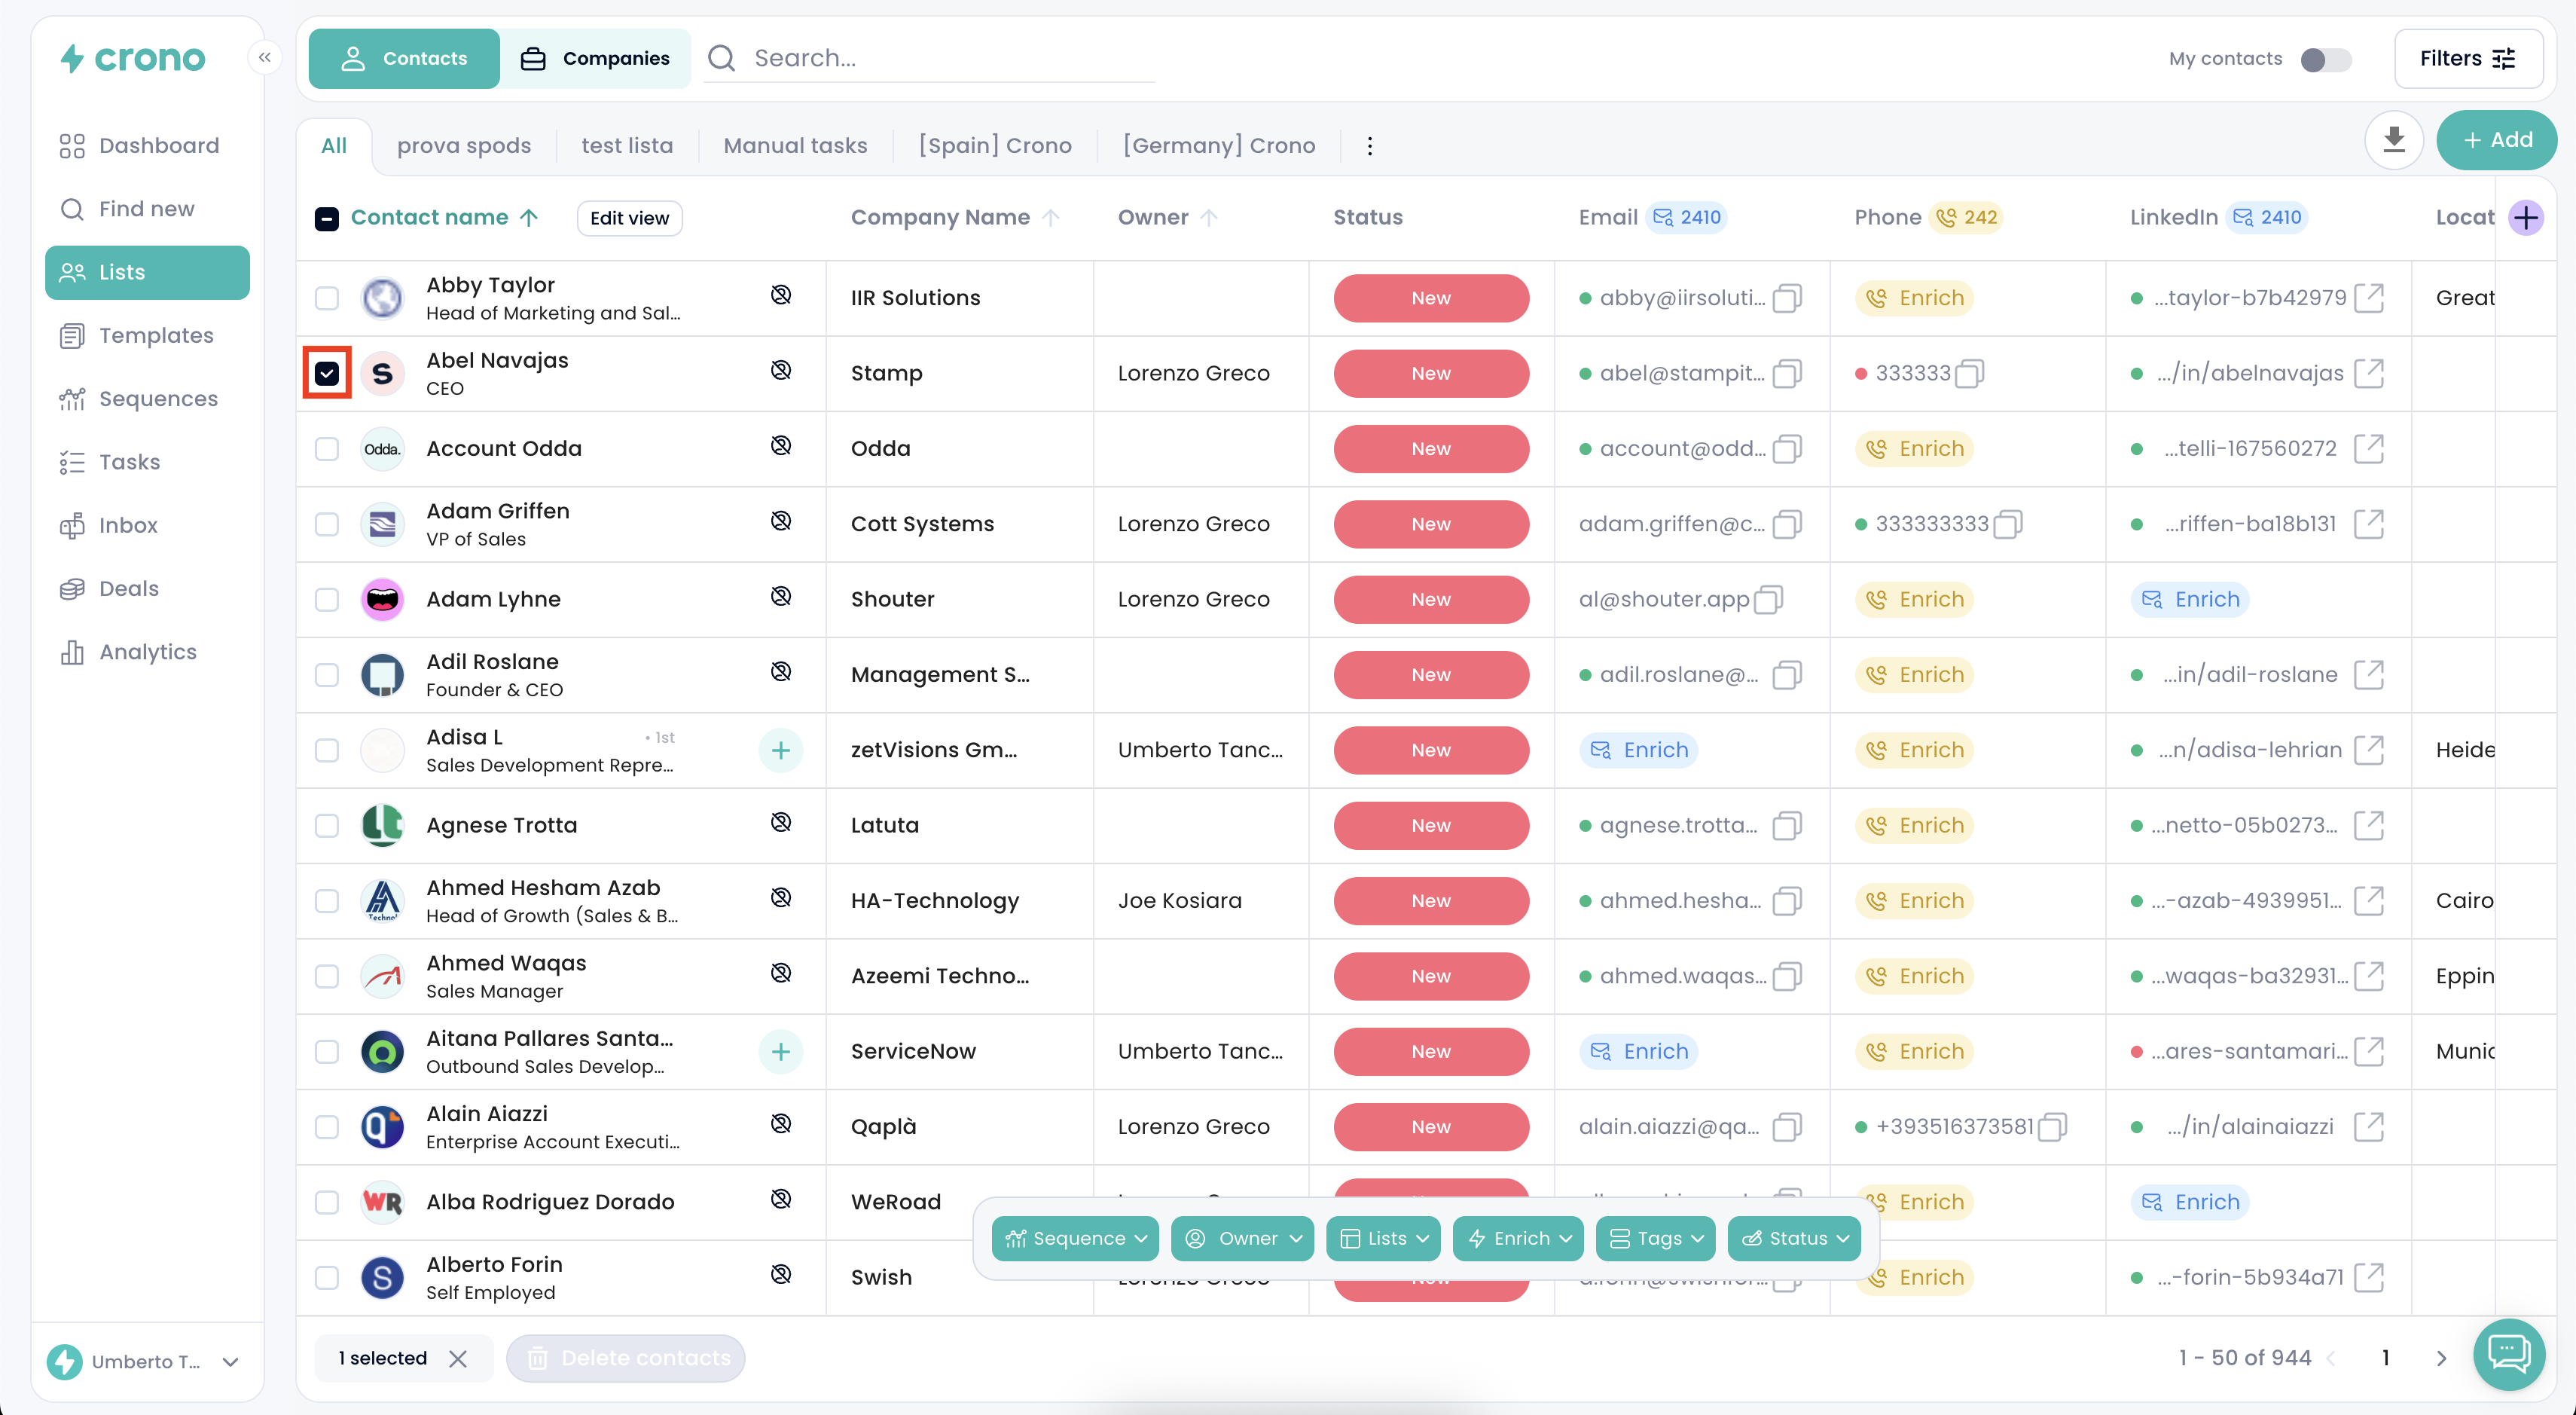
Choose the contacts you want to enroll:
To select one contact, tick the checkbox next to their name
To select multiple contacts, tick the checkboxes for each
To select all contacts, use the checkbox in the header row (next to “Contact Name”)
3. Click Sequence
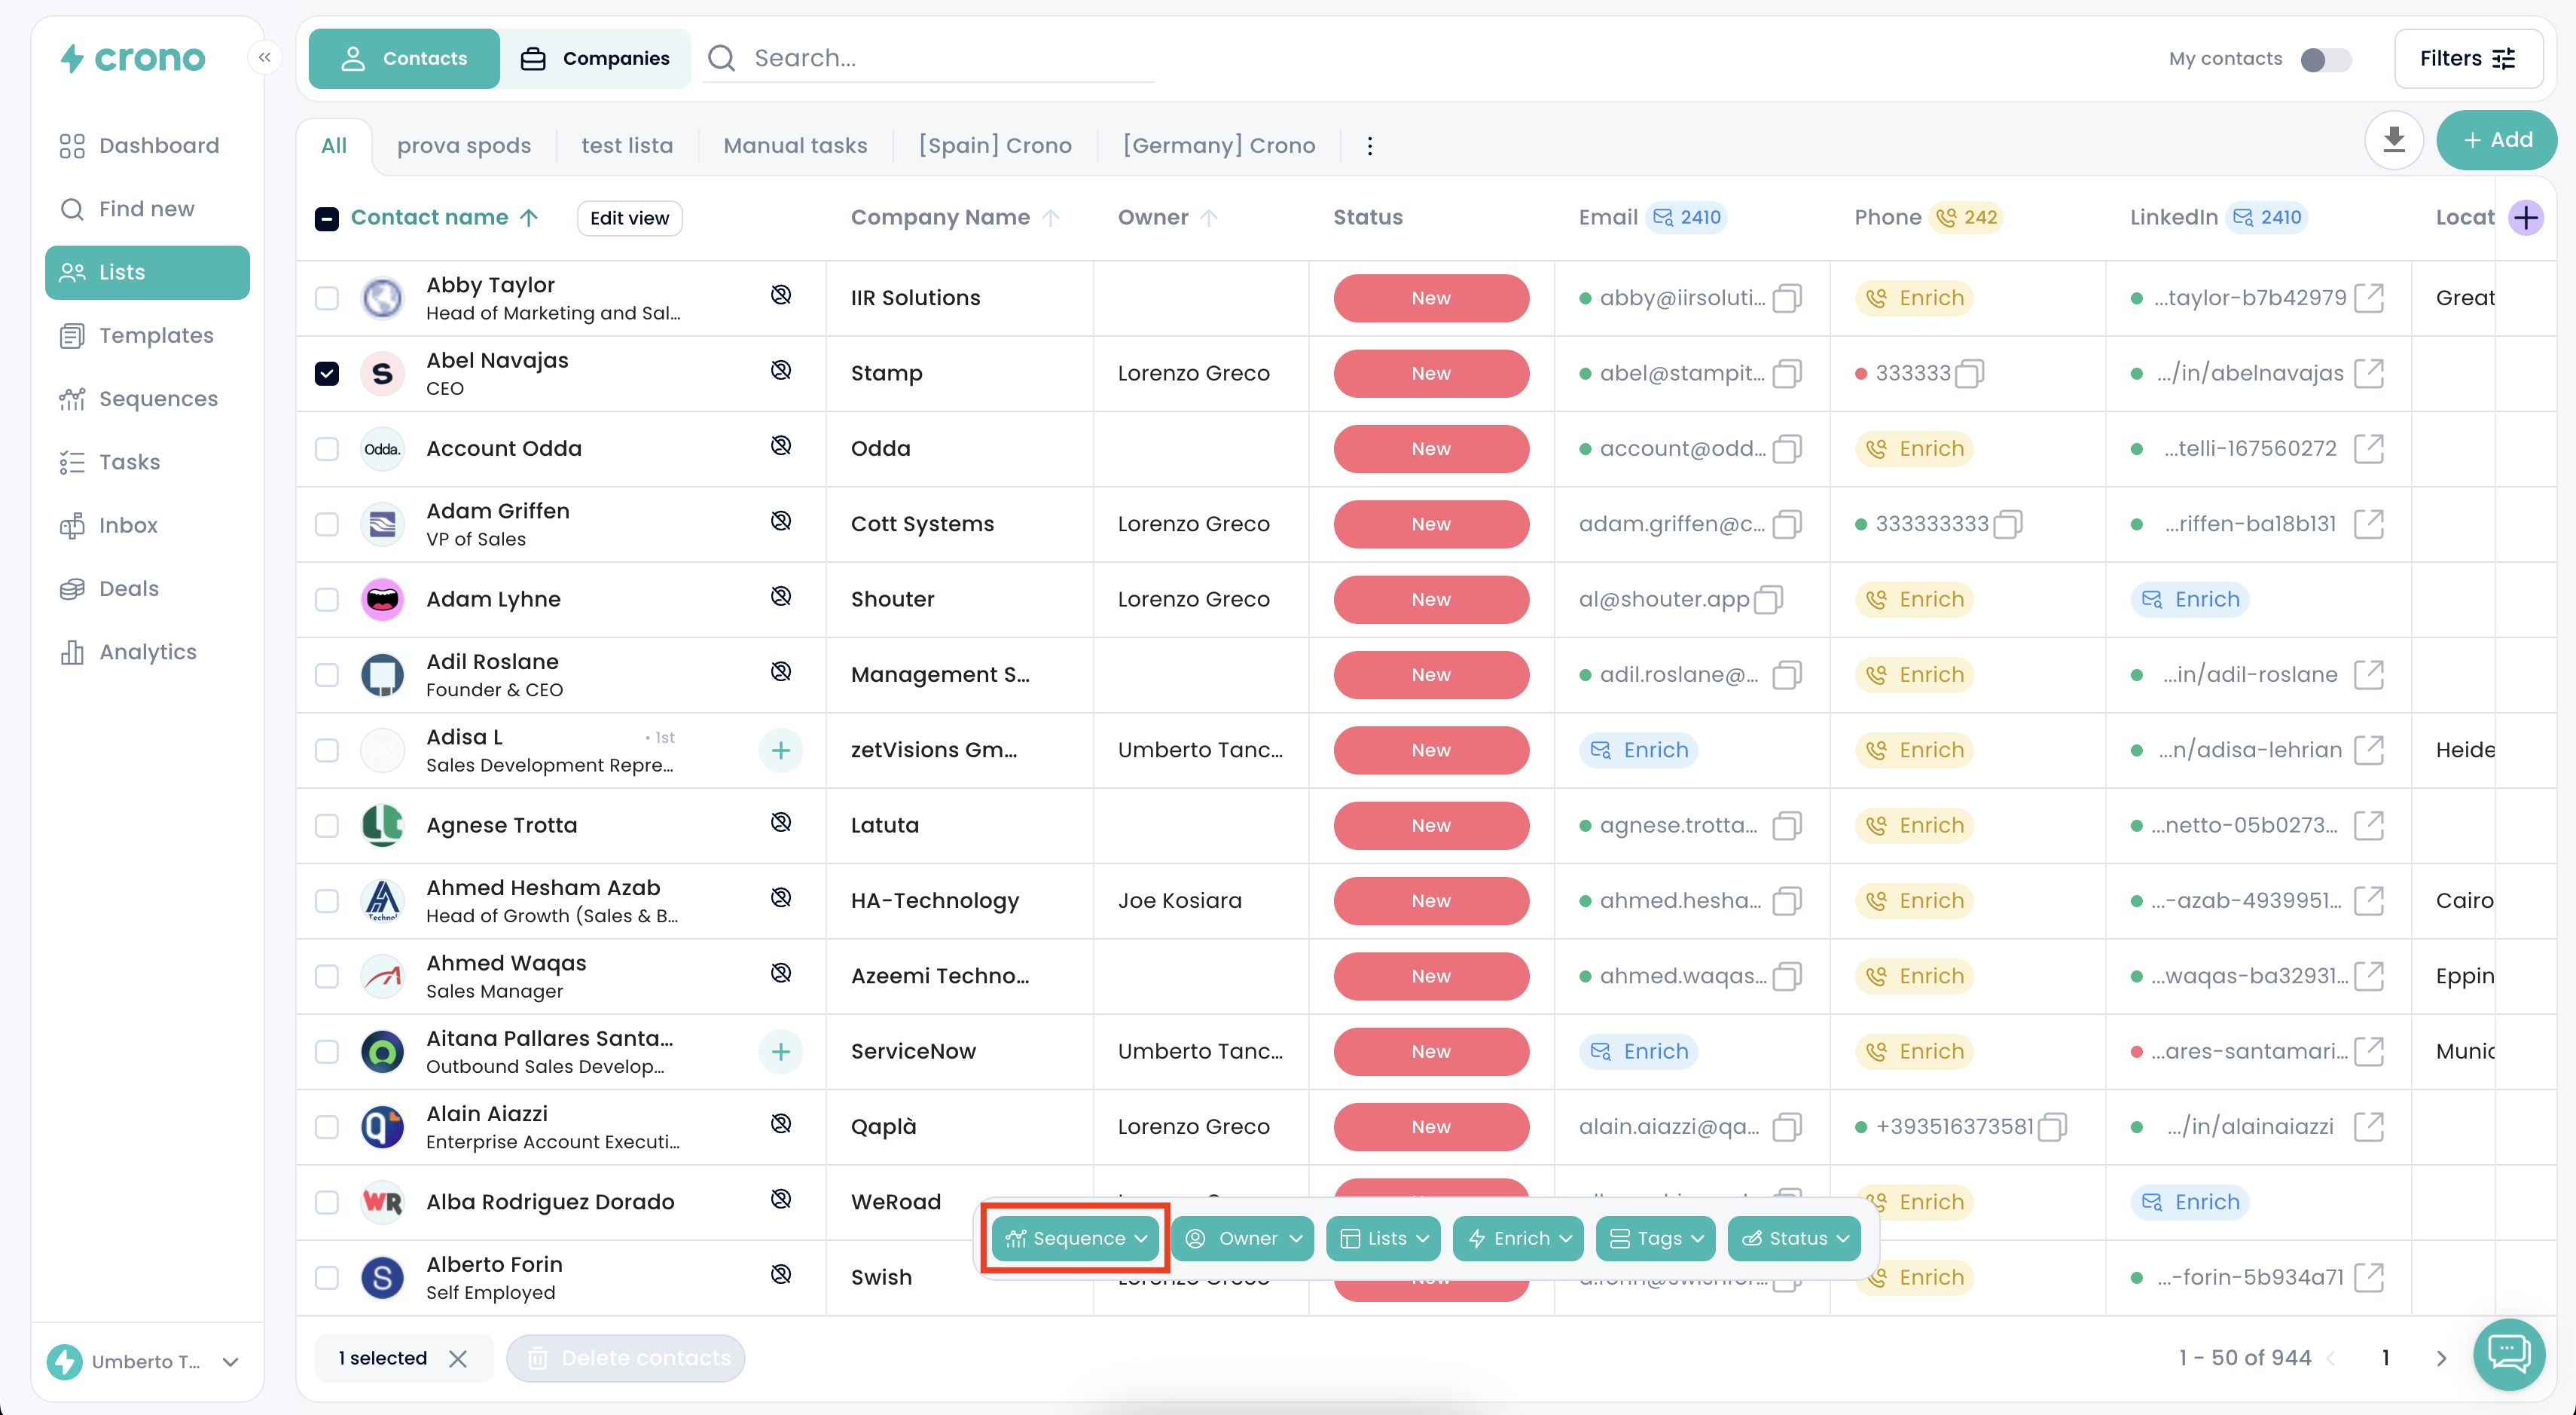
Once your contacts are selected, click Sequence in the action bar at the bottom of the page.
4. Choose the sequence
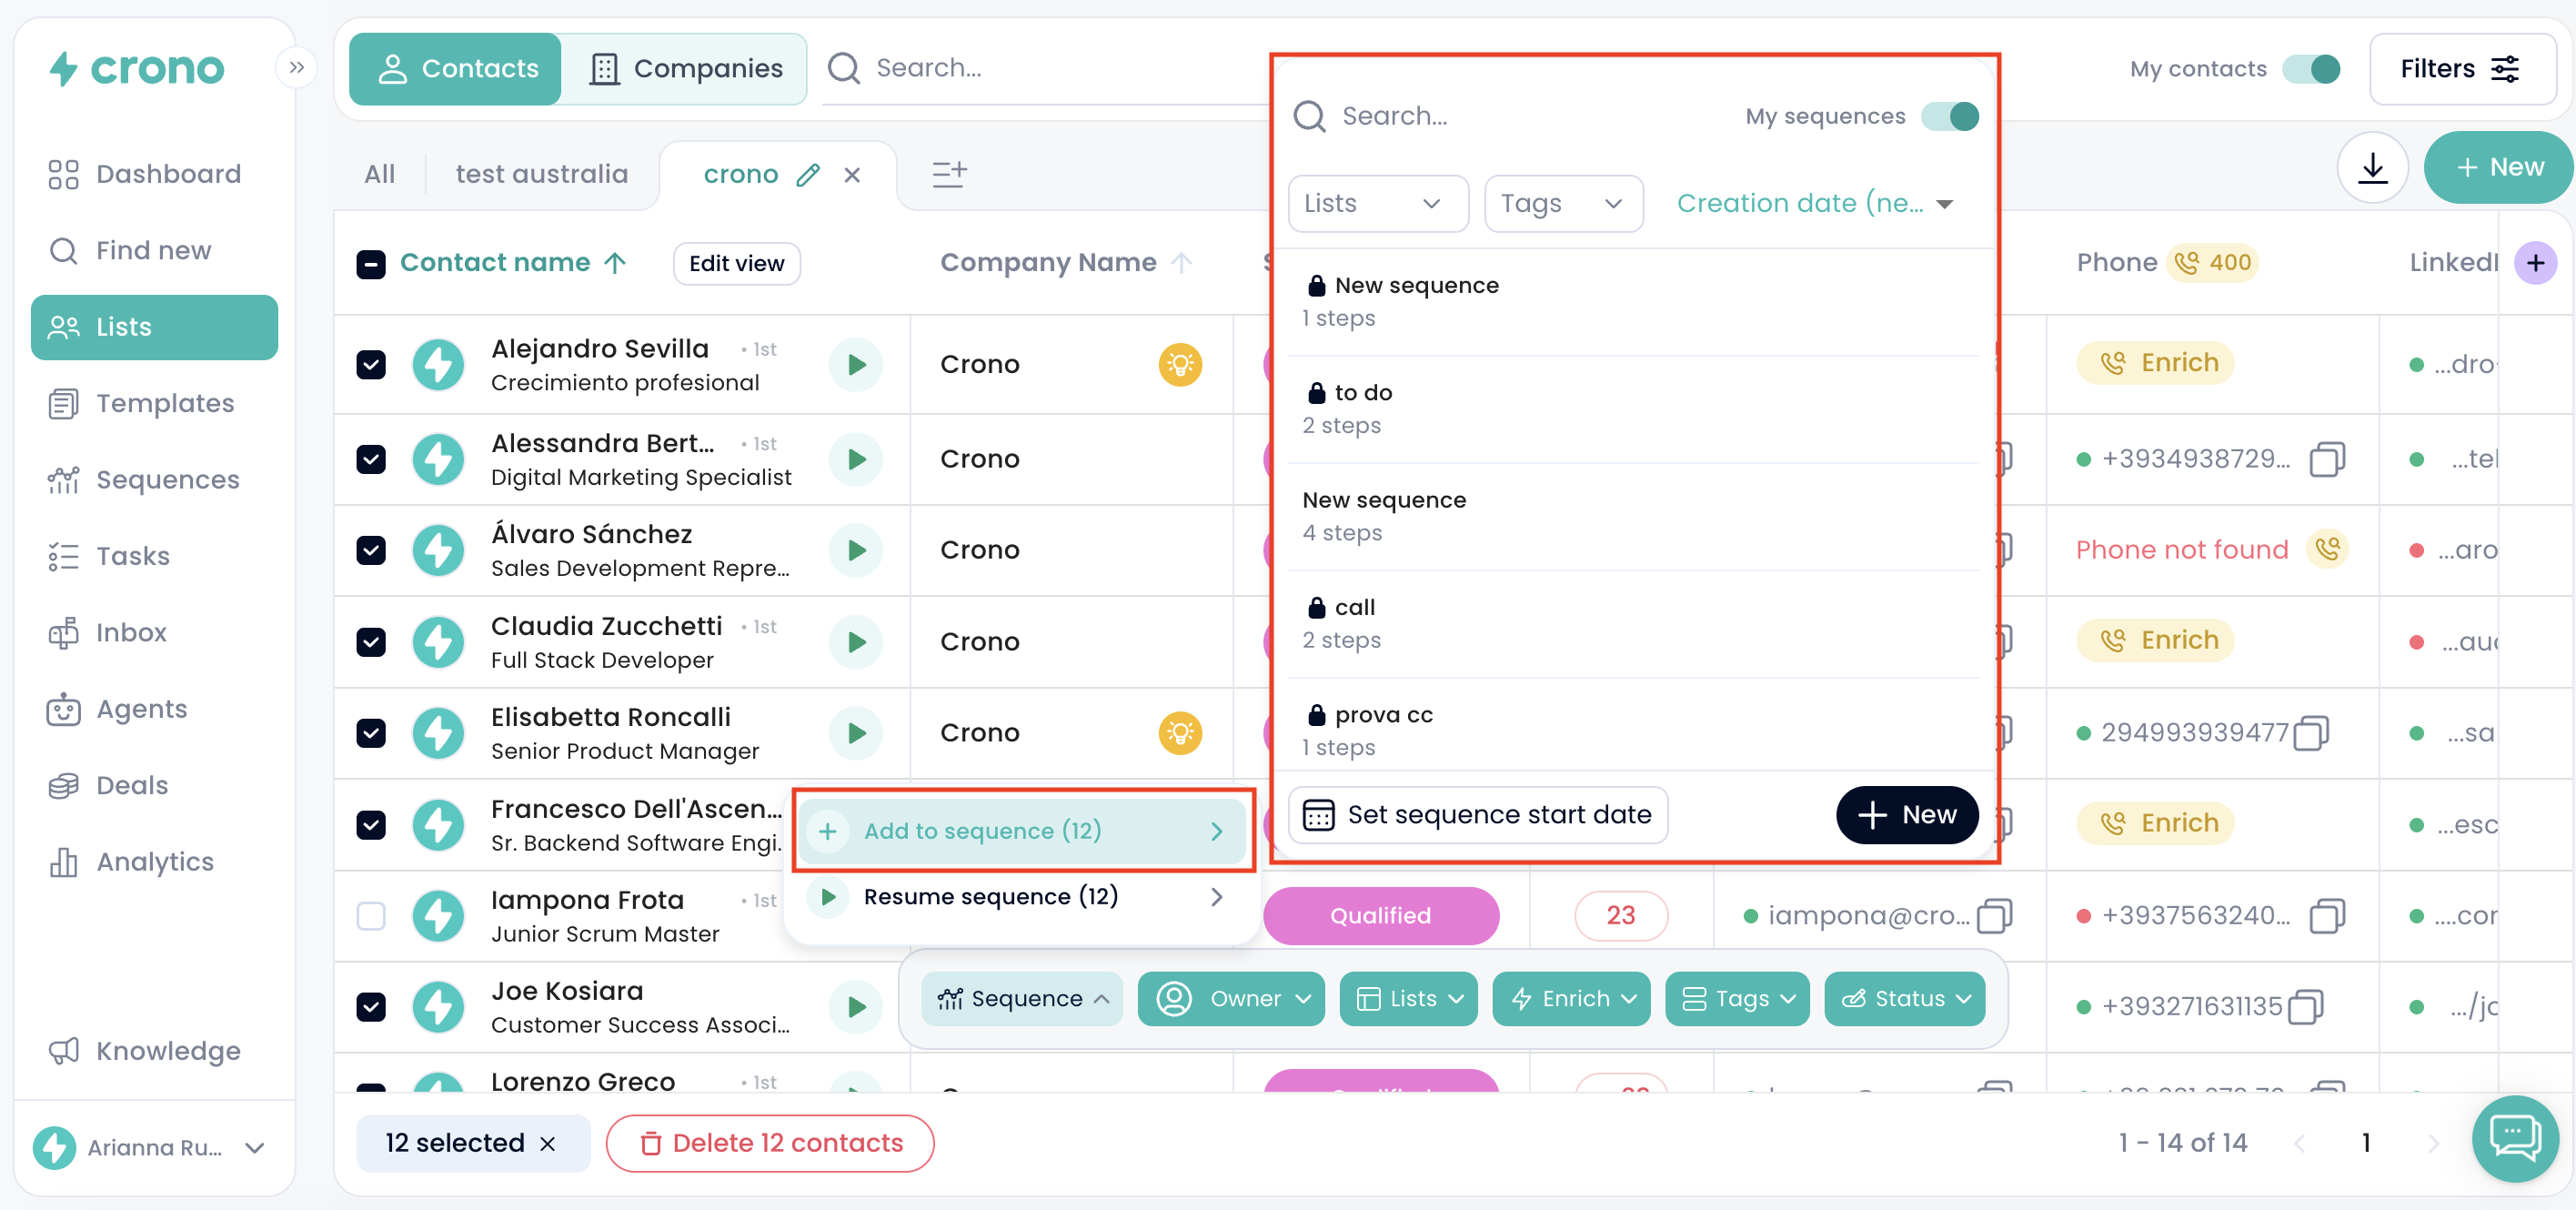
Select Add to Sequence. The picker lists your sequences as cards. Search by name, filter to My sequences to see only your own, or filter by tag to narrow the list.
Choosing a start date
At the bottom of the picker, the button “Set sequence start date” lets you choose the day the sequence should begin. Pick a date and the first step is scheduled for that day instead of starting straight away; the × next to the date clears it again. Leave it empty and nothing changes - the sequence starts immediately. Past days and weekends can't be chosen, since a sequence starting on a Saturday wouldn't produce its first task before the Monday anyway.
5. Confirm with Apply
After selecting the desired sequence, click Apply to confirm. Only after clicking Apply will the selected contacts be officially added to the sequence.

Your contacts are now enrolled in the selected sequence.