One of the ways to generate leads in Crono is through the 🔍Find New page.
Find New allows you to search for new prospects using two different data sources:
the Crono database, powered by MixRank
LinkedIn Sales Navigator, available to users with an active Sales Navigator license
Find New uses the Crono database, powered by MixRank, for users who do not have a LinkedIn Sales Navigator license. For users who have one, Sales Navigator is the default source.
MixRank is a B2B data provider that collects and organizes company and professional information, allowing you to search for prospects directly within Crono without relying on LinkedIn.
On the right side of the page, you will find several filters that you can use to define your Ideal Customer Profile (ICP).
To start a search:
Open the filters you want to use.
Enter or select the criteria that are relevant to your search.
Click Apply to display the matching results.
You can combine multiple filters to make your search more specific and identify the most relevant prospects.
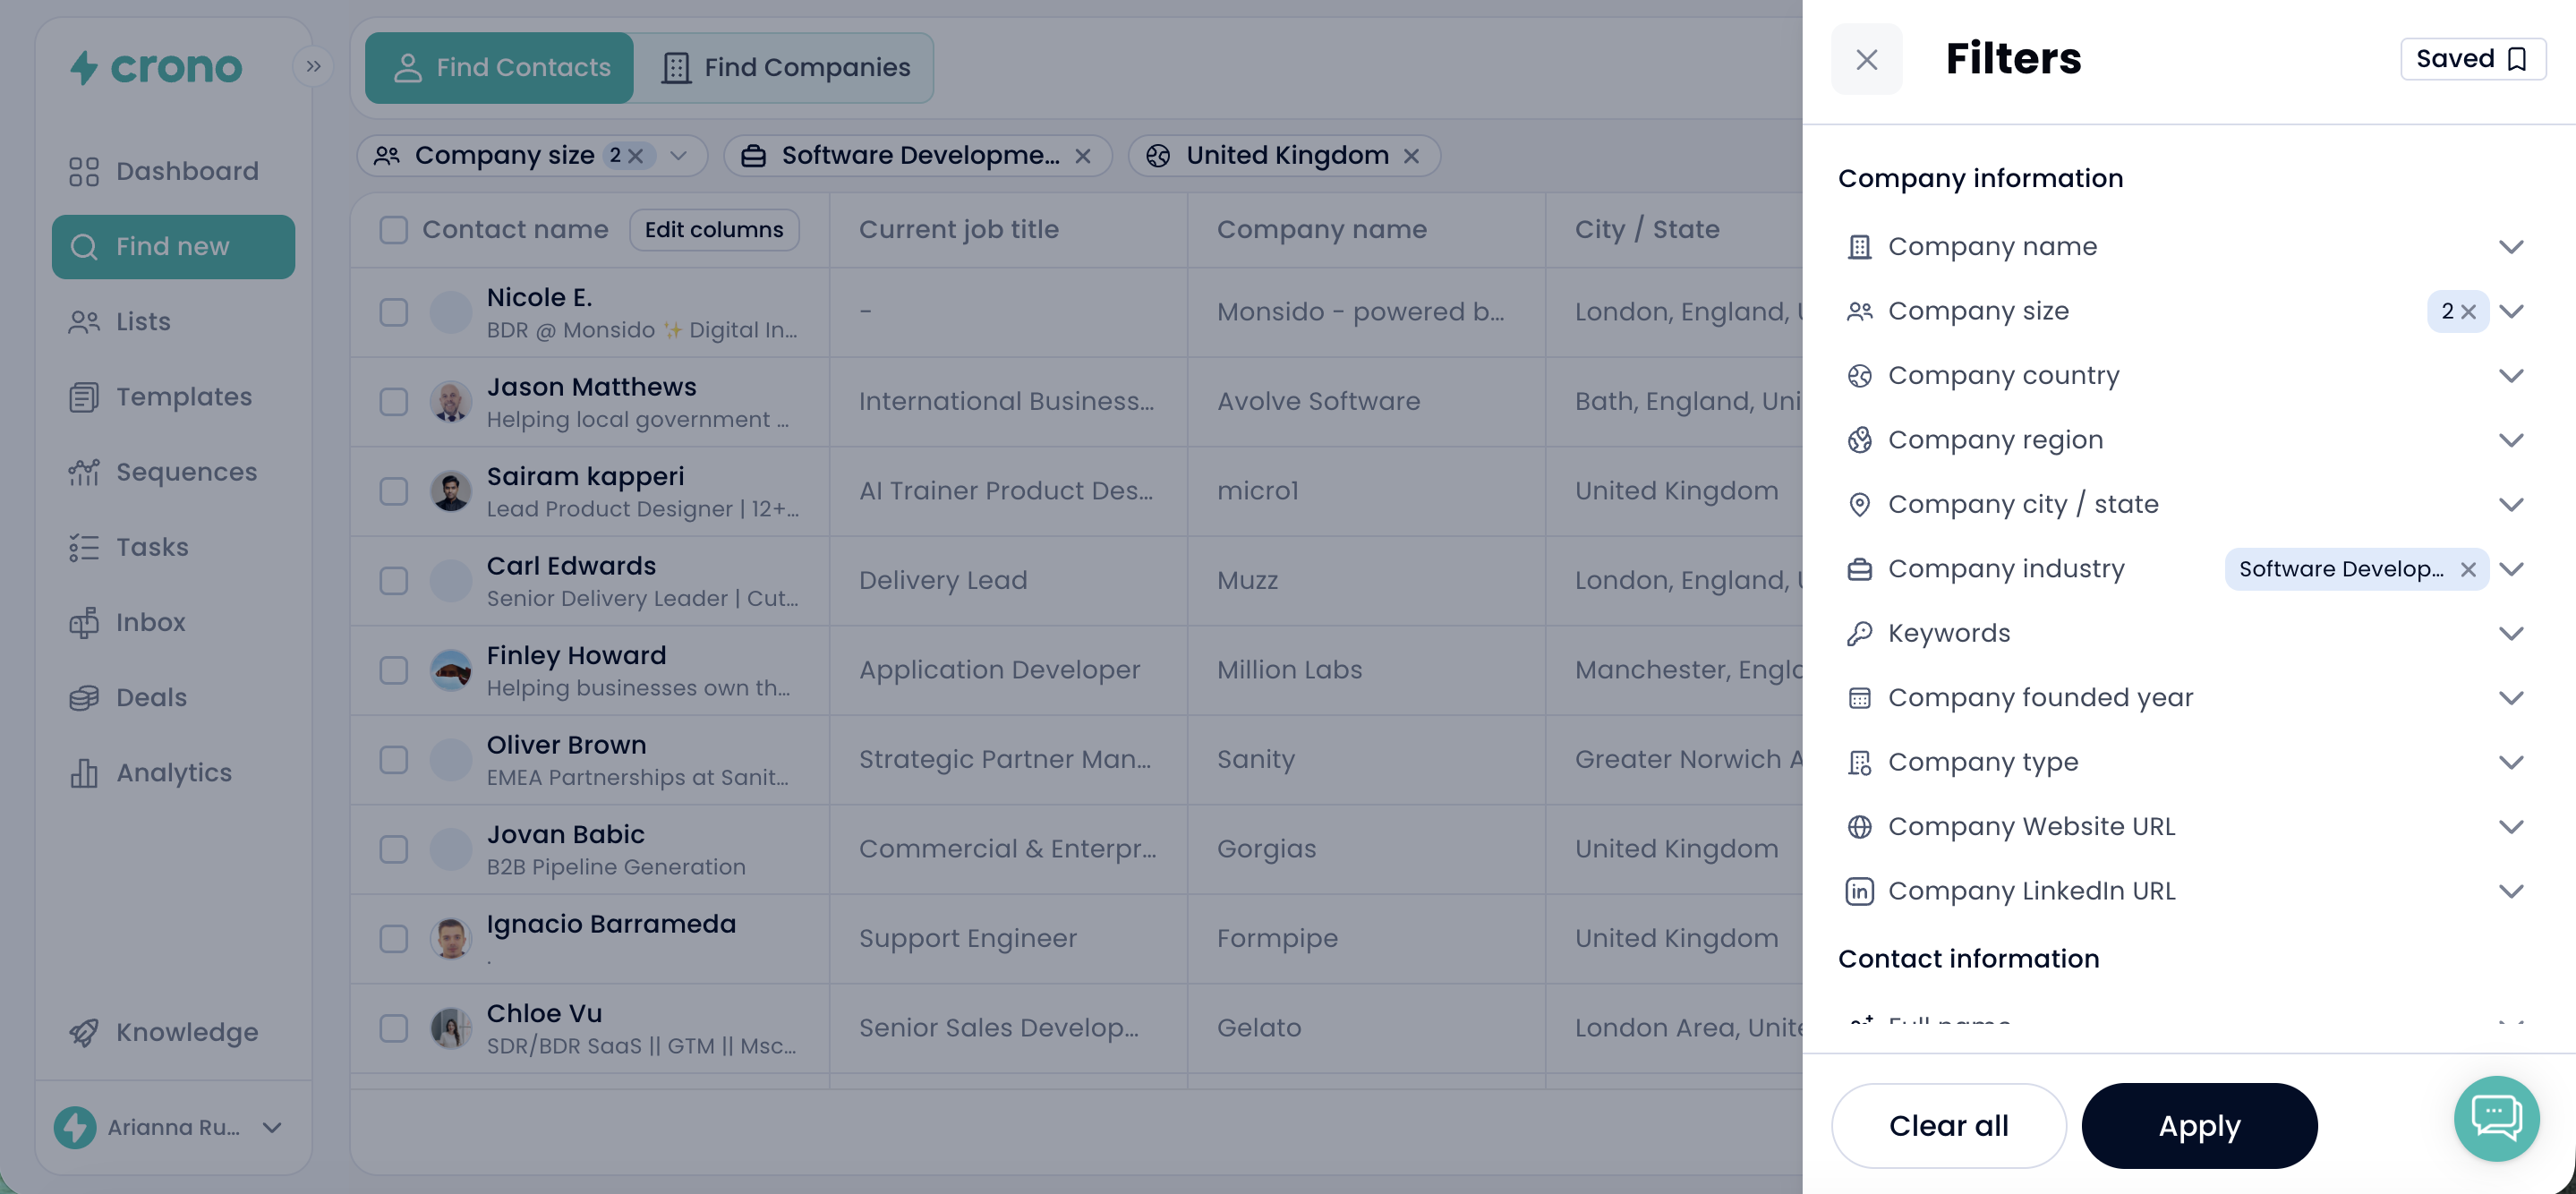
If you have an active LinkedIn Sales Navigator license, you can also use Sales Navigator as the database for your search directly within Crono.
To change the data source, select Sales Navigator from the box in the top-right corner, next to the filters.
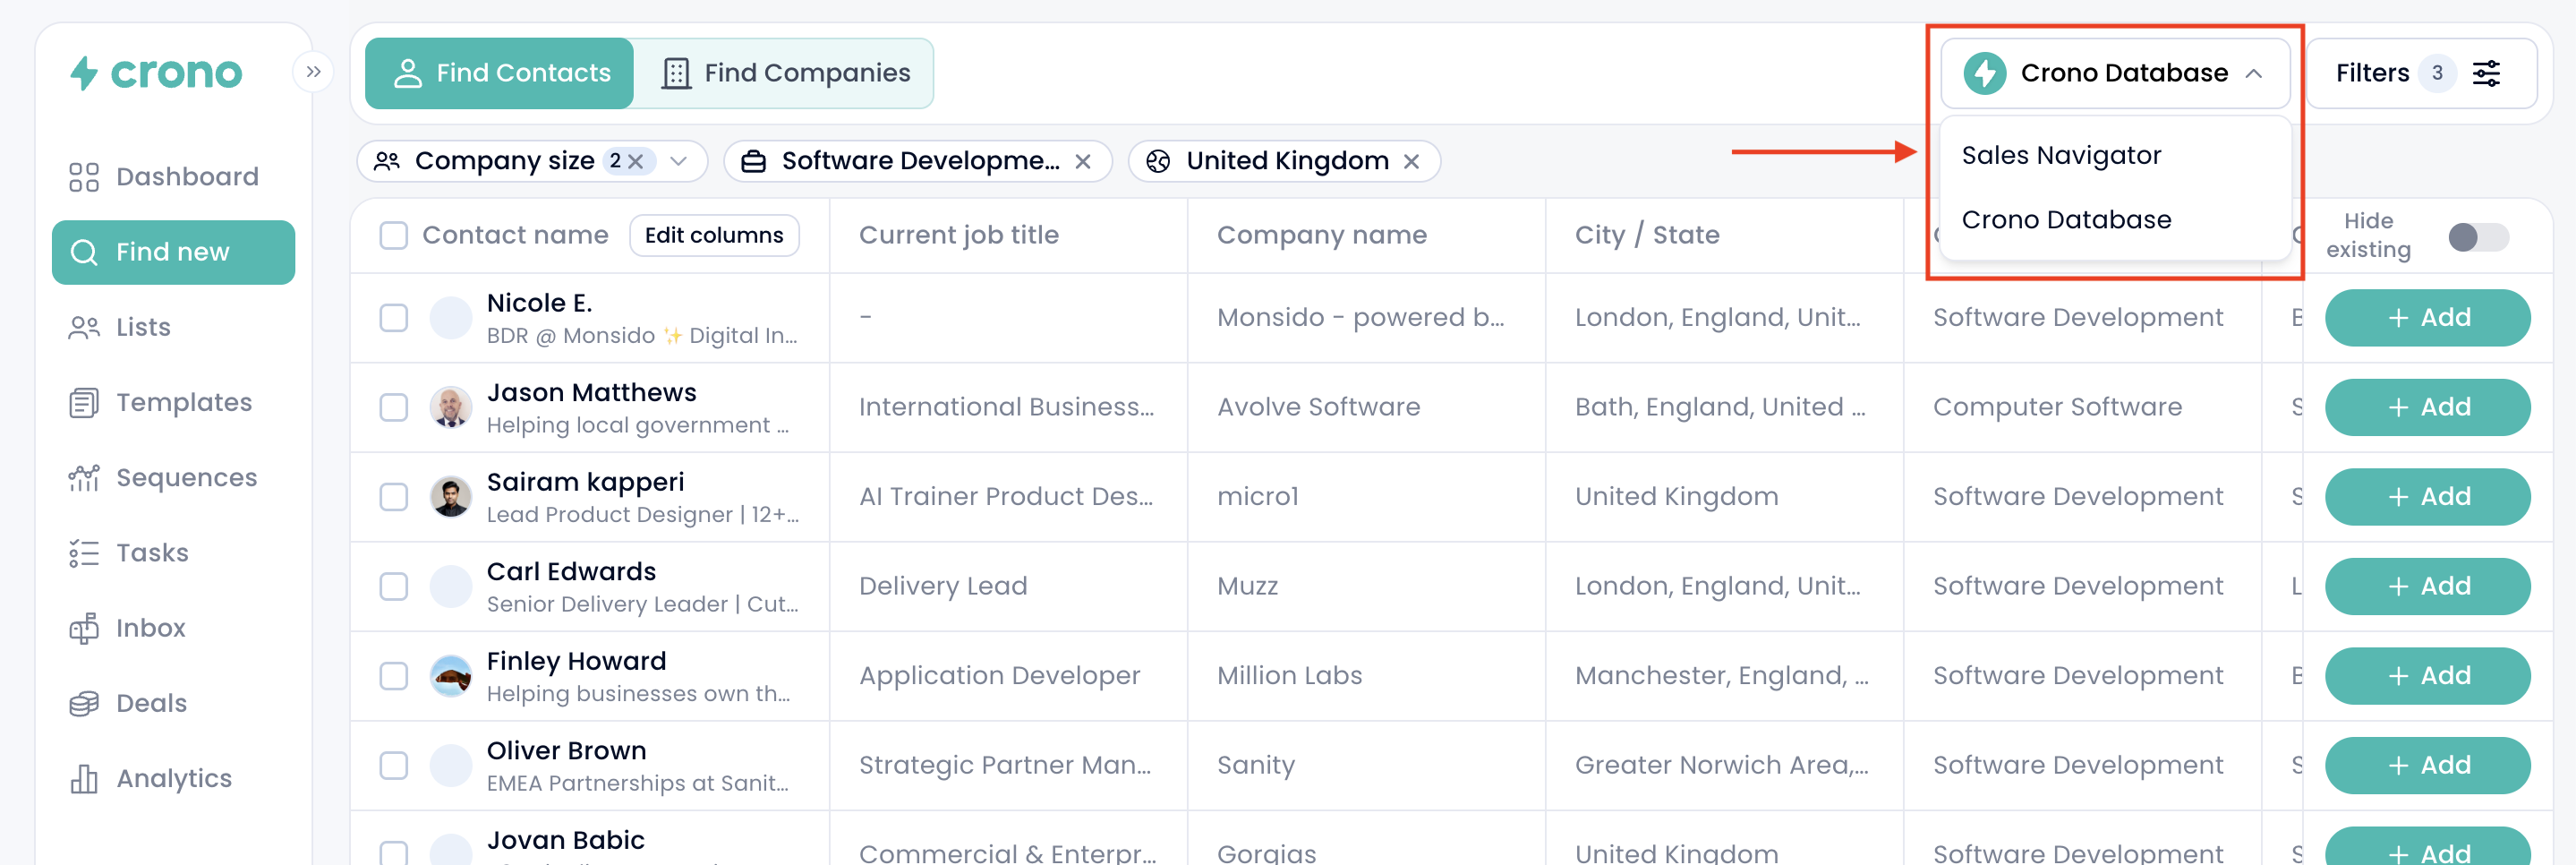
The search process works in the same way:
Open the filters you want to use.
Enter or select the criteria that match your ICP.
Click Apply to display the matching profiles.
The results shown in Crono will correspond to the profiles available through your LinkedIn Sales Navigator search.
Once you apply your filters, you will see a list of profiles that match your criteria.
By scrolling horizontally, you can view additional columns with more contact information. You can also click Edit Columns to choose which fields you want to display or hide.
Once you identify the contacts you want to reach out to, select them using the checkbox to the left of their name.
After selecting one or more contacts, click Add new at the bottom of the page.
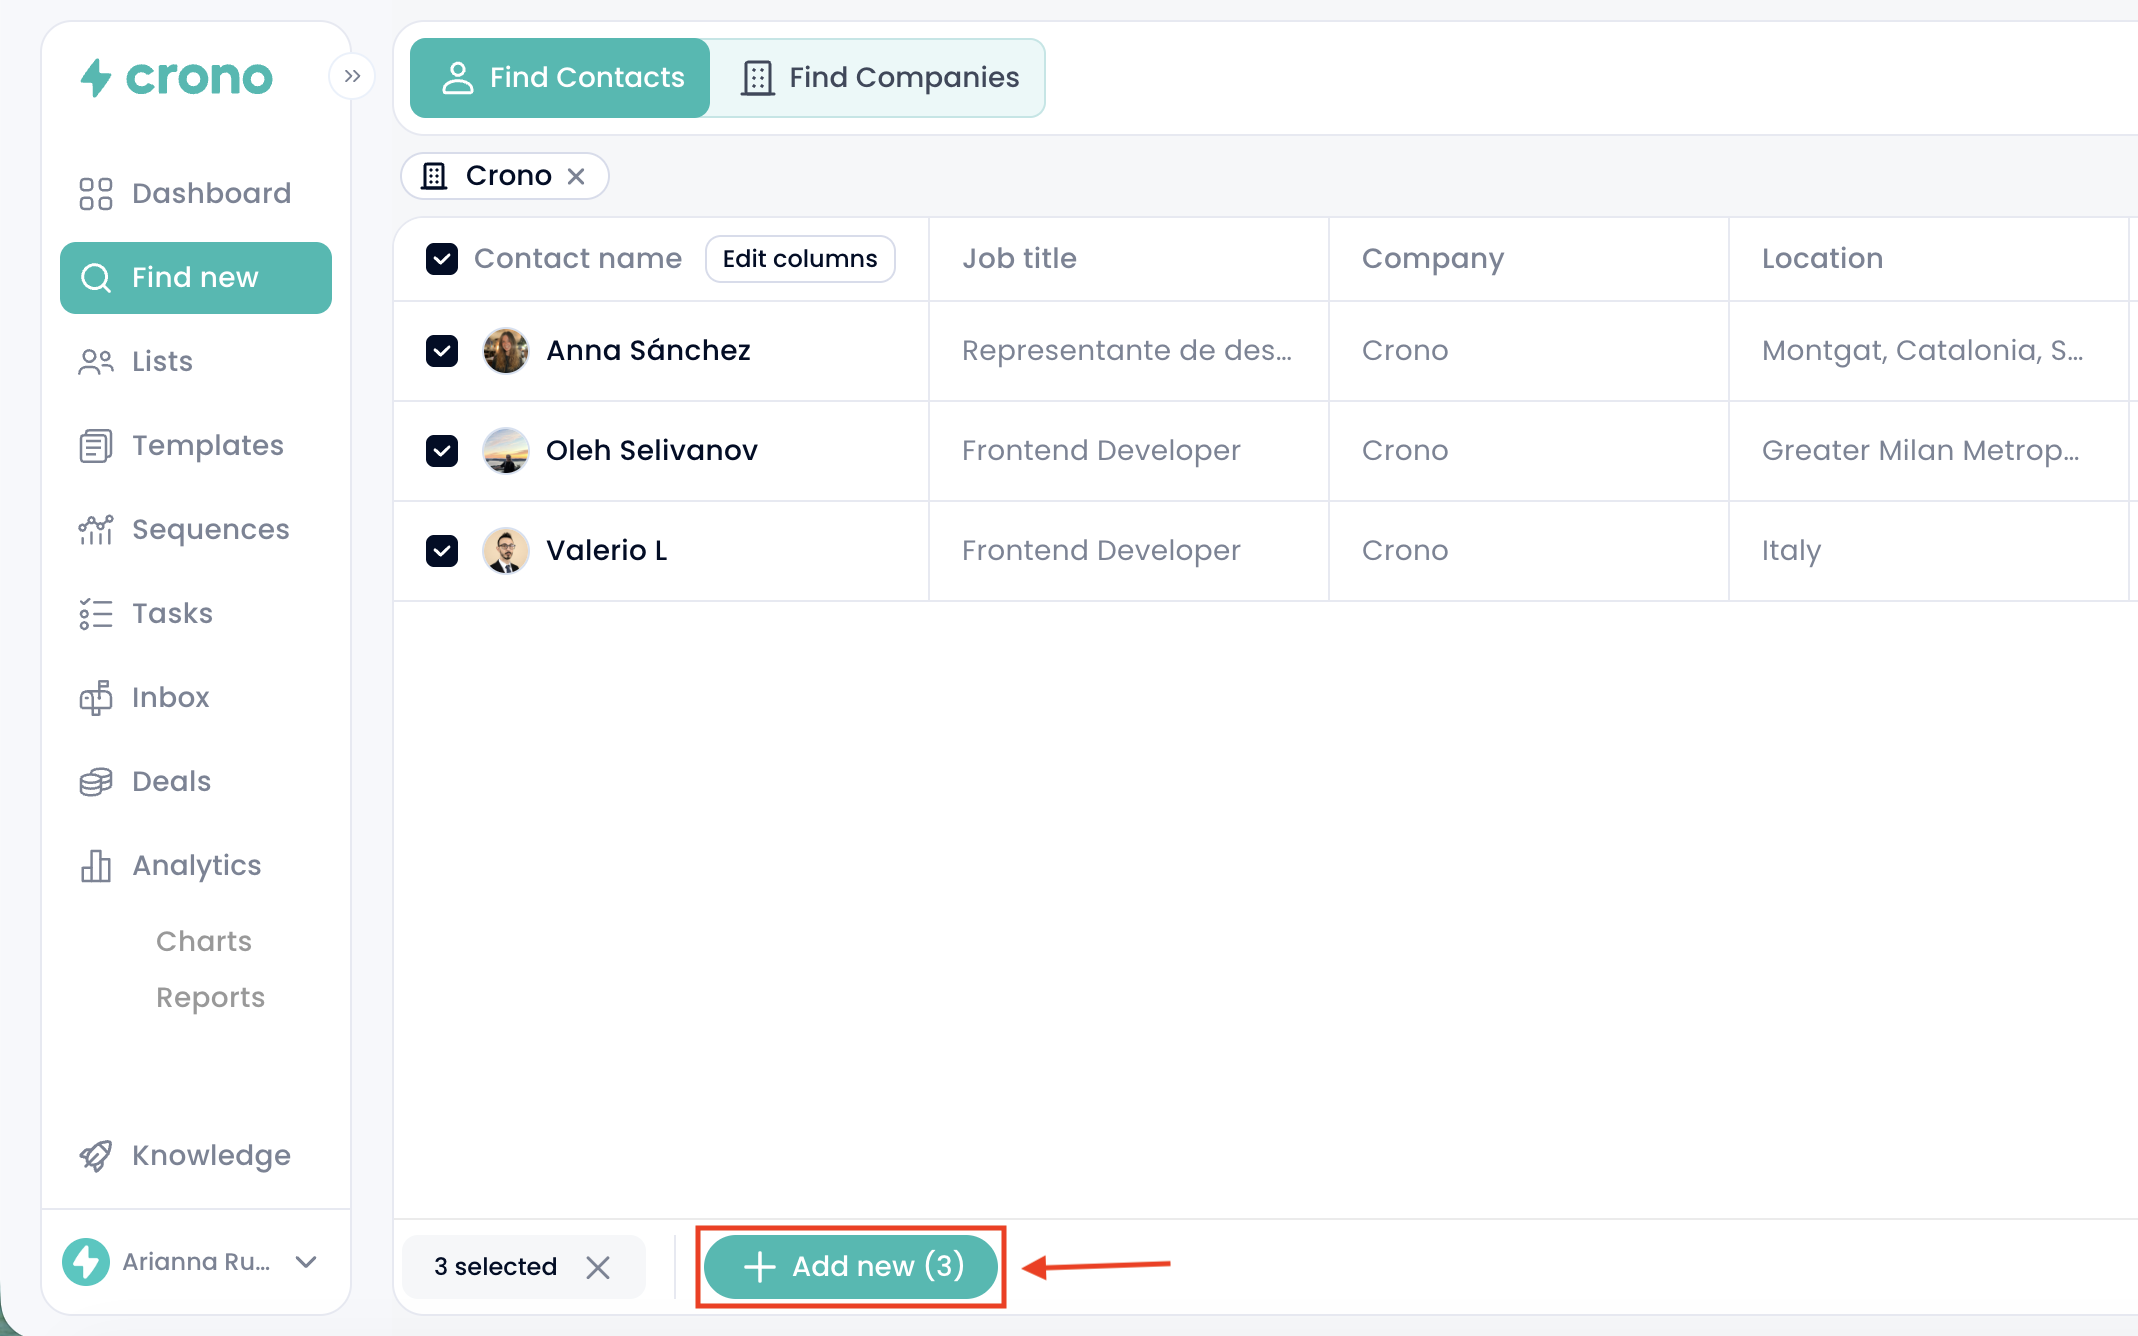
A window will open where you can perform several actions:
Enrich the prospect’s email address and phone number. Each email enrichment costs 1 Enrichment credit, and each phone number enrichment costs 1 Phone number credit.
Add tags to organize and categorize your contacts. Tags can be created by an admin in the Tag Management section of Settings.
Add the contacts to an existing list or create a new one.
Enroll the contacts into a sequence.
Change the ownership of the selected contacts, if needed.
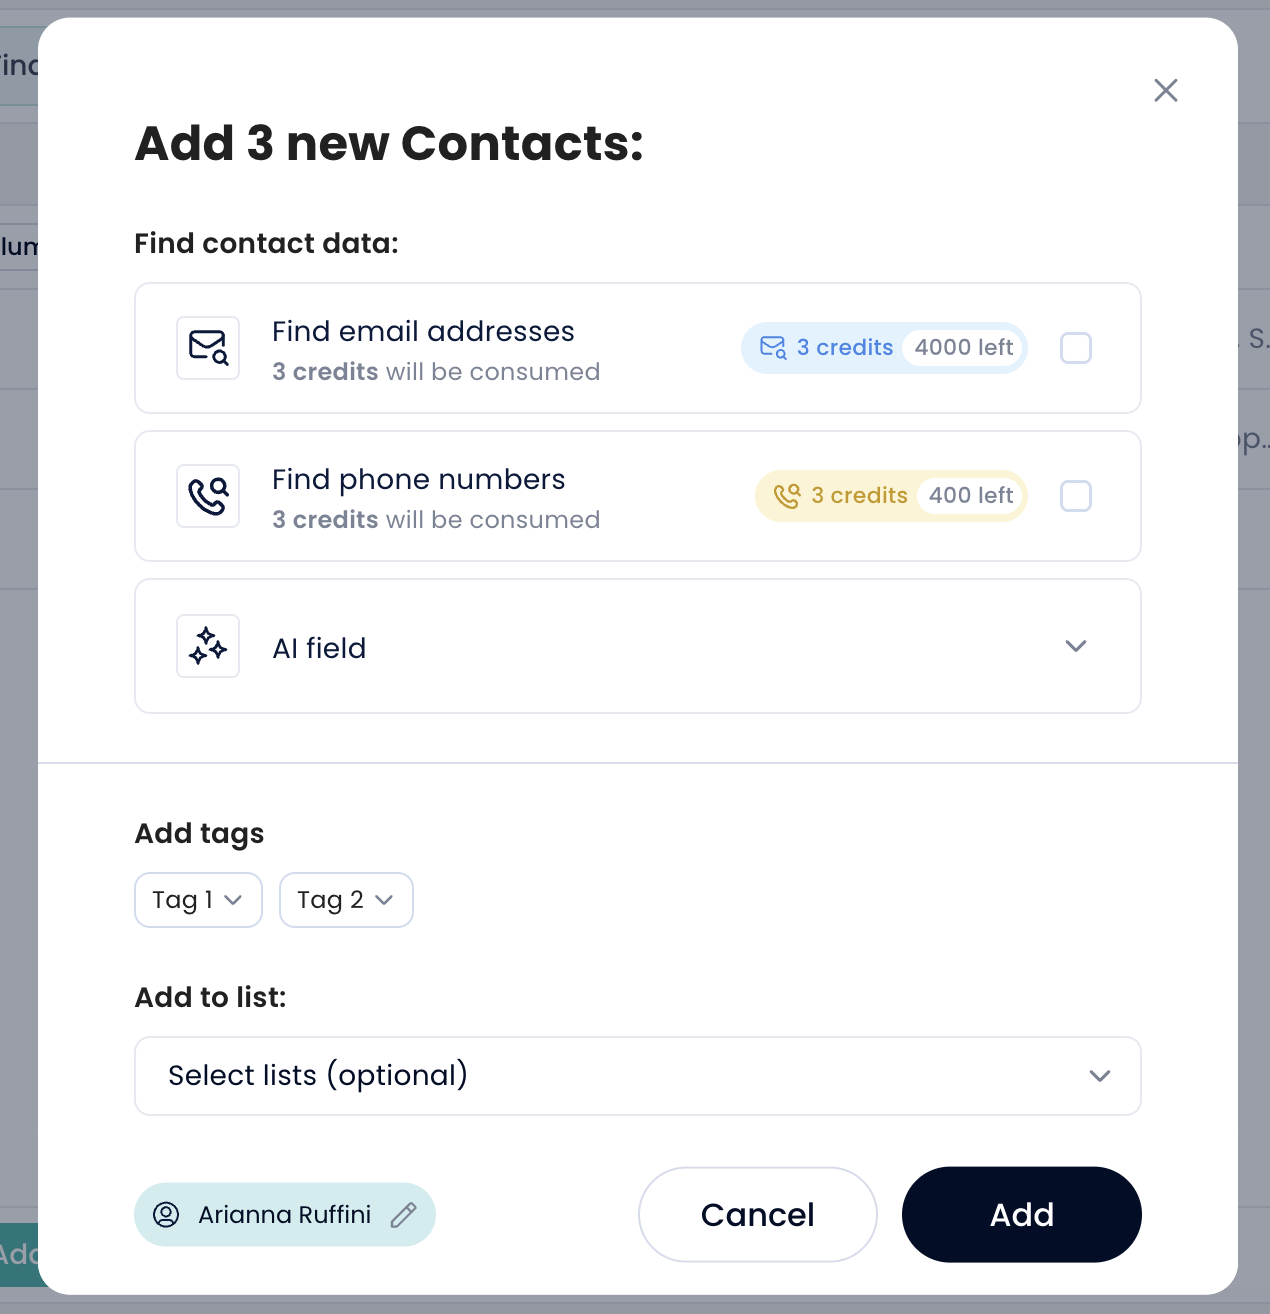
After completing the desired actions, click Add.
The selected contacts will automatically be added to the Crono Lists page, where you can manage and organize them further.
