To use ZoomInfo in Crono, you need to configure a connection via OAuth.
The setup consists of two main steps:
Creating and configuring your ZoomInfo app
Connecting it in Crono
Official ZoomInfo documentation:
https://docs.zoominfo.com/docs/app-creation-developer-portal-guide
To create an app, the user must have access to the ZoomInfo Developer Portal.
Go to Admin Portal → User Management → Users
Select the appropriate user
In the Subscription dropdown, select DevPortal and save
The user will see DevPortal in the menu (waffle icon) after the next login
You need to create a custom app in ZoomInfo for internal use.
Access DevPortal
Navigate to the ZoomInfo Developer Portal
Create a new app
Click Create App
Provide app details
Enter an app name
Upload a logo
Select “For internal use only” as Application Type
Configure Redirect URIs
Add the following URI:
https://app.crono.one/settings/enrichment-providersZoomInfo will send authentication responses and tokens to this URL
Select Access Scopes
Choose the required scopes
Expand and select:
Company
Contact
Create and deploy
Click Create
The app is automatically approved
Open the app to retrieve:
Client ID
Client Secret
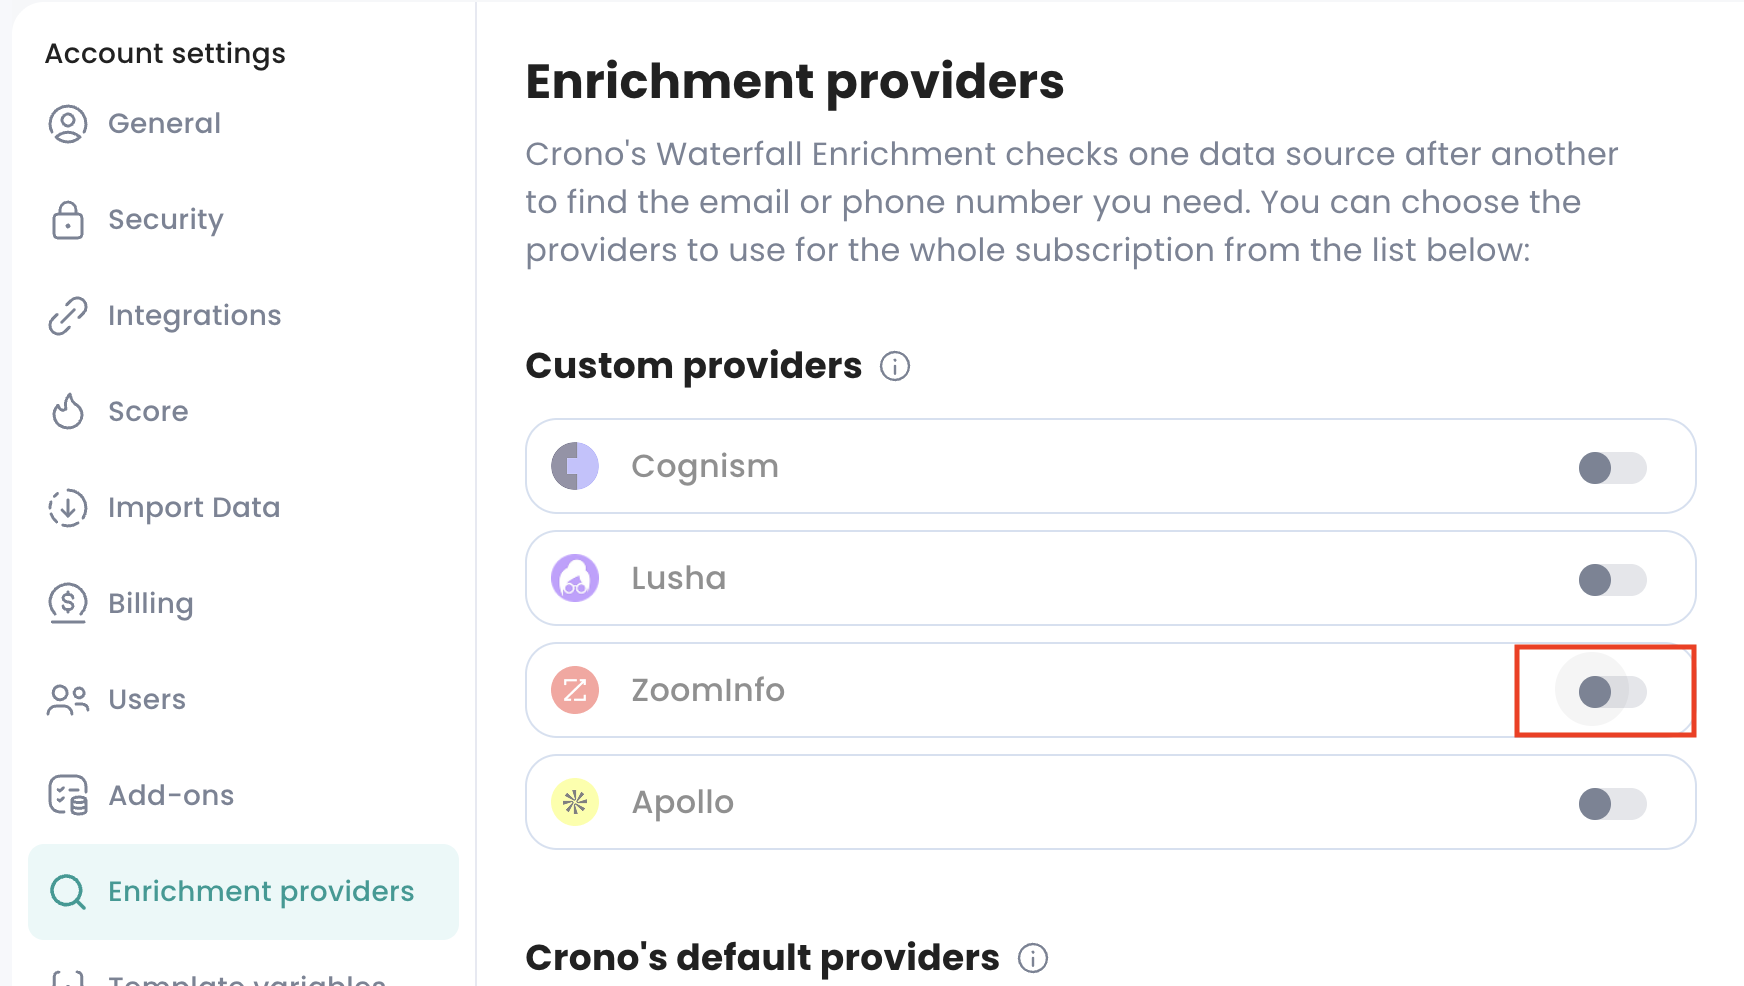
Go to:
Settings → Enrichment Providers
Enable ZoomInfo using the toggle to the right
In the pop-up that appears:
Insert your credentials:
Client ID
Client Secret
Select:
Which data you want to enrich (Email - Phone number - LinkedIn URL)
The priority of enrichment
You can choose whether ZoomInfo should run before or after Crono’s default providers
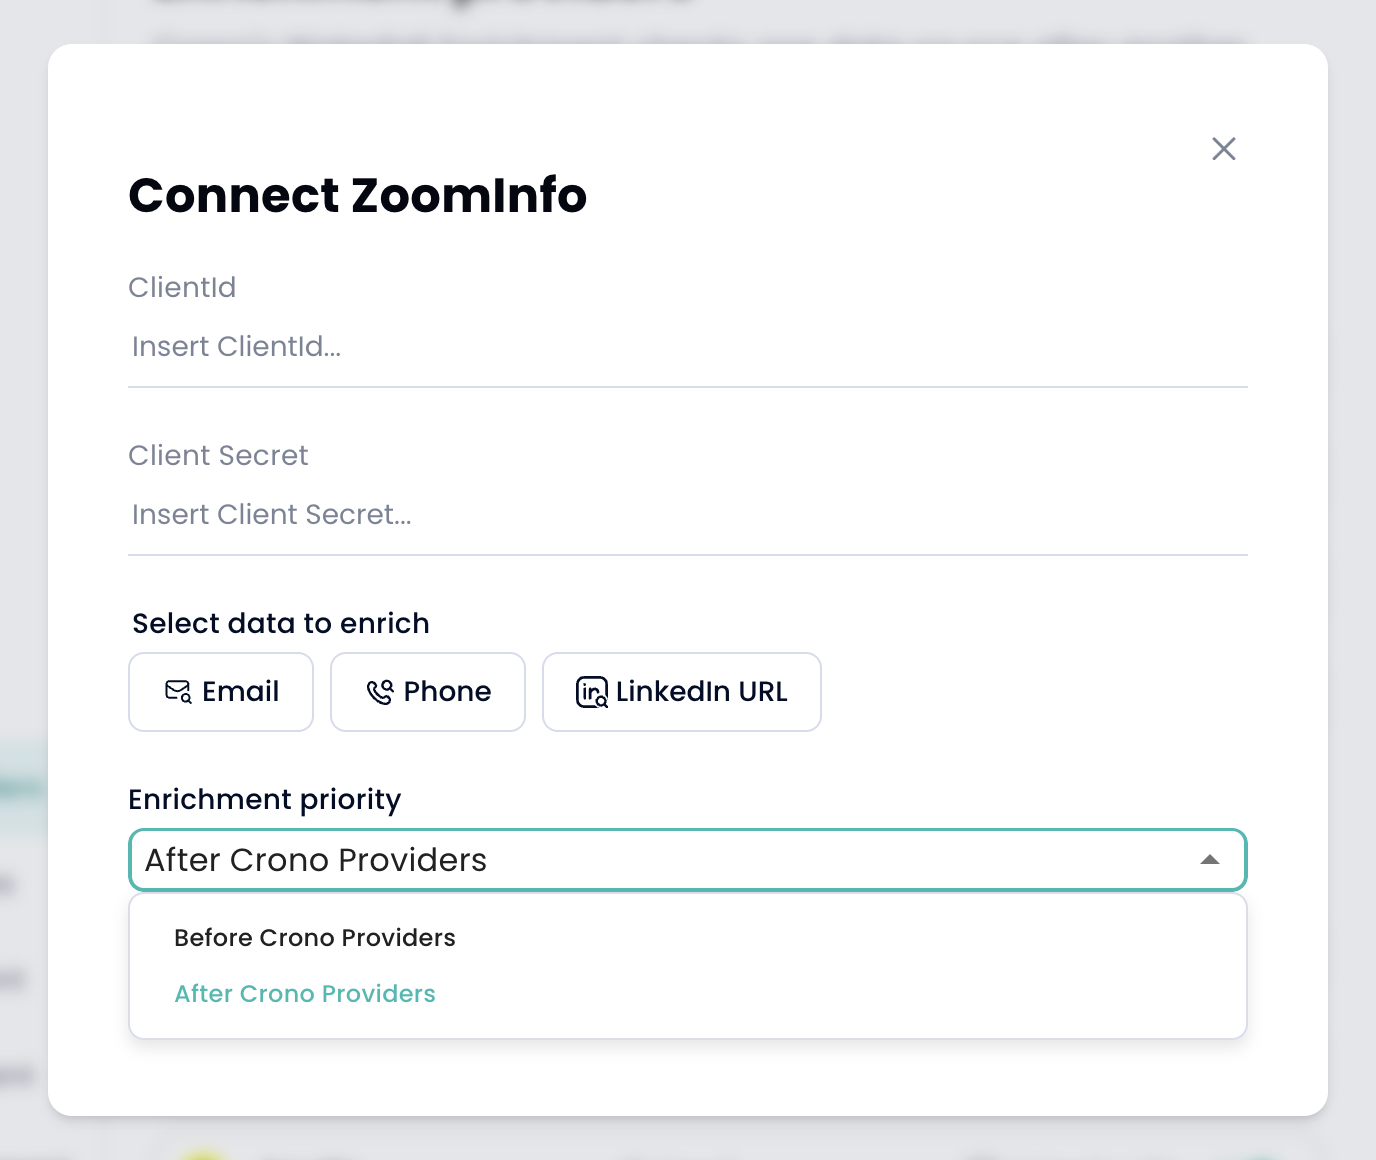
Click Connect
After clicking Connect in Crono:
You will be redirected to the ZoomInfo login page
Log in with your ZoomInfo account
Authorize the connection
You will be redirected back to Crono
If the setup is completed correctly, you will see:
Connected
ZoomInfo is ready for enrichment on the selected channels
