Crono Automations let you create rules that trigger an action automatically when something changes in your workspace — so you can stop sequences at the right moment, keep data up to date, and create follow-up tasks without doing it by hand.
You'll find them under Settings → Automations. The page is visible to everyone, but the Default automations section is managed by Managers only.
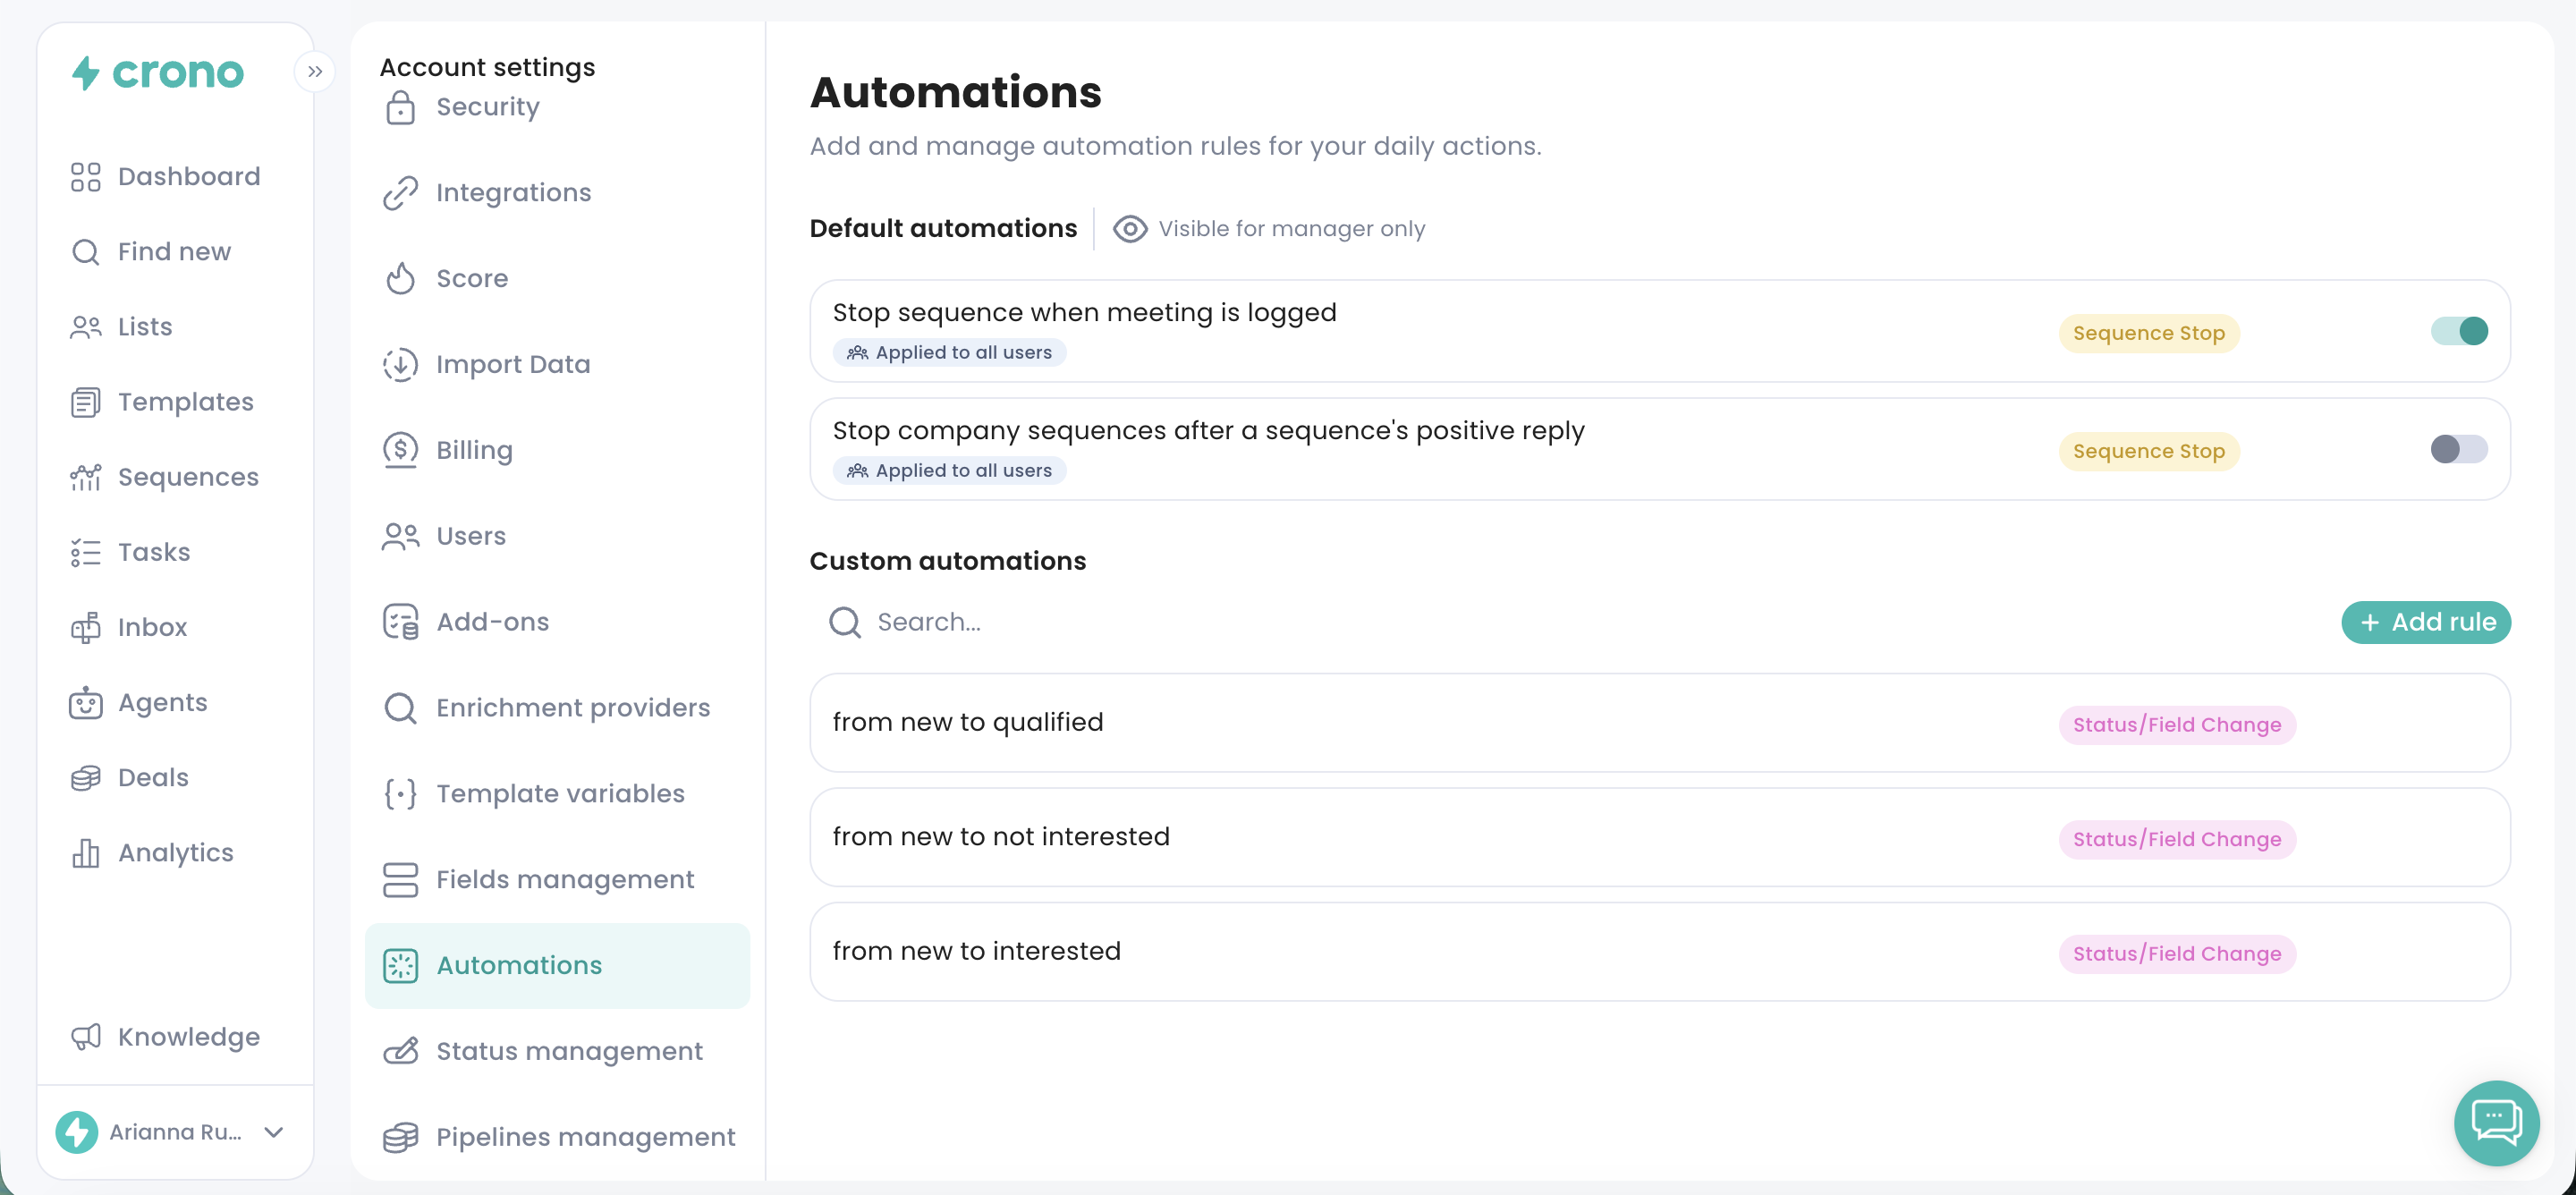
These are subscription-level settings that apply to the whole workspace, switched on or off with a toggle by a Manager:
Stop sequence when meeting is logged — stops a contact's sequence as soon as a meeting is logged for them.
Stop company sequences after a positive reply — stops sequences for every contact at the same company once one of them replies positively.
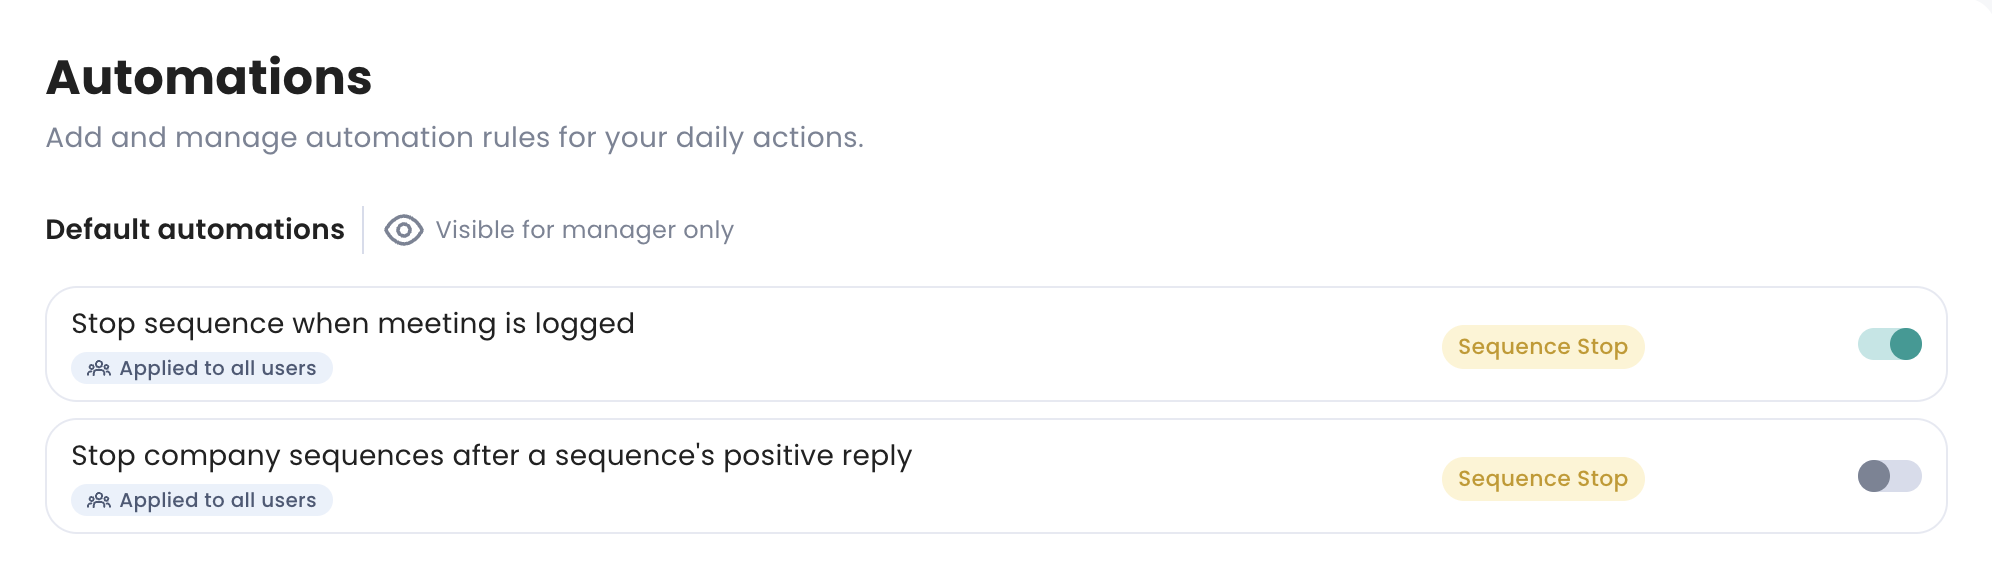
Custom automations follow IF / THEN logic: IF something happens in Crono, THEN Crono performs an action. Click Add rule on the right of the page and choose one of three types:
Sequence Stop
Status / Field Change
Create Task
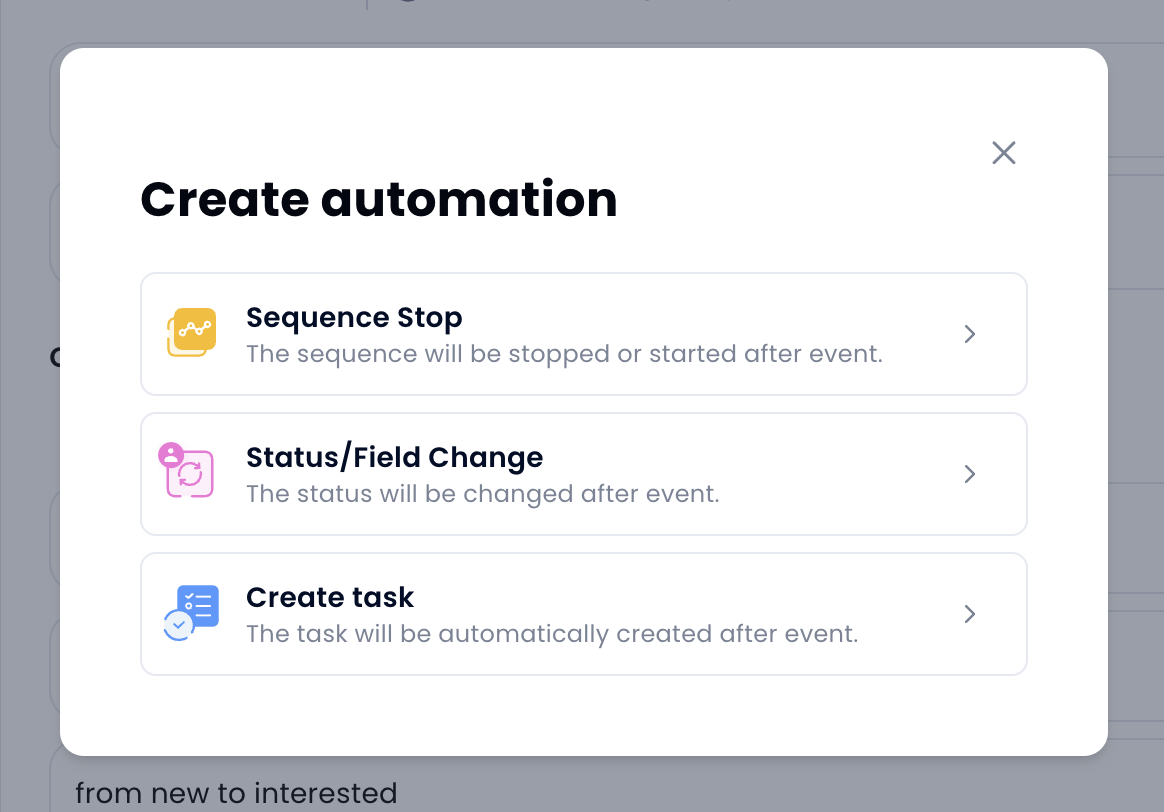
Before you start: where a rule uses a custom field — as a trigger or as something it updates — only Single-select and Multi-select fields are supported. Other field types will not appear in the rule builder. See Managing Fields and Tags.
Use this when you want Crono to stop sequences off the back of a specific change.
IF — trigger the rule when:
A Contact, Lead or Company status changes to a specific value
A Single-select or Multi-select custom field on a Contact, Lead or Company changes to a specific value
A Deal moves to a specific stage in a pipeline
THEN — Crono can:
Stop sequences for that contact
Stop sequences for every contact at the same company
Useful when a contact becomes a customer, a company reaches a qualification stage, or a deal moves somewhere outreach should stop.
Use this when you want Crono to update a status or a custom field after an activity, event or signal.
IF — for Contacts and Leads, trigger when they:
Are enrolled in a sequence
Reply to an email or a LinkedIn message
Reply with a specific sentiment — positive, negative or neutral
Answer a call with a specific outcome: Not interested, Call back, Send email, Meeting scheduled, Not the right contact
Book a meeting
Bounce an email
Accept a LinkedIn invitation
Have a sequence stopped for a specific reason — reply, meeting, opt-out, account status, opportunity stage, owner change, sequence completed or manual stop
Signals can also trigger a rule: role change, company change, website visit, hiring signal, email opened or email clicked.
THEN — Crono can change the status of a Contact, Lead or Company, or set a Single-select or Multi-select custom field on them.
One rule can update up to five fields at once. Under the action, click Add more to add another field, then choose the value it should be set to.
Each field can only be added once within the same rule. Once you reach five updates, the Add more button will no longer be available.
This keeps your records in step with what actually happened, without anyone updating them by hand after every interaction.
Use this when you want Crono to create a task after a change or event.
IF — a Contact, Lead or Company status changes; a Single-select or Multi-select custom field changes; a Deal moves stage; or an event or signal is detected.
THEN — Crono creates one of these tasks on the contact:
Call
LinkedIn invitation
LinkedIn message
LinkedIn voice note
LinkedIn InMail — requires an active Sales Navigator licence
LinkedIn profile view
LinkedIn like last post
To-do
For company-level rules — company changes, deal changes, website visits or hiring signals — Crono can only create a To-do on the company.
Every rule needs a name. Managers can also enable Apply rule to all users, which applies it across the whole subscription — other users can see it but not edit it.
Each automation can carry up to 5 exceptions, excluding specific records based on their status or their custom field values.
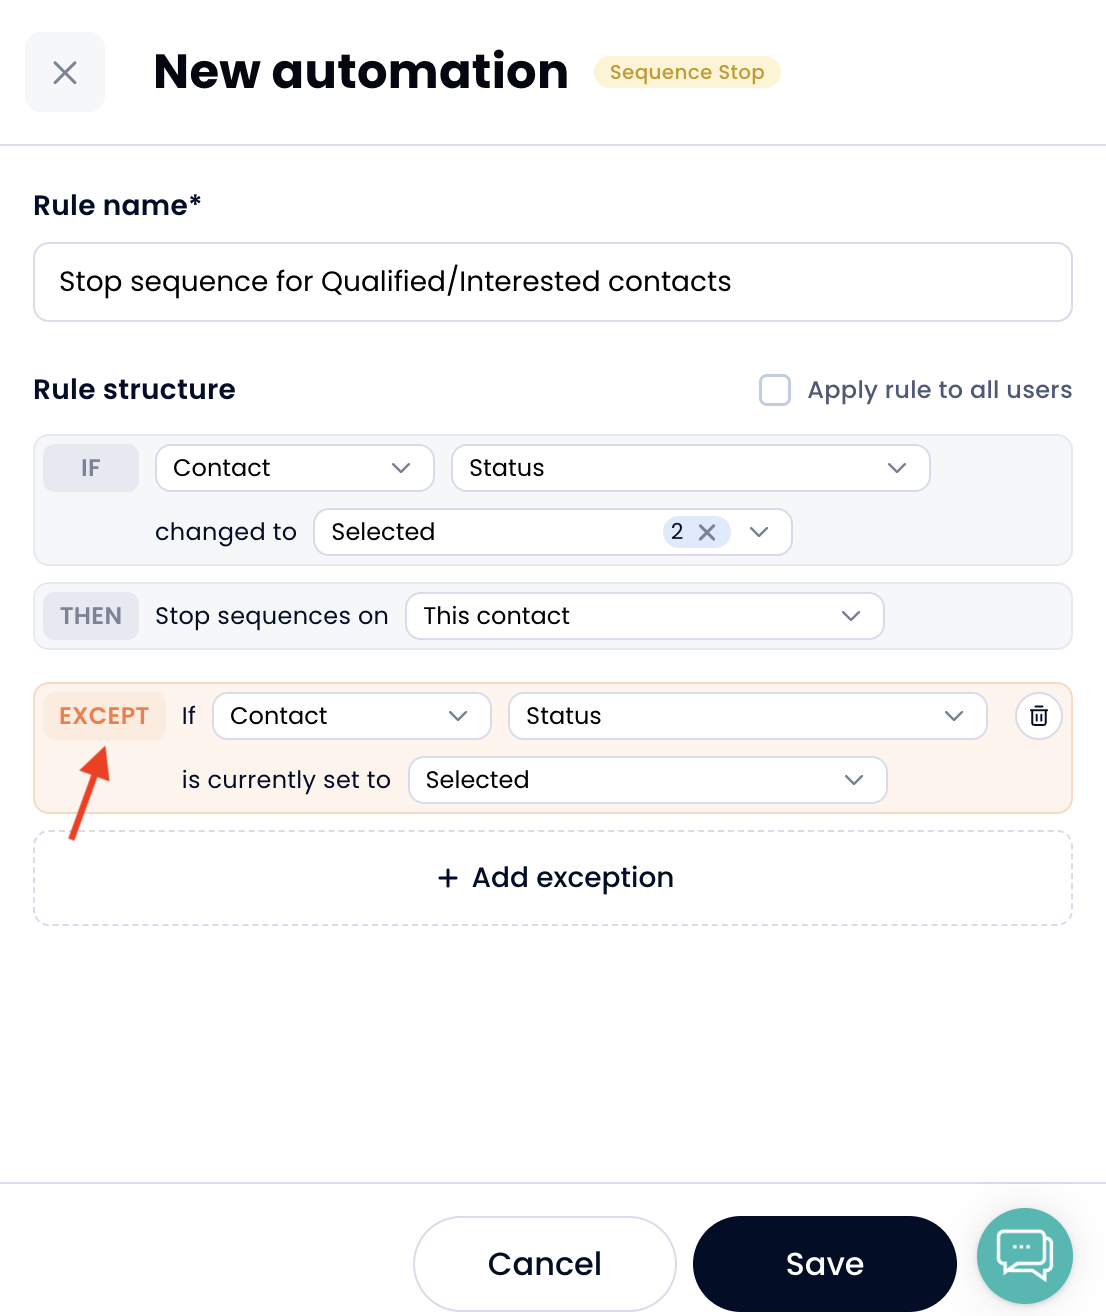
You can search the list and review every rule that exists. Rules can only be edited or deleted by whoever created them.
Crono blocks duplicate rules. If a rule conflicts with another shared automation, Crono flags it and shows that it has been disabled because of the conflict.
If a sequence stopped and you are not sure which rule did it, Why did my sequence stop? lists every reason Crono records.
