First of all, the integration of Crono with any CRM can only be requested by a Subscription Manager.
To integrate Crono with Salesforce, you can request the integration immediately at the first login to your Crono account. Click to integrate, log in to your Salesforce profile, and at that point Crono will be connected to your Salesforce environment.
The integration will initially be one-way. To make it two-way, please contact us for further instructions.
Note: once the integration has been requested by the Subscription Manager, every user who logs in afterwards will need to integrate their own Salesforce environment before being able to access Crono.
To complete the integration at a later time, go to Account Settings → Integrations → CRM, then click “Click here”.

Select Salesforce and click Integrate:
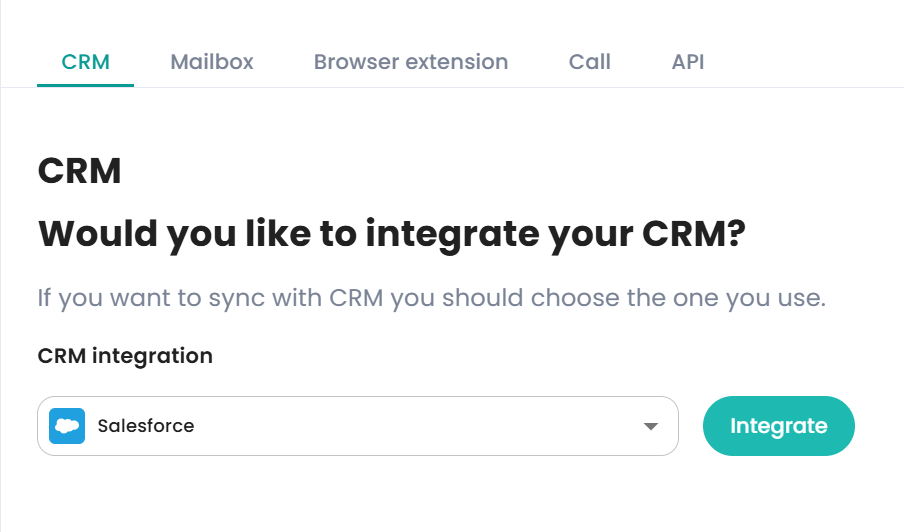
Log in to your Salesforce account and then return to Crono.
👉 Done!
Users with the Standard User profile do not display this permission directly in the profile.
The correct way to verify it is:
Go to Setup → Users → [User Name]
Check whether the user has one or more Permission Sets assigned that include the API Enabled permission
Alternatively, you can review failed authentication attempts in:
Setup → Login History
If you see errors such as API_DISABLED_FOR_ORG or other API-related OAuth rejections, this usually indicates that the user is missing the required permission (or, in rare cases, that API access is disabled at the org level).
If the user does not have API Enabled, create a new Permission Set:
Go to Setup → Permission Sets
Click New
Set:
Label: for example, “Crono API Access”
License: leave None (recommended for most cases)
Click Save
Inside the newly created Permission Set:
Go to System Permissions
Click Edit
Enable API Enabled
Click Save
Open the Permission Set
Click Manage Assignments
Click Add Assignments
Select the users who need to connect Crono
Click Assign
Users simply need to:
Log back into Crono
Repeat the “Connect with Salesforce” flow
The OAuth authentication should then complete successfully.ù
If your Salesforce organization uses a Single Sign-On (SSO) system, you may need an extra step to allow Crono to work correctly.
In this case, a Salesforce Admin must manually install the connected app:
Go to Setup in Salesforce
Search for Connected Apps OAuth Usage
Locate Crono in the list
In the App Actions column, click Install
Confirm the installation when prompted
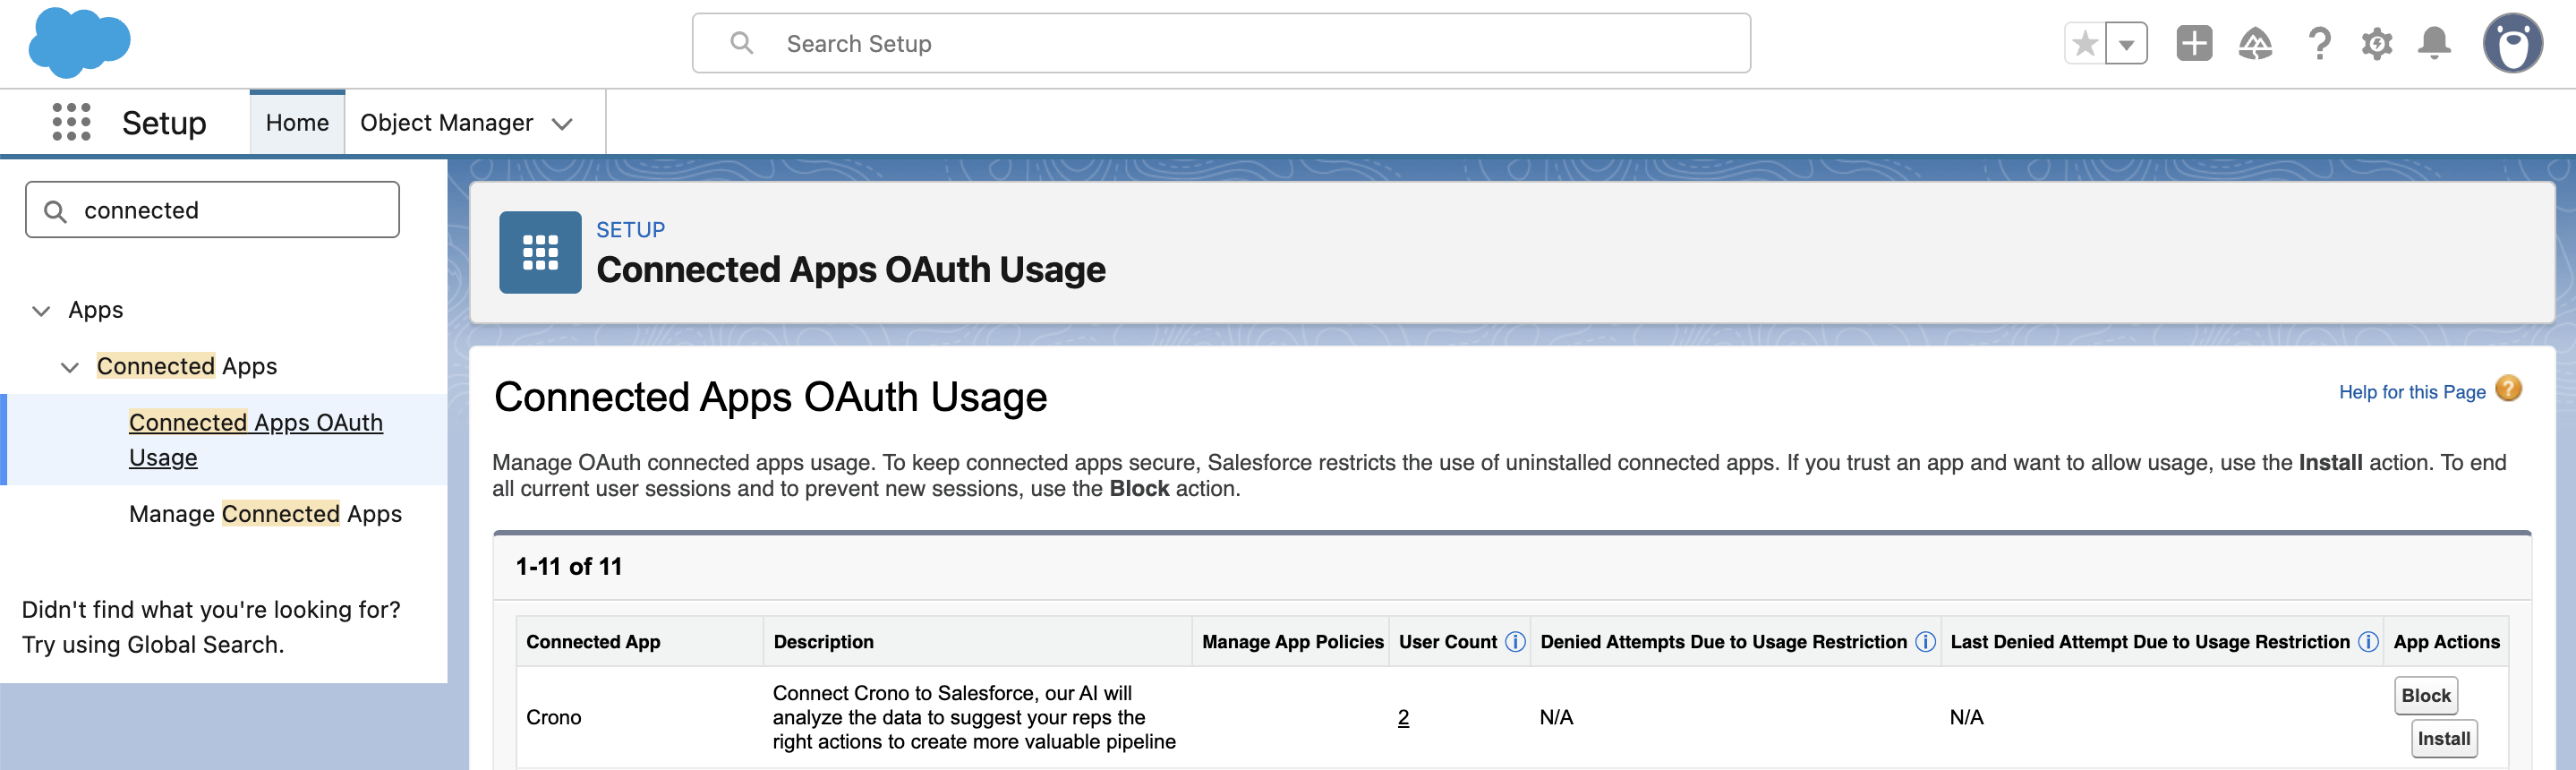
This step ensures that the app is properly installed and trusted within your Salesforce org. Without installing the connected app, Salesforce may restrict access for new users or block the integration.
