Crono allows you to mark contacts as Do Not Contact directly from the contact card or in bulk through the Upload Blacklist import.
Blacklisting a contact and marking it as Do Not Contact are the same thing. Do Not Contact is the name used in the app, and the one used throughout this article.
Once enabled, Crono prevents future outreach to that contact through the available communication channels.
This helps your team avoid contacting people who should be excluded from outreach, such as existing customers, competitors, contacts with invalid details, or people who should no longer receive communications.
You can mark a contact as Do Not Contact directly from the contact card.
To do this:
Open the contact card.
Find the Do Not Contact toggle in the top-right corner.
Enable the toggle.
Select the reason why the contact should not be contacted.
Confirm your choice.
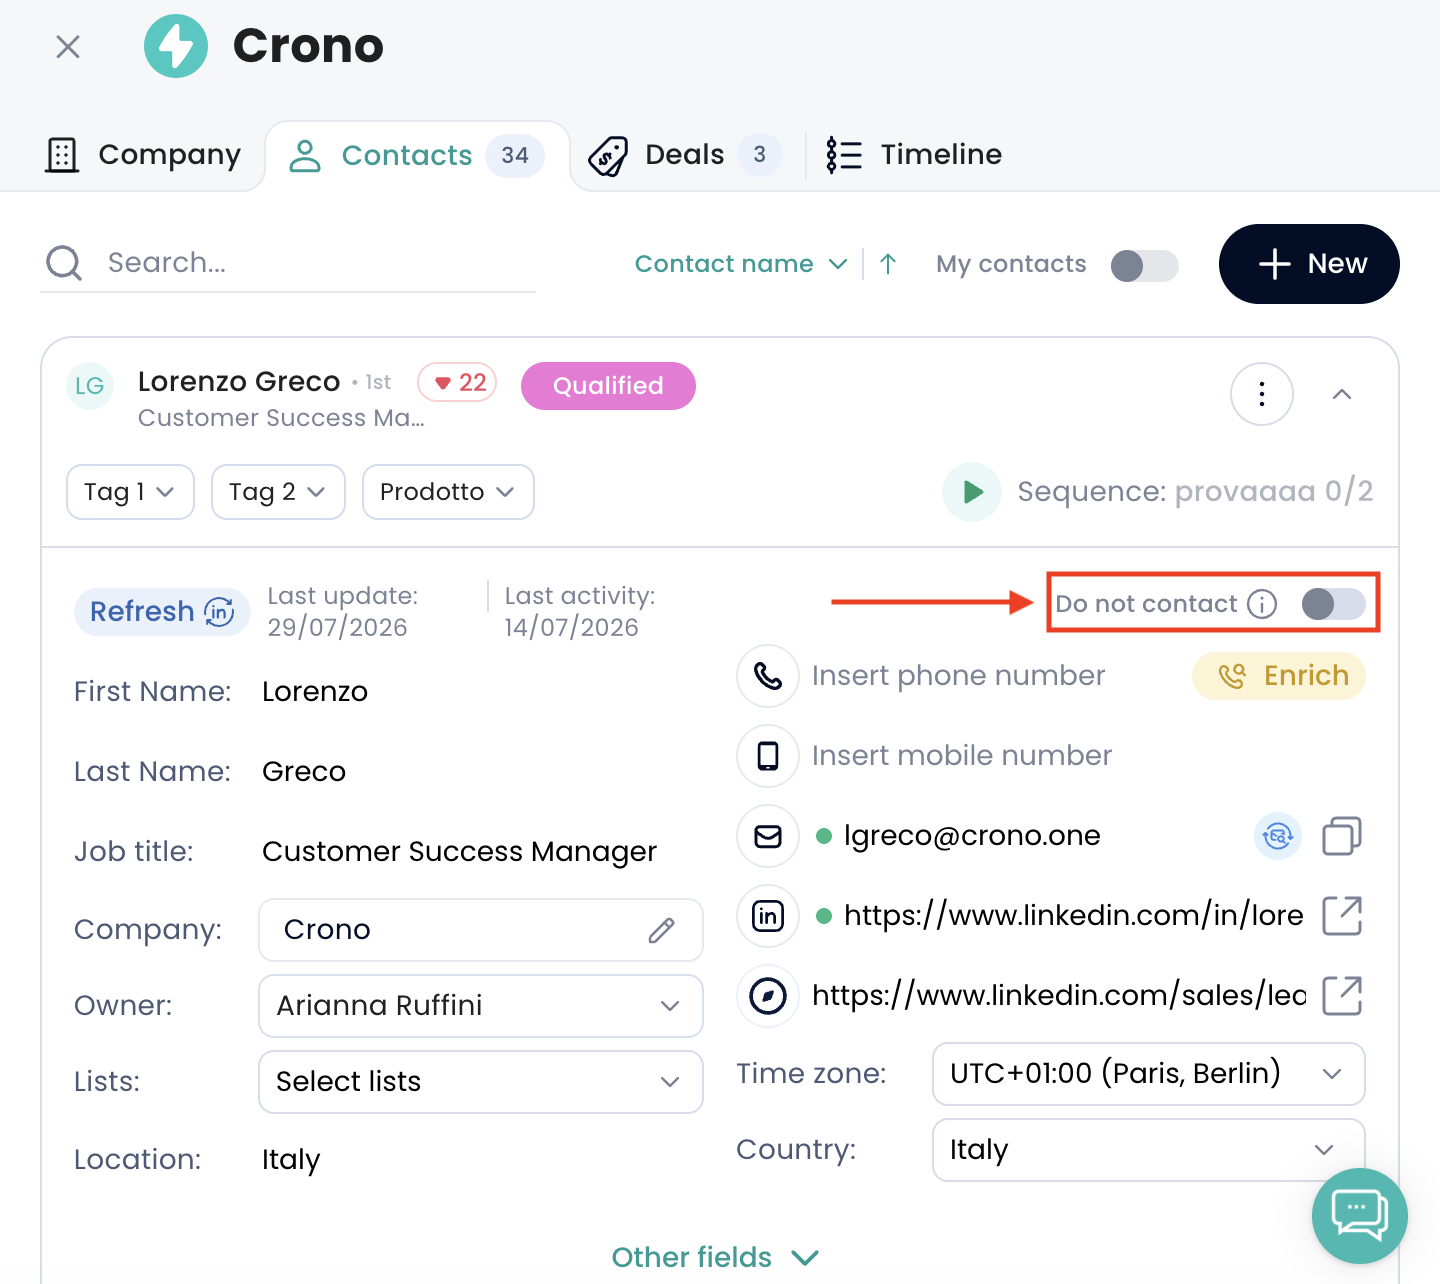
Once enabled, the contact will no longer receive outreach from Crono.
When enabling Do Not Contact, Crono asks you to select a reason.
Available reasons include:
Company changed
Existing customer
Competitor
Invalid details
Other custom reason
If none of the predefined reasons apply, you can select Other and add a custom reason.
This makes it easier for your team to understand why a contact was marked as Do Not Contact.
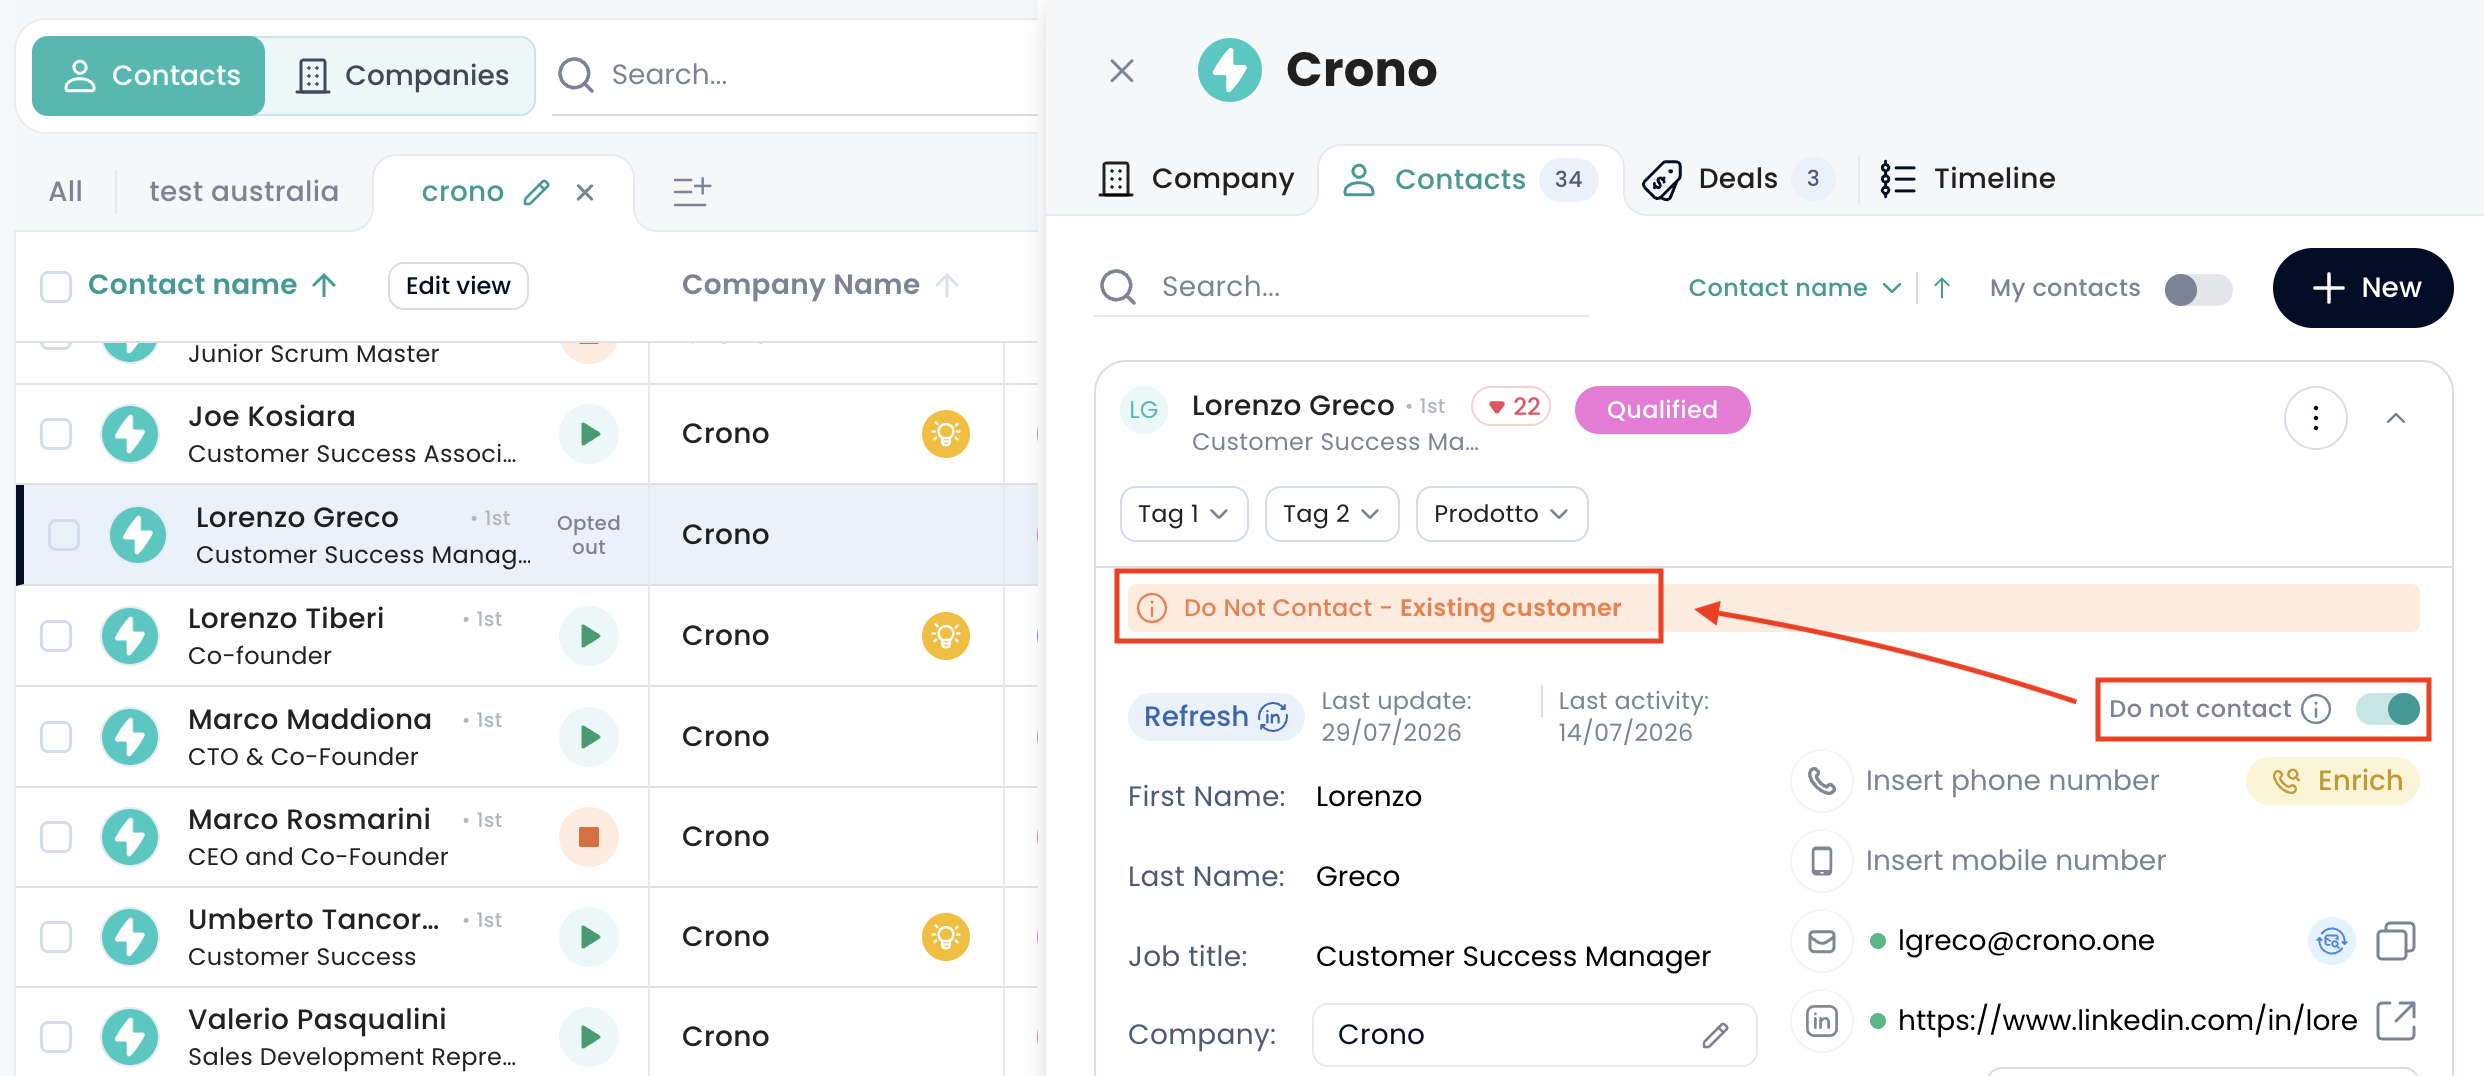
After a contact is marked as Do Not Contact, the contact card shows additional information about the change.
You will be able to see:
The reason why the contact was marked as Do Not Contact
The user who marked the contact (by hovering on the “i“ icon at the left)
The date and time when the change was made
This gives your team more visibility and helps keep Do Not Contact decisions clear and easy to track.
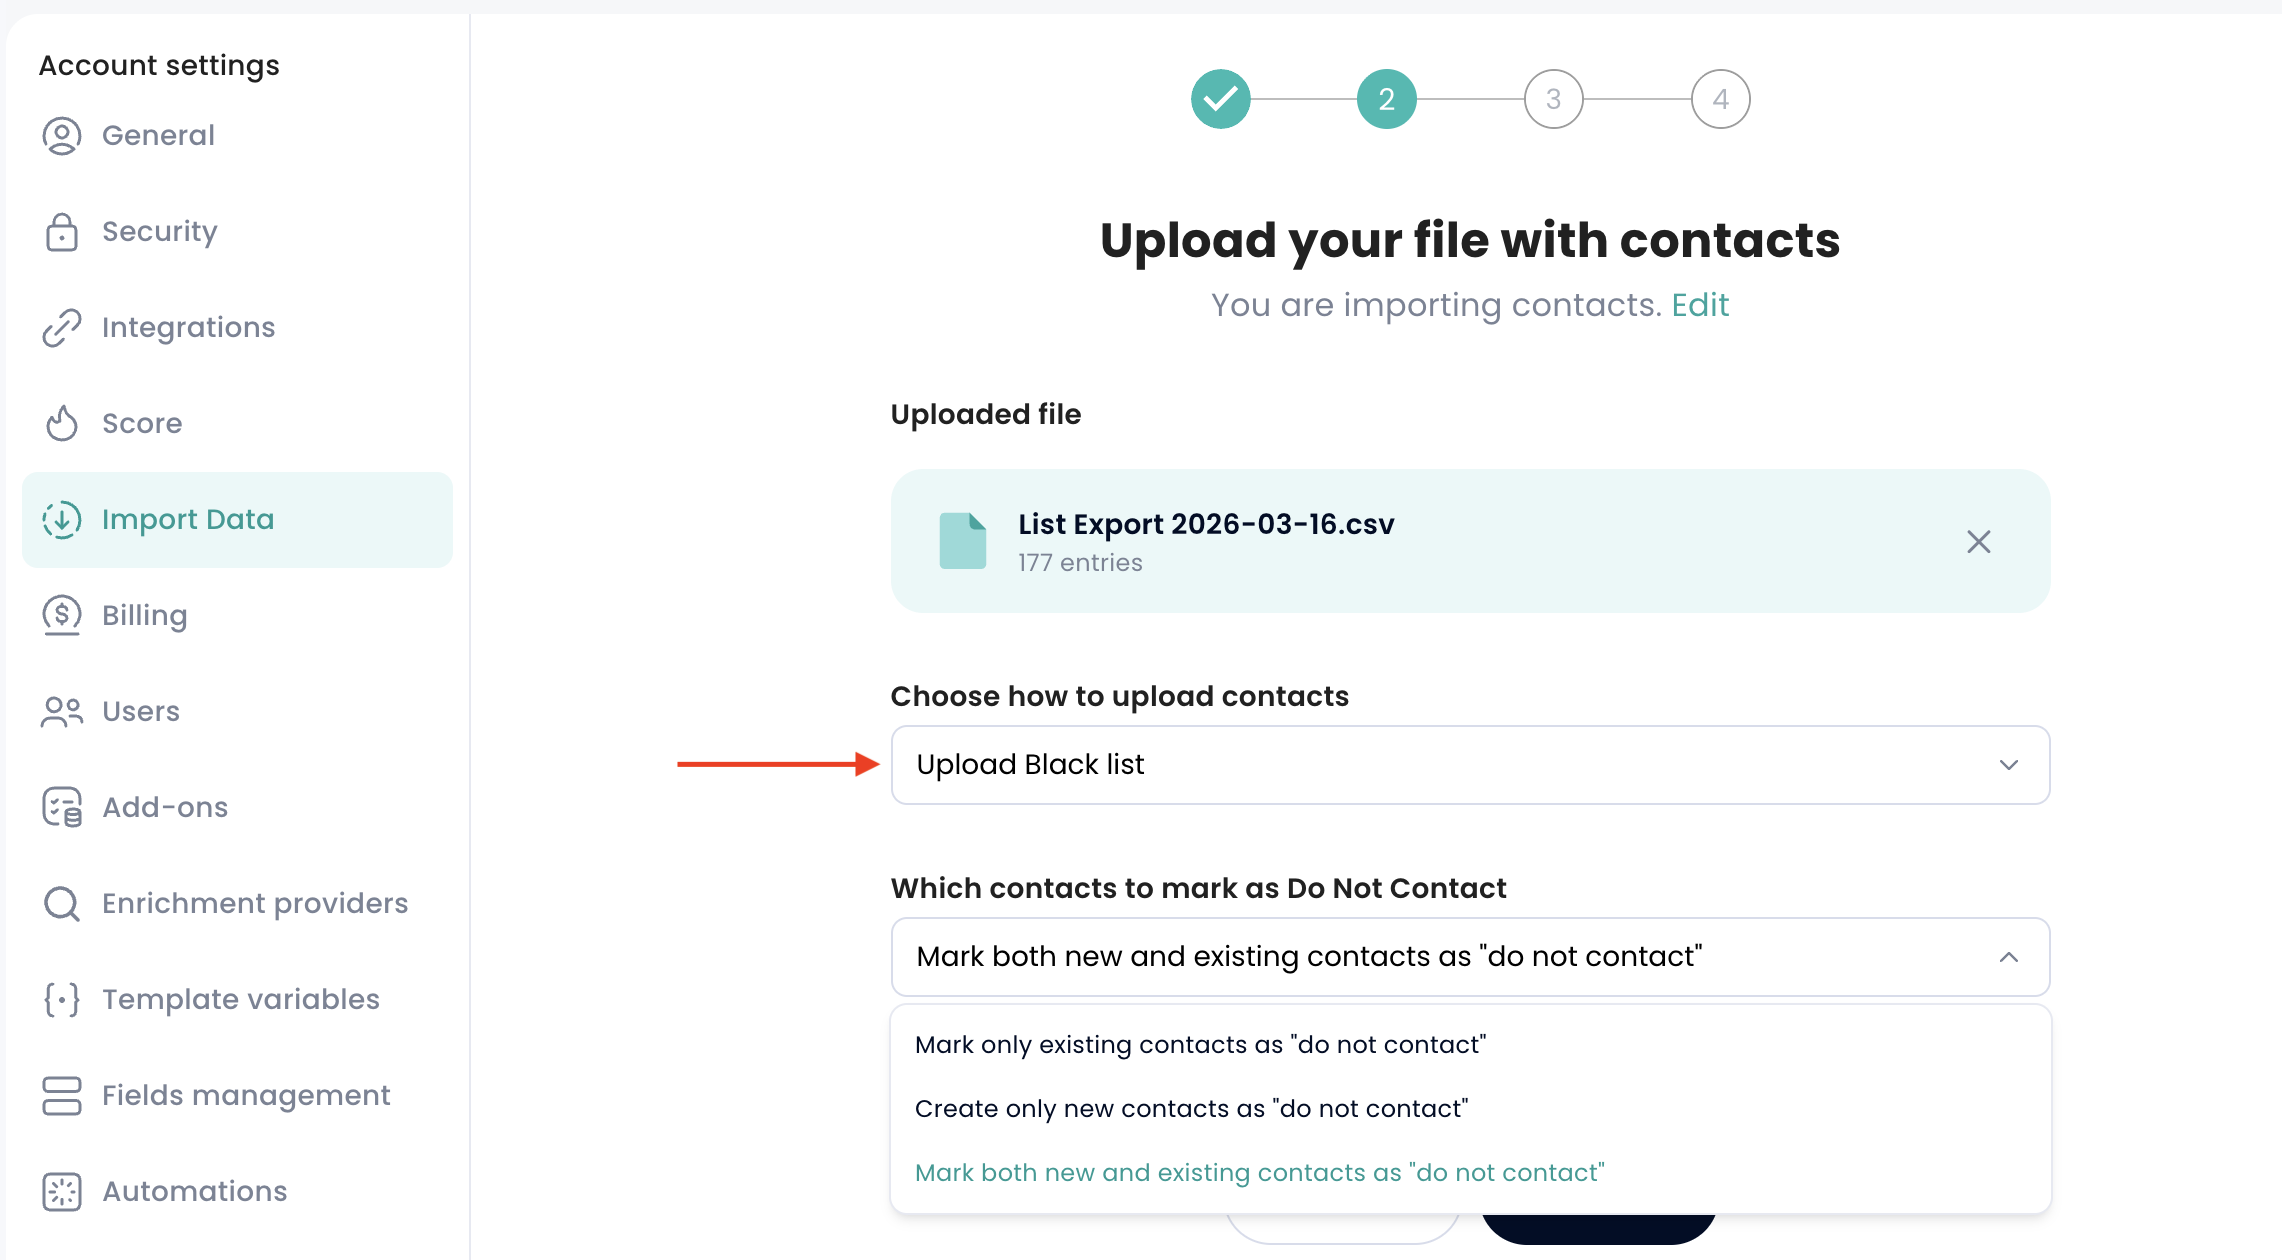
You can also mark contacts as Do Not Contact in bulk by using the Upload Blacklist import mode.
To access it:
Go to Settings.
Go to Import data.
Select Upload Blacklist.
Upload your file and complete the import flow.
This option is useful when you already have a list of contacts that should not be contacted and want to update them in Crono all at once.
With Upload Blacklist, you can:
Mark existing contacts as Do Not Contact
Create new contacts already marked as Do Not Contact
Mark existing contacts and create new Do Not Contact contacts in the same upload
This helps you keep your Do Not Contact list aligned with your existing data and makes it easier to manage contacts that should be excluded from outreach.
You can view the full list of contacts marked as Do Not Contact from the Lists section.
To do this:
Go to Lists.
Open the filters.
Scroll down until you find the Opt-out filter.
Select Has opted-out.
Click Apply.
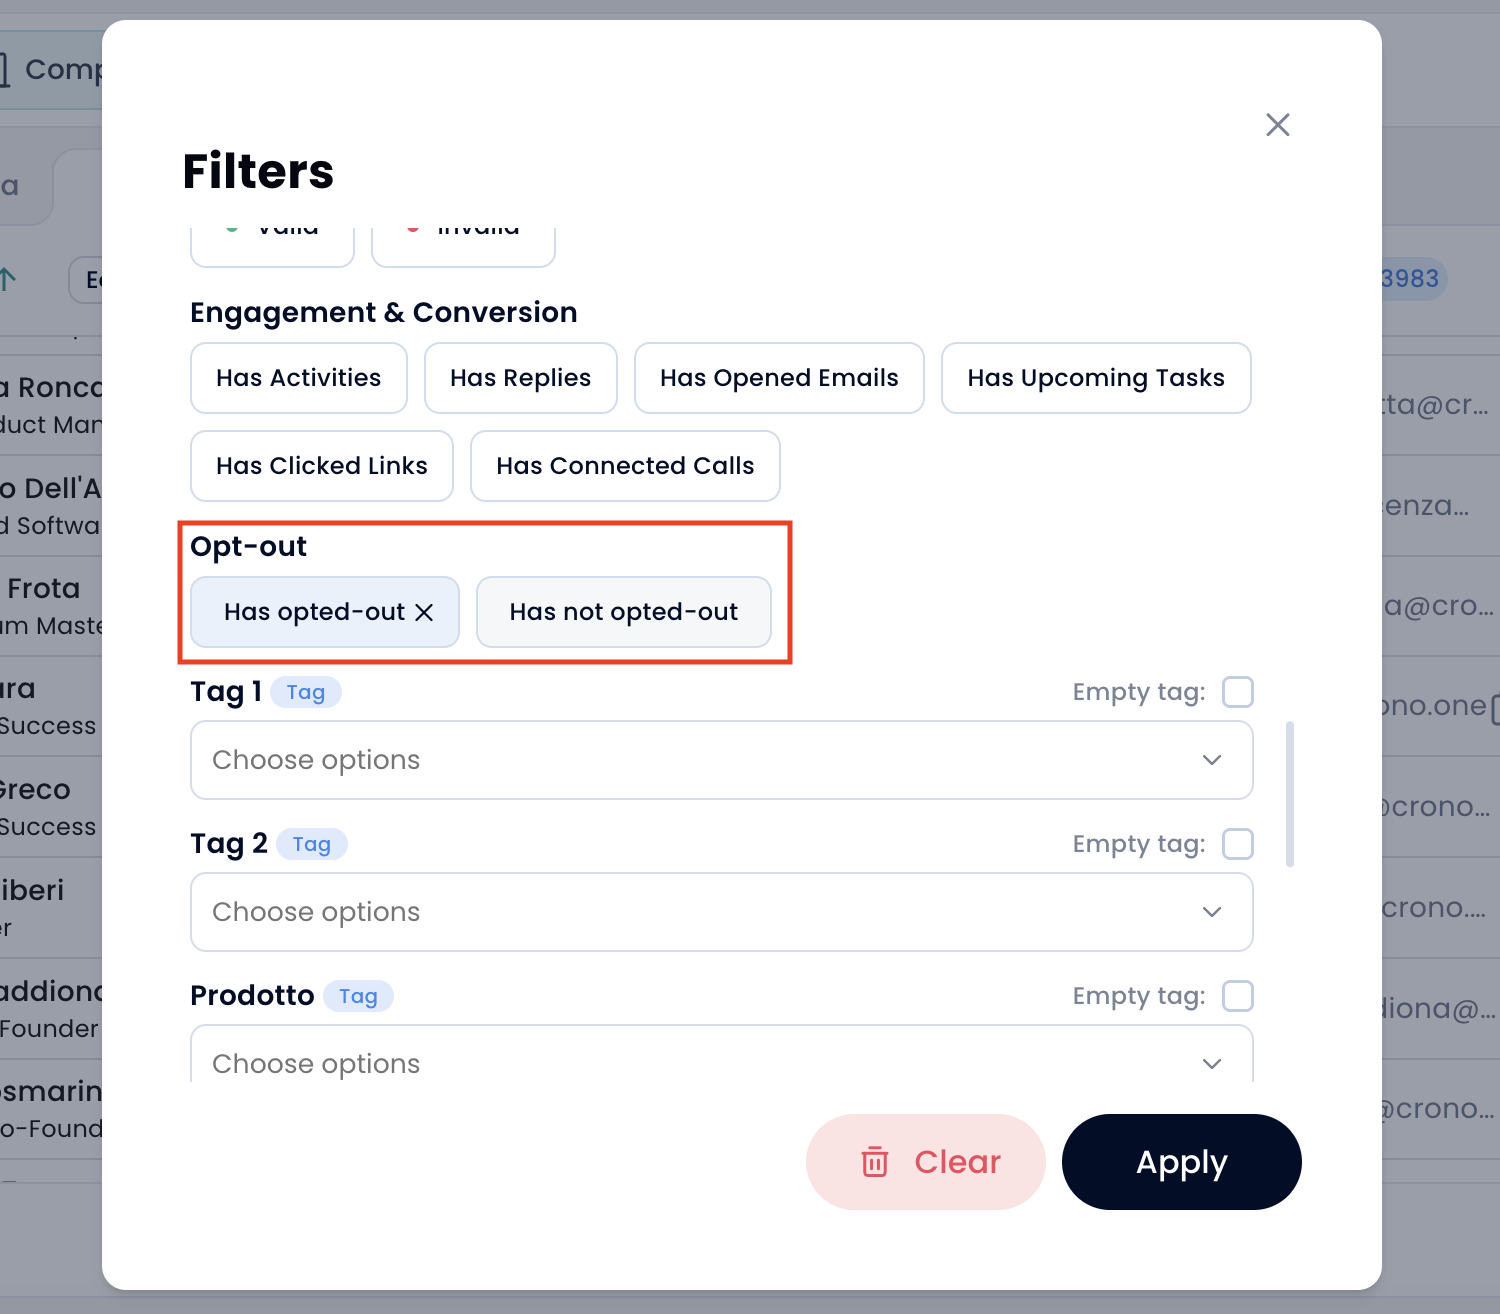
Crono will then show the full list of contacts currently marked as Do Not Contact.
When a contact is marked as Do Not Contact, Crono automatically applies restrictions to prevent future outreach.
In particular:
The contact cannot be added or enrolled in new sequences.
Existing sequences related to that contact are stopped.
Open tasks for that contact are cleared.
Enrichment is skipped.
Outreach actions are prevented across the available channels.
This helps your team keep outreach cleaner, avoid contacting the wrong people, and manage Do Not Contact workflows more safely.
You can also un-blacklist a contact, removing the Do Not Contact flag.
To do this:
Open the contact.
Switch the Do Not Contact toggle off on the contact card.
Confirm the opt-in dialog.
The flag and its reason are cleared, and the contact can be enrolled again immediately.
Nothing is restored, though: the sequence that was stopped and the tasks that were deleted at flagging time stay gone, so the contact has to be re-enrolled by hand.
