This guide covers how to integrate Crono with n8n using the Crono External API. Because n8n can send HTTP requests, you can create records, enrich information and automate workflows in Crono without writing code.
Anything that involves sending data into Crono. Common cases:
Creating companies or contacts from an external data source
Syncing leads from spreadsheets, forms, CRMs or webhooks
Adding records to Lists automatically
Triggering enrichment on new leads
Keeping Crono up to date with data from other tools
Building multi-step automations that combine Crono with other platforms
There is no dedicated Crono node in n8n, and you do not need one. You use n8n's HTTP Request node to call Crono's API endpoints directly.
Each request needs four things: the endpoint URL, an HTTP method (GET, POST, PUT, PATCH, DELETE), your authentication headers, and a JSON body for POST, PUT and PATCH.
Because it is plain HTTP, this approach works with every current and future Crono endpoint.
Your workspace has API access — available on Ultra and Enterprise, and enableable on request for other plans.
Your role is Manager.
You have generated your Public API Key and Private API Key — see How to generate API keys.
You have the API reference to hand: ext.crono.one/docs
Without all four, your requests will not authenticate.
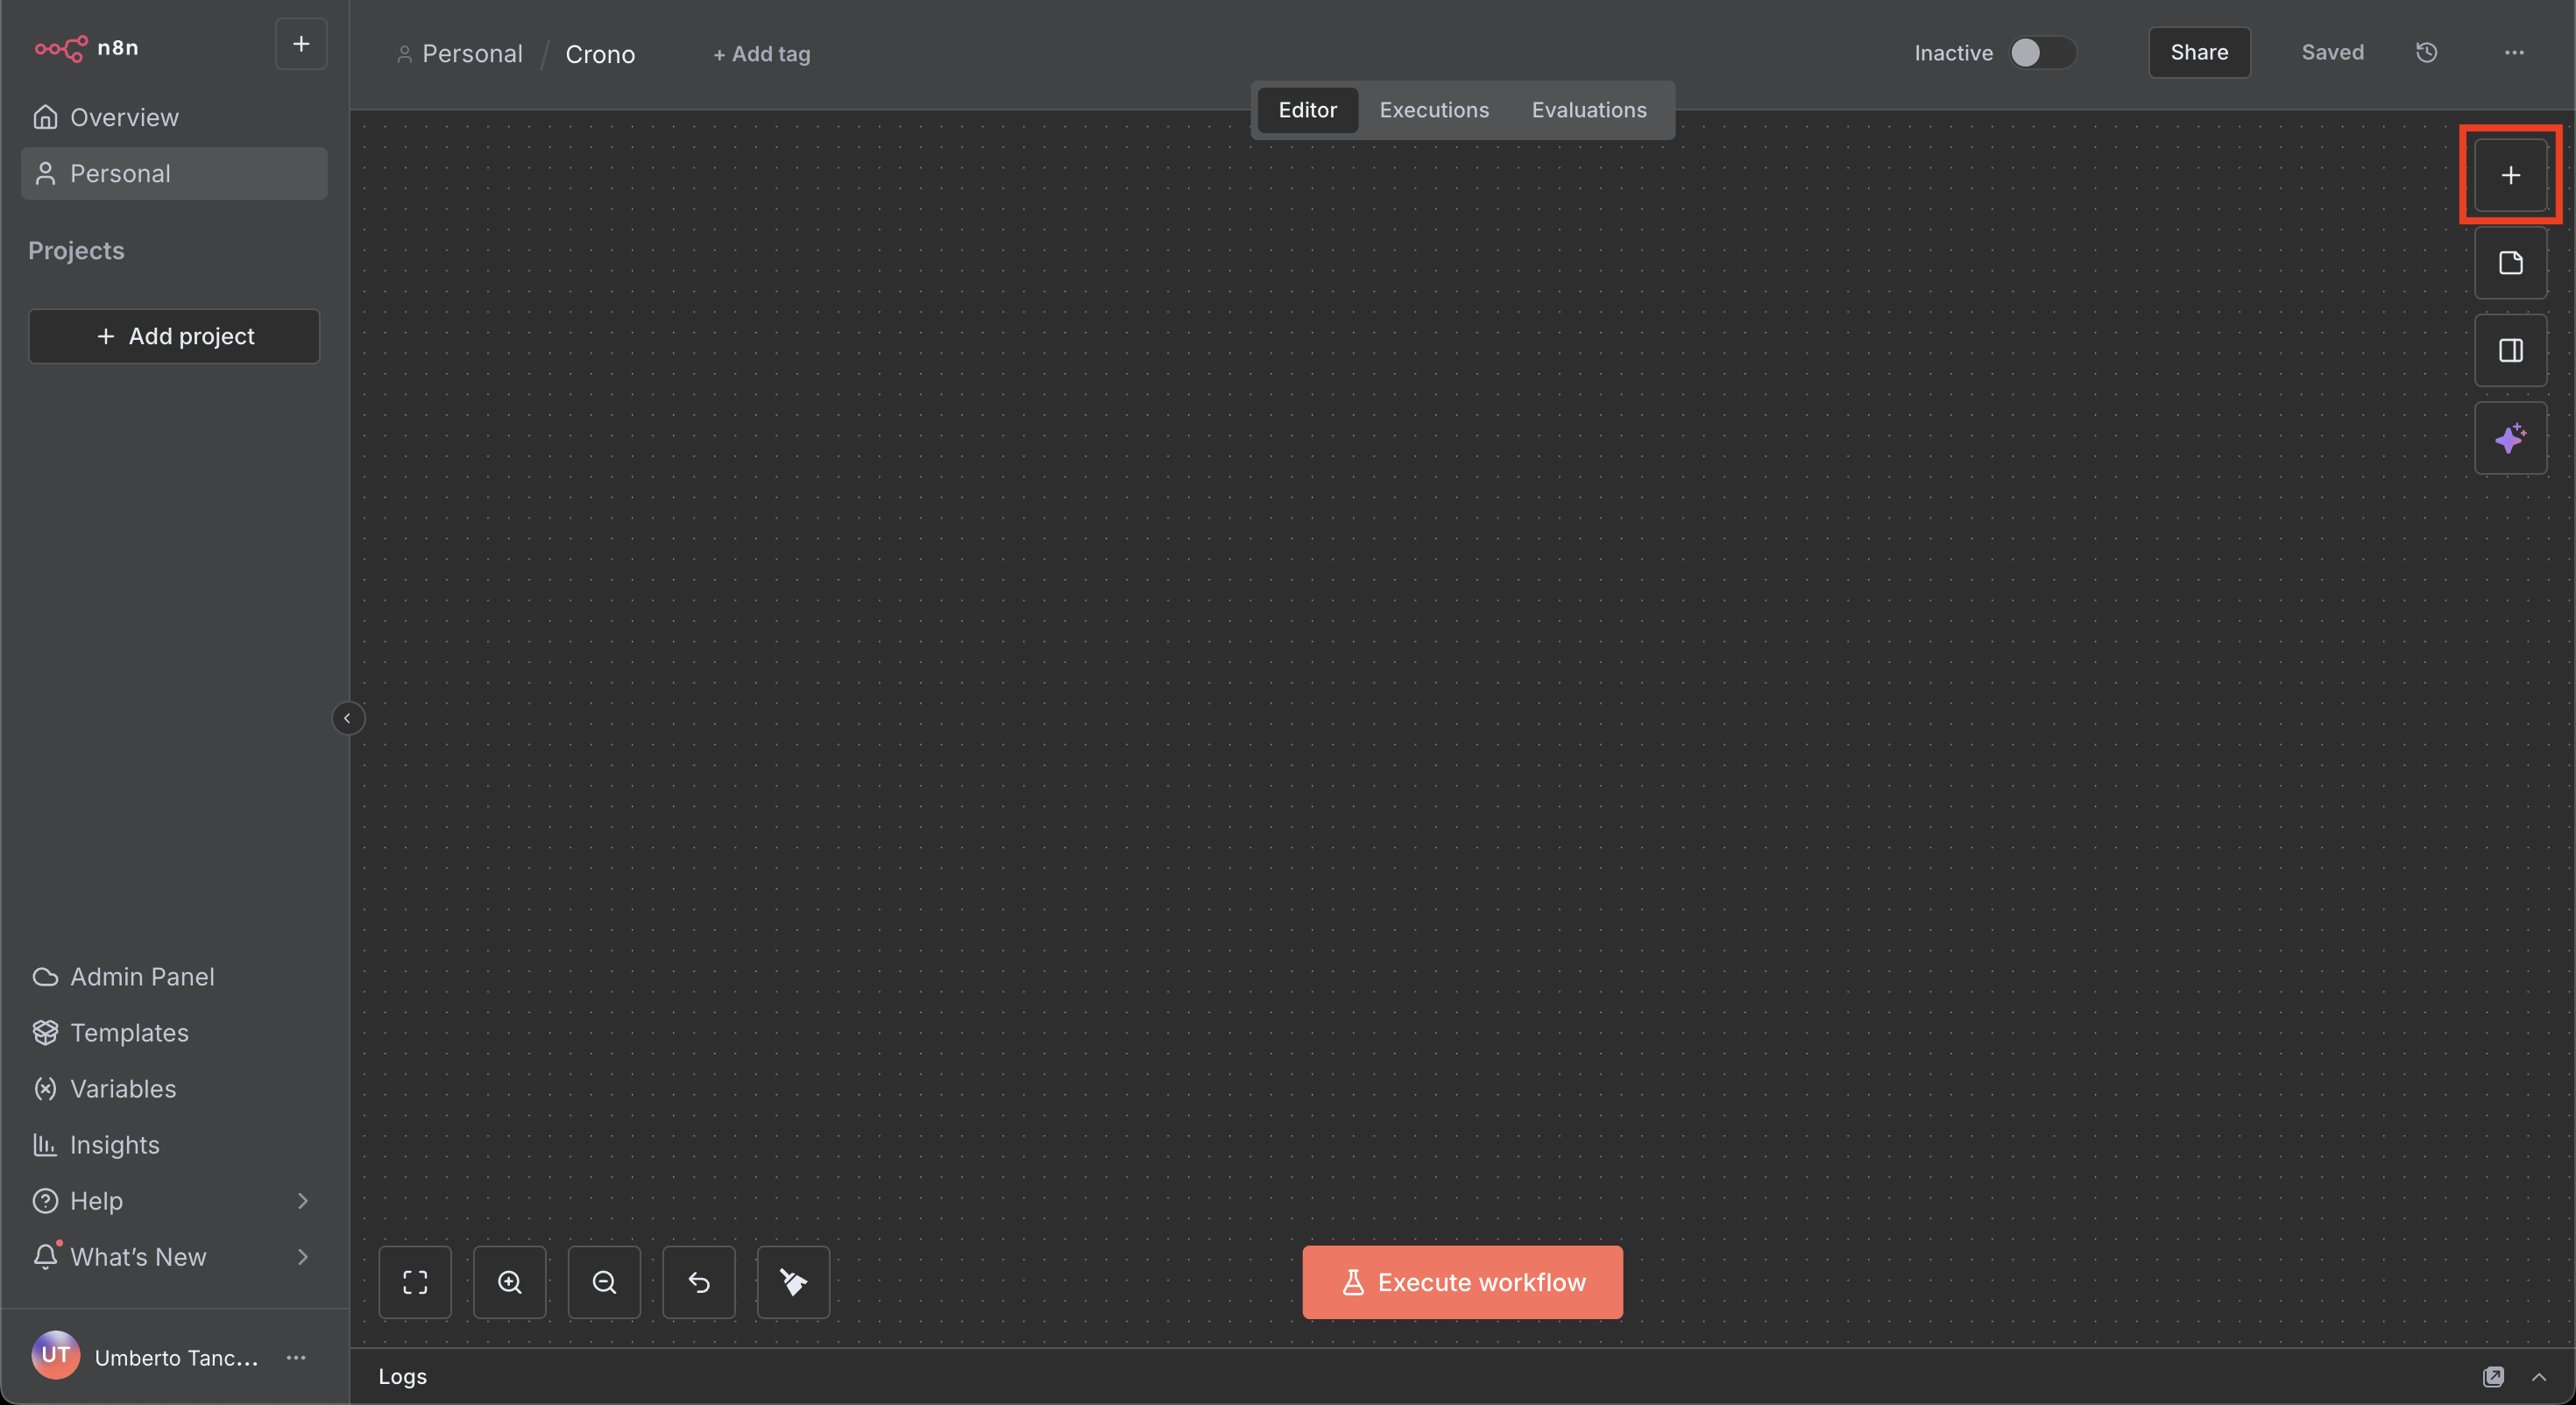
Inside a workflow, add a node using the plus button in the top-right corner.
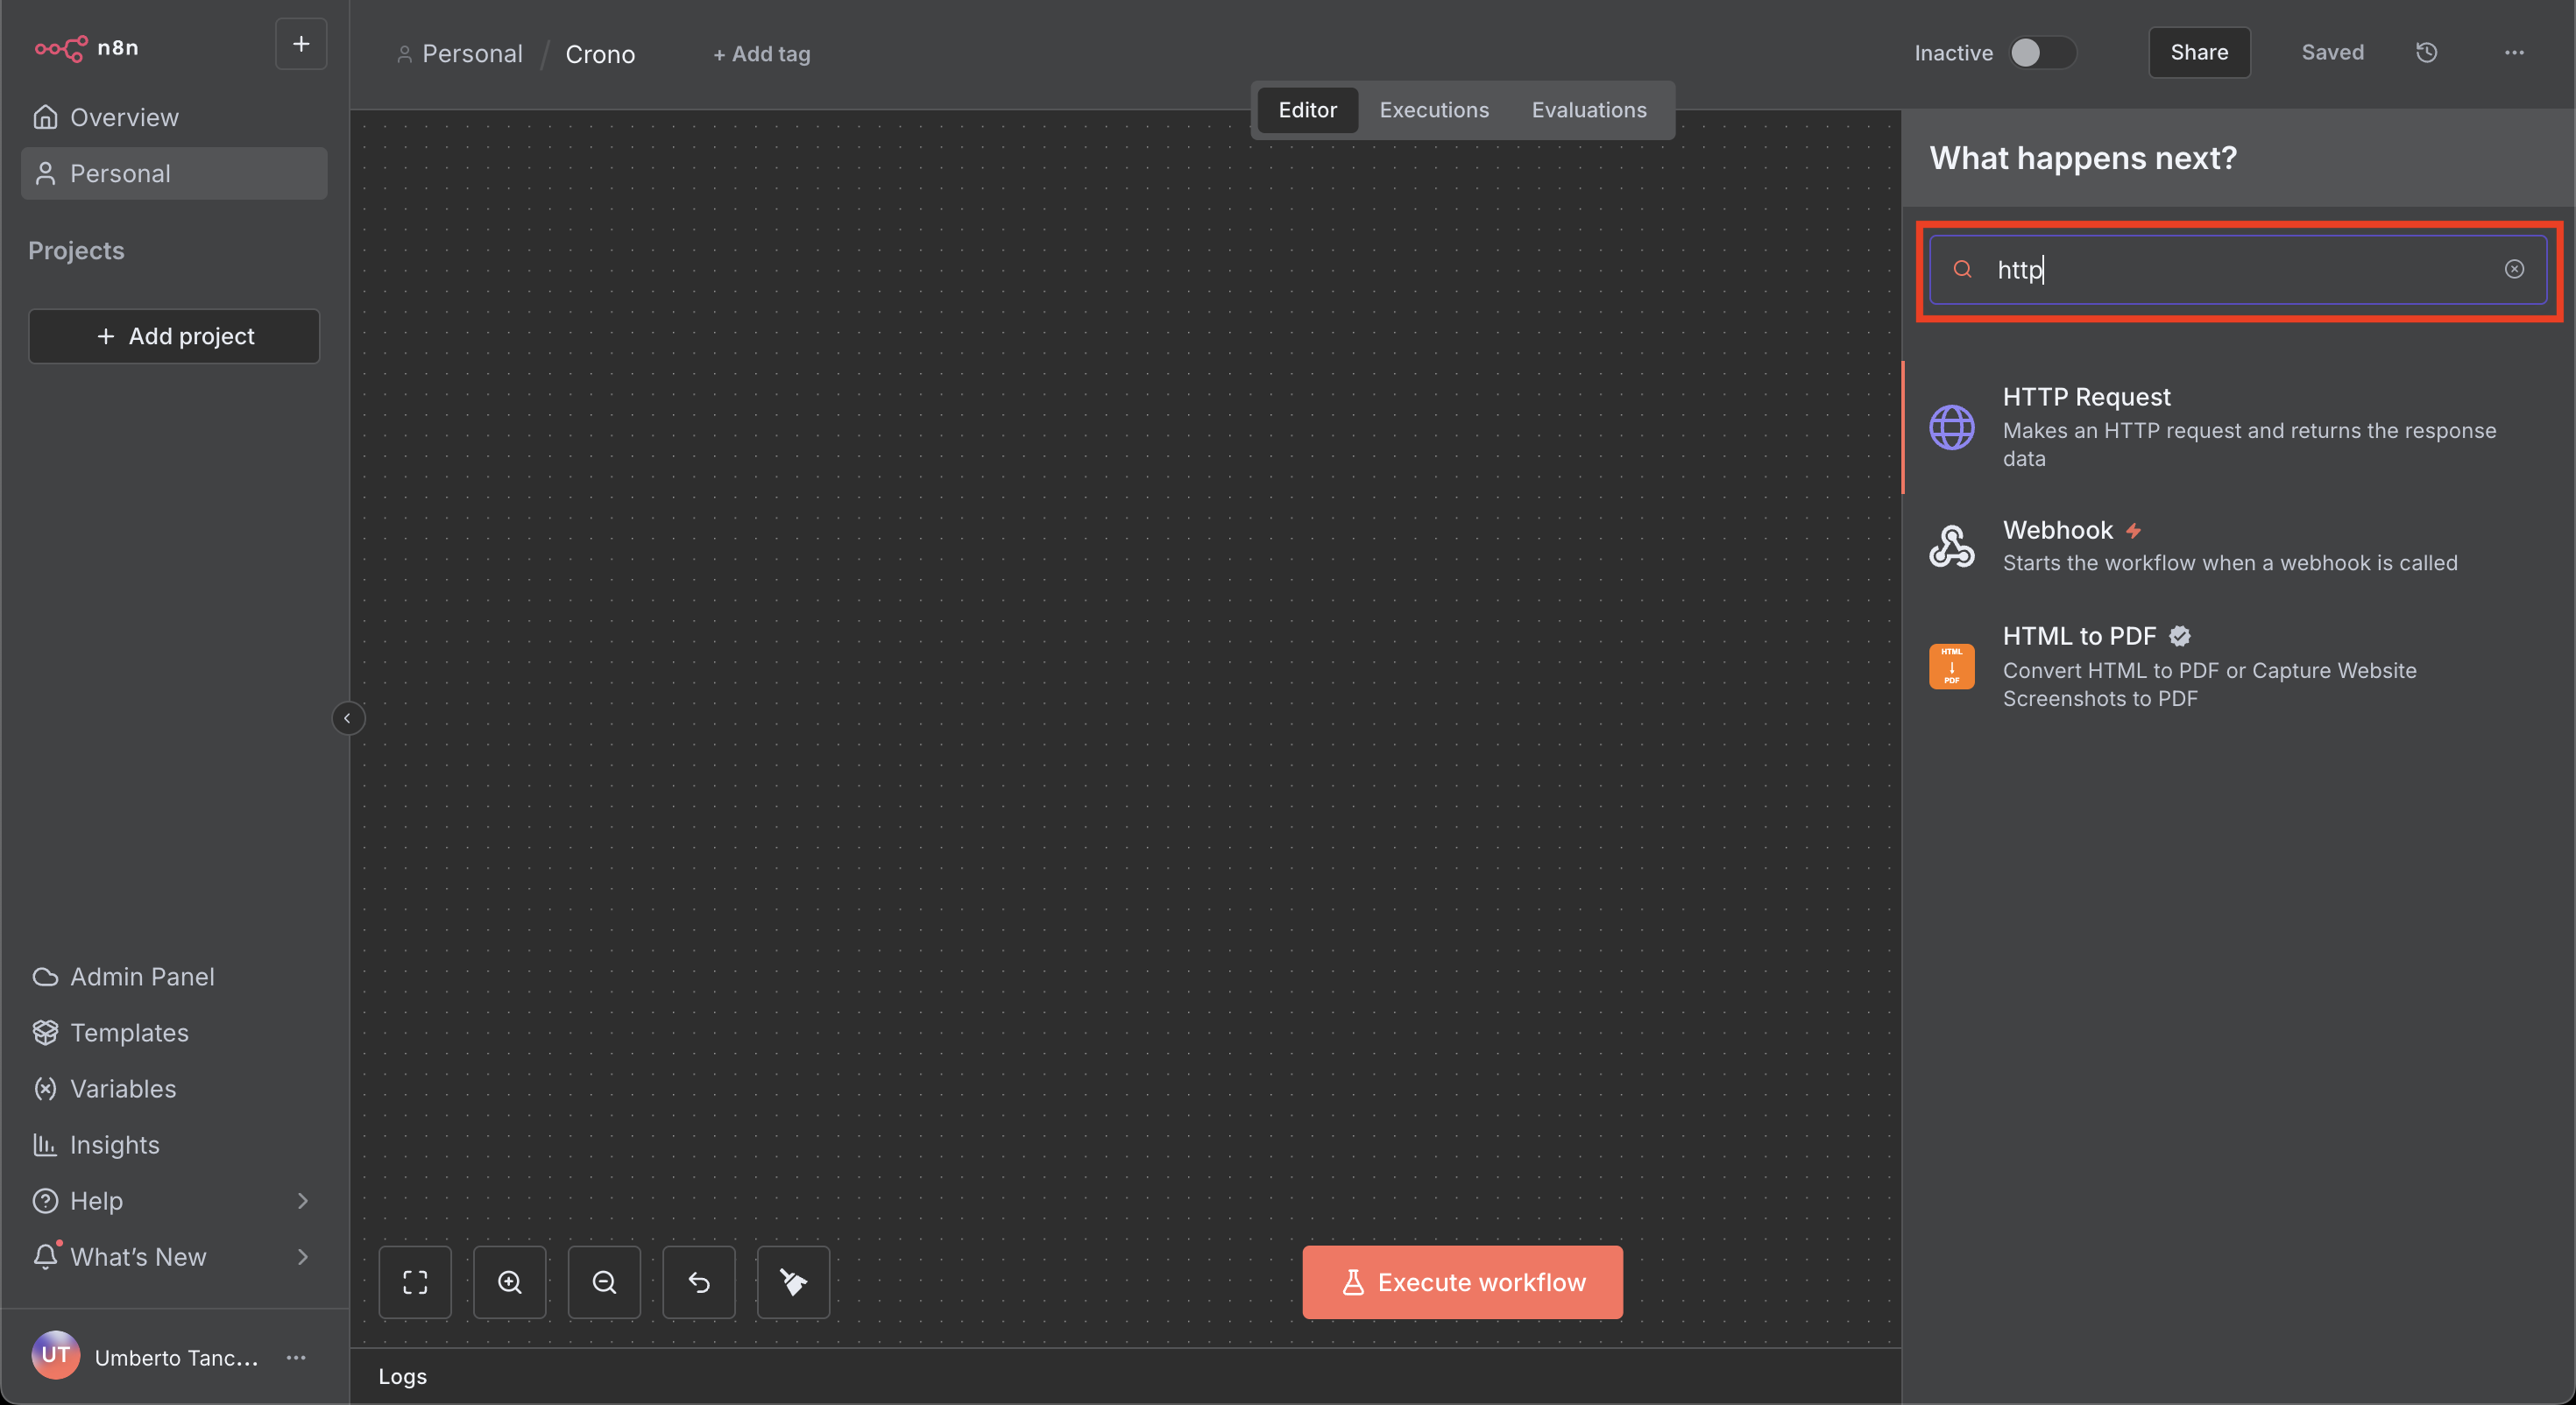
Search for the HTTP Request node.
Select it.
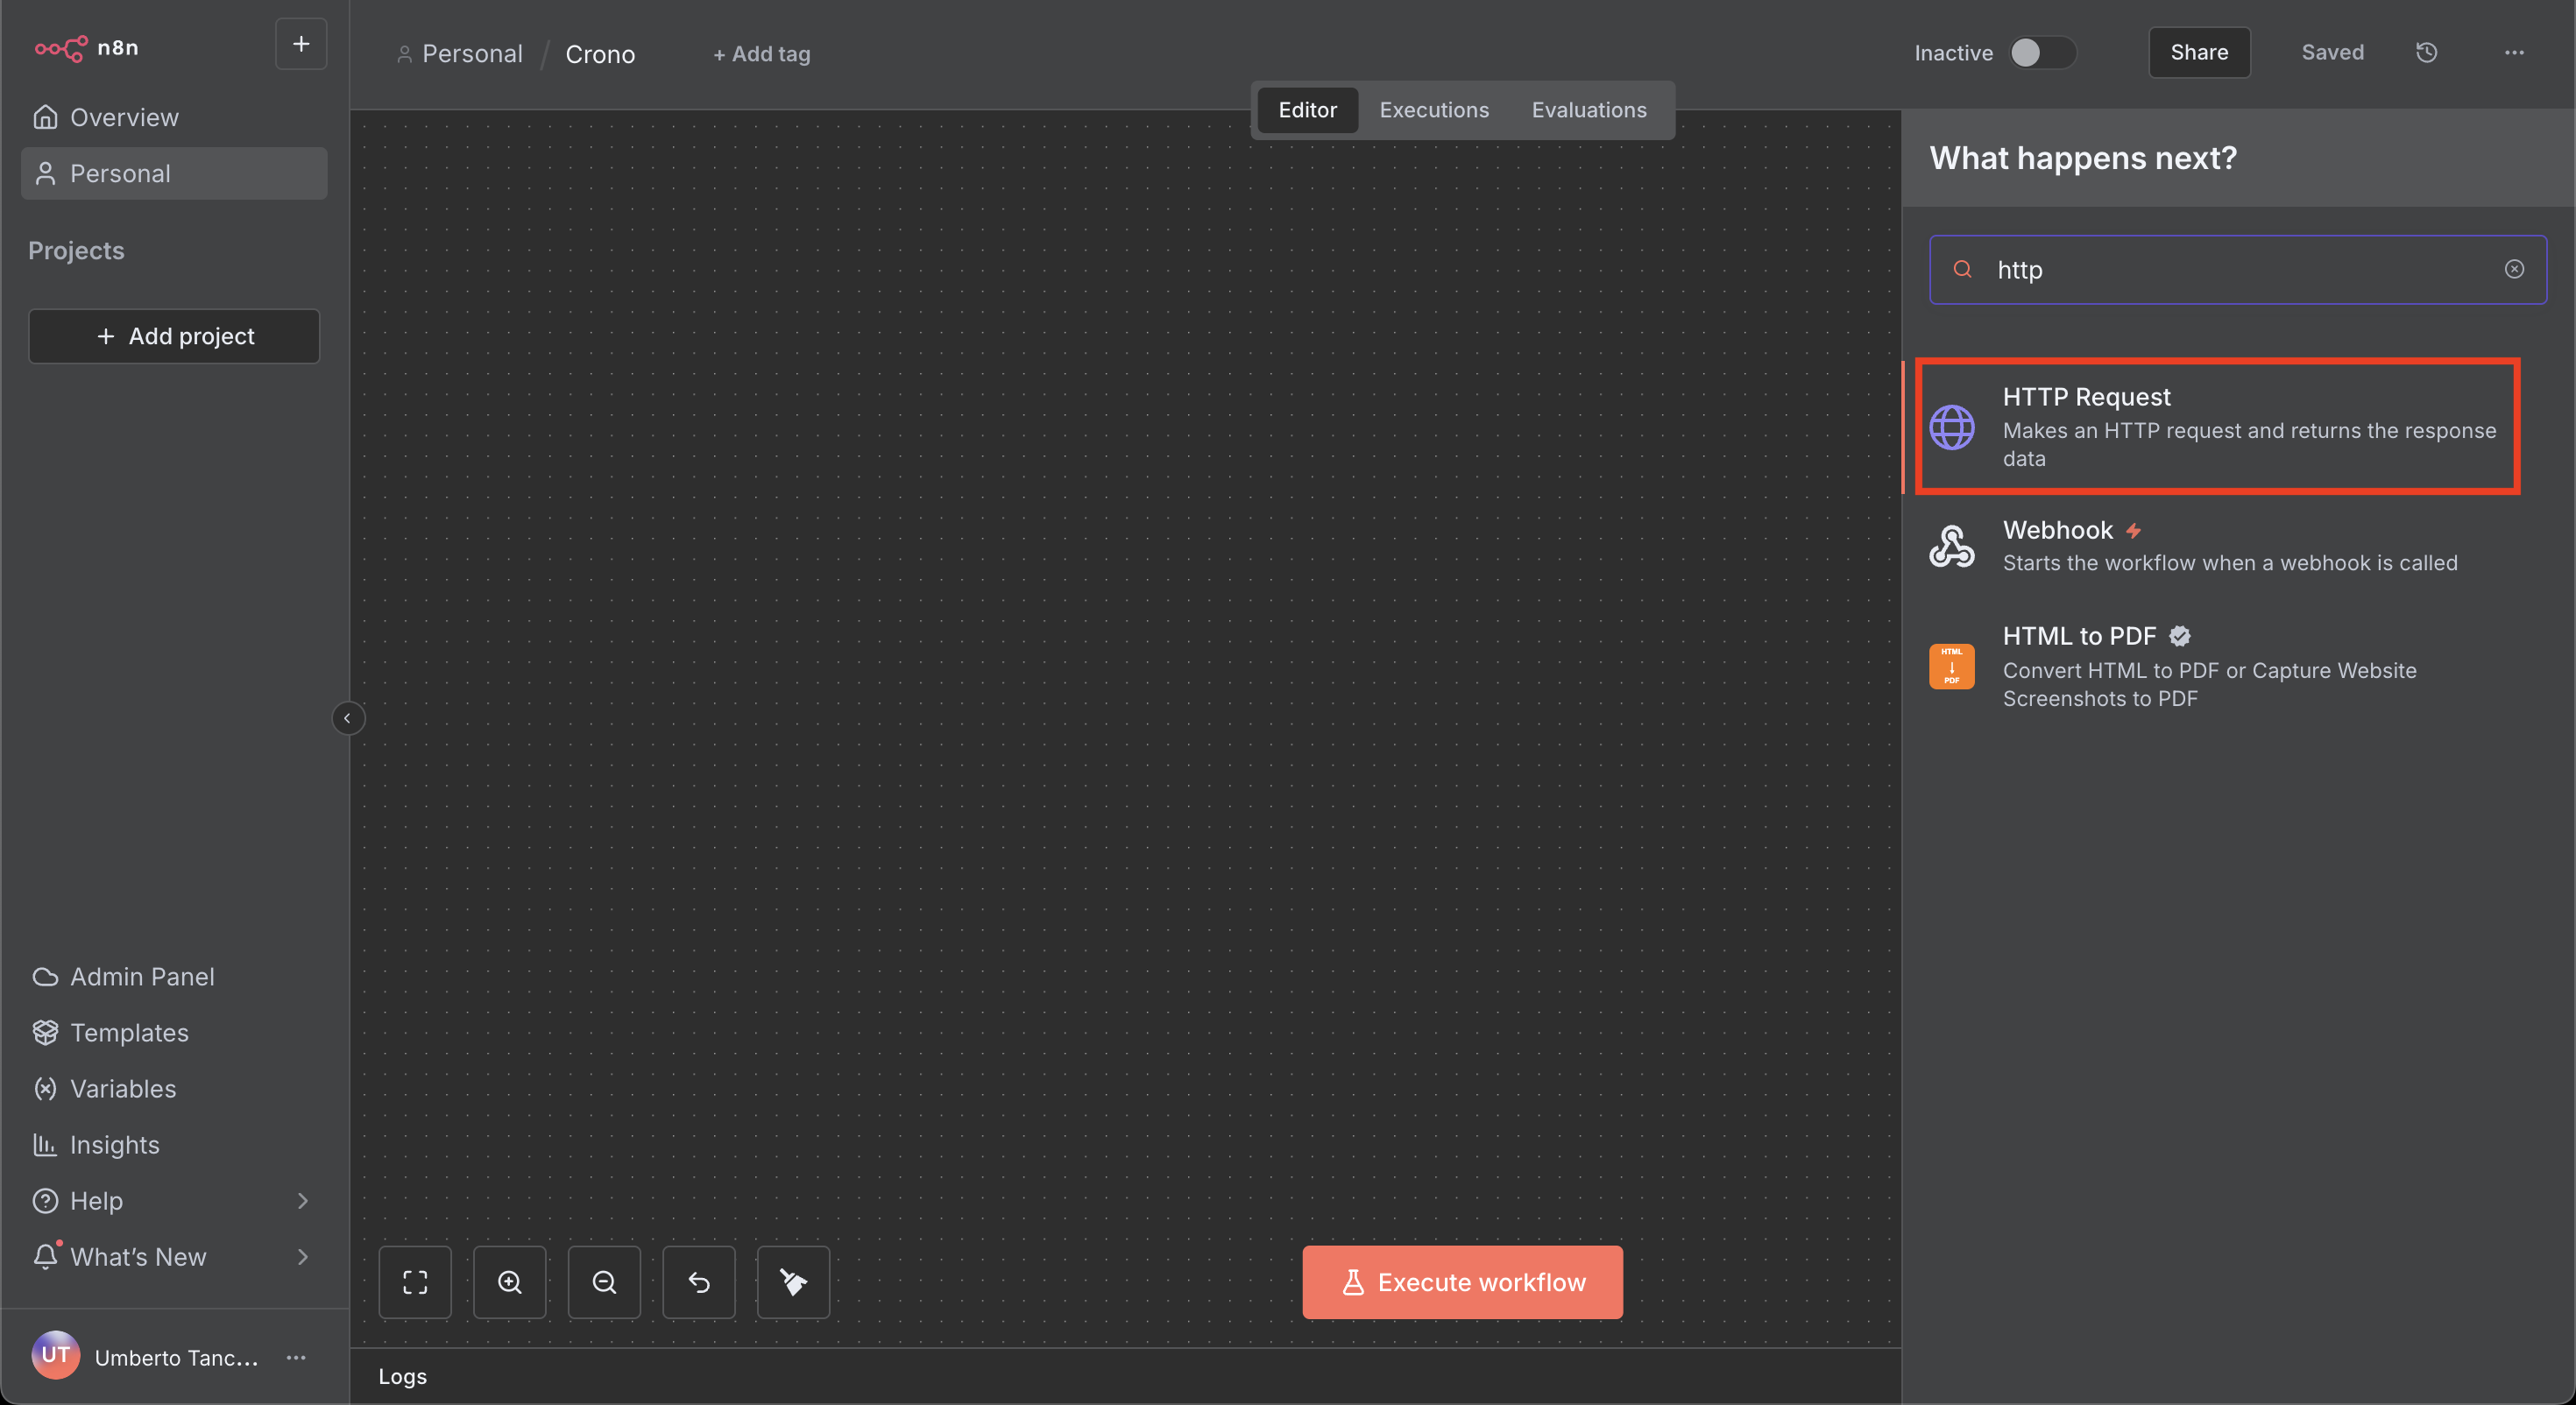
Every Crono integration starts here, then gets configured with the endpoint you want to call.
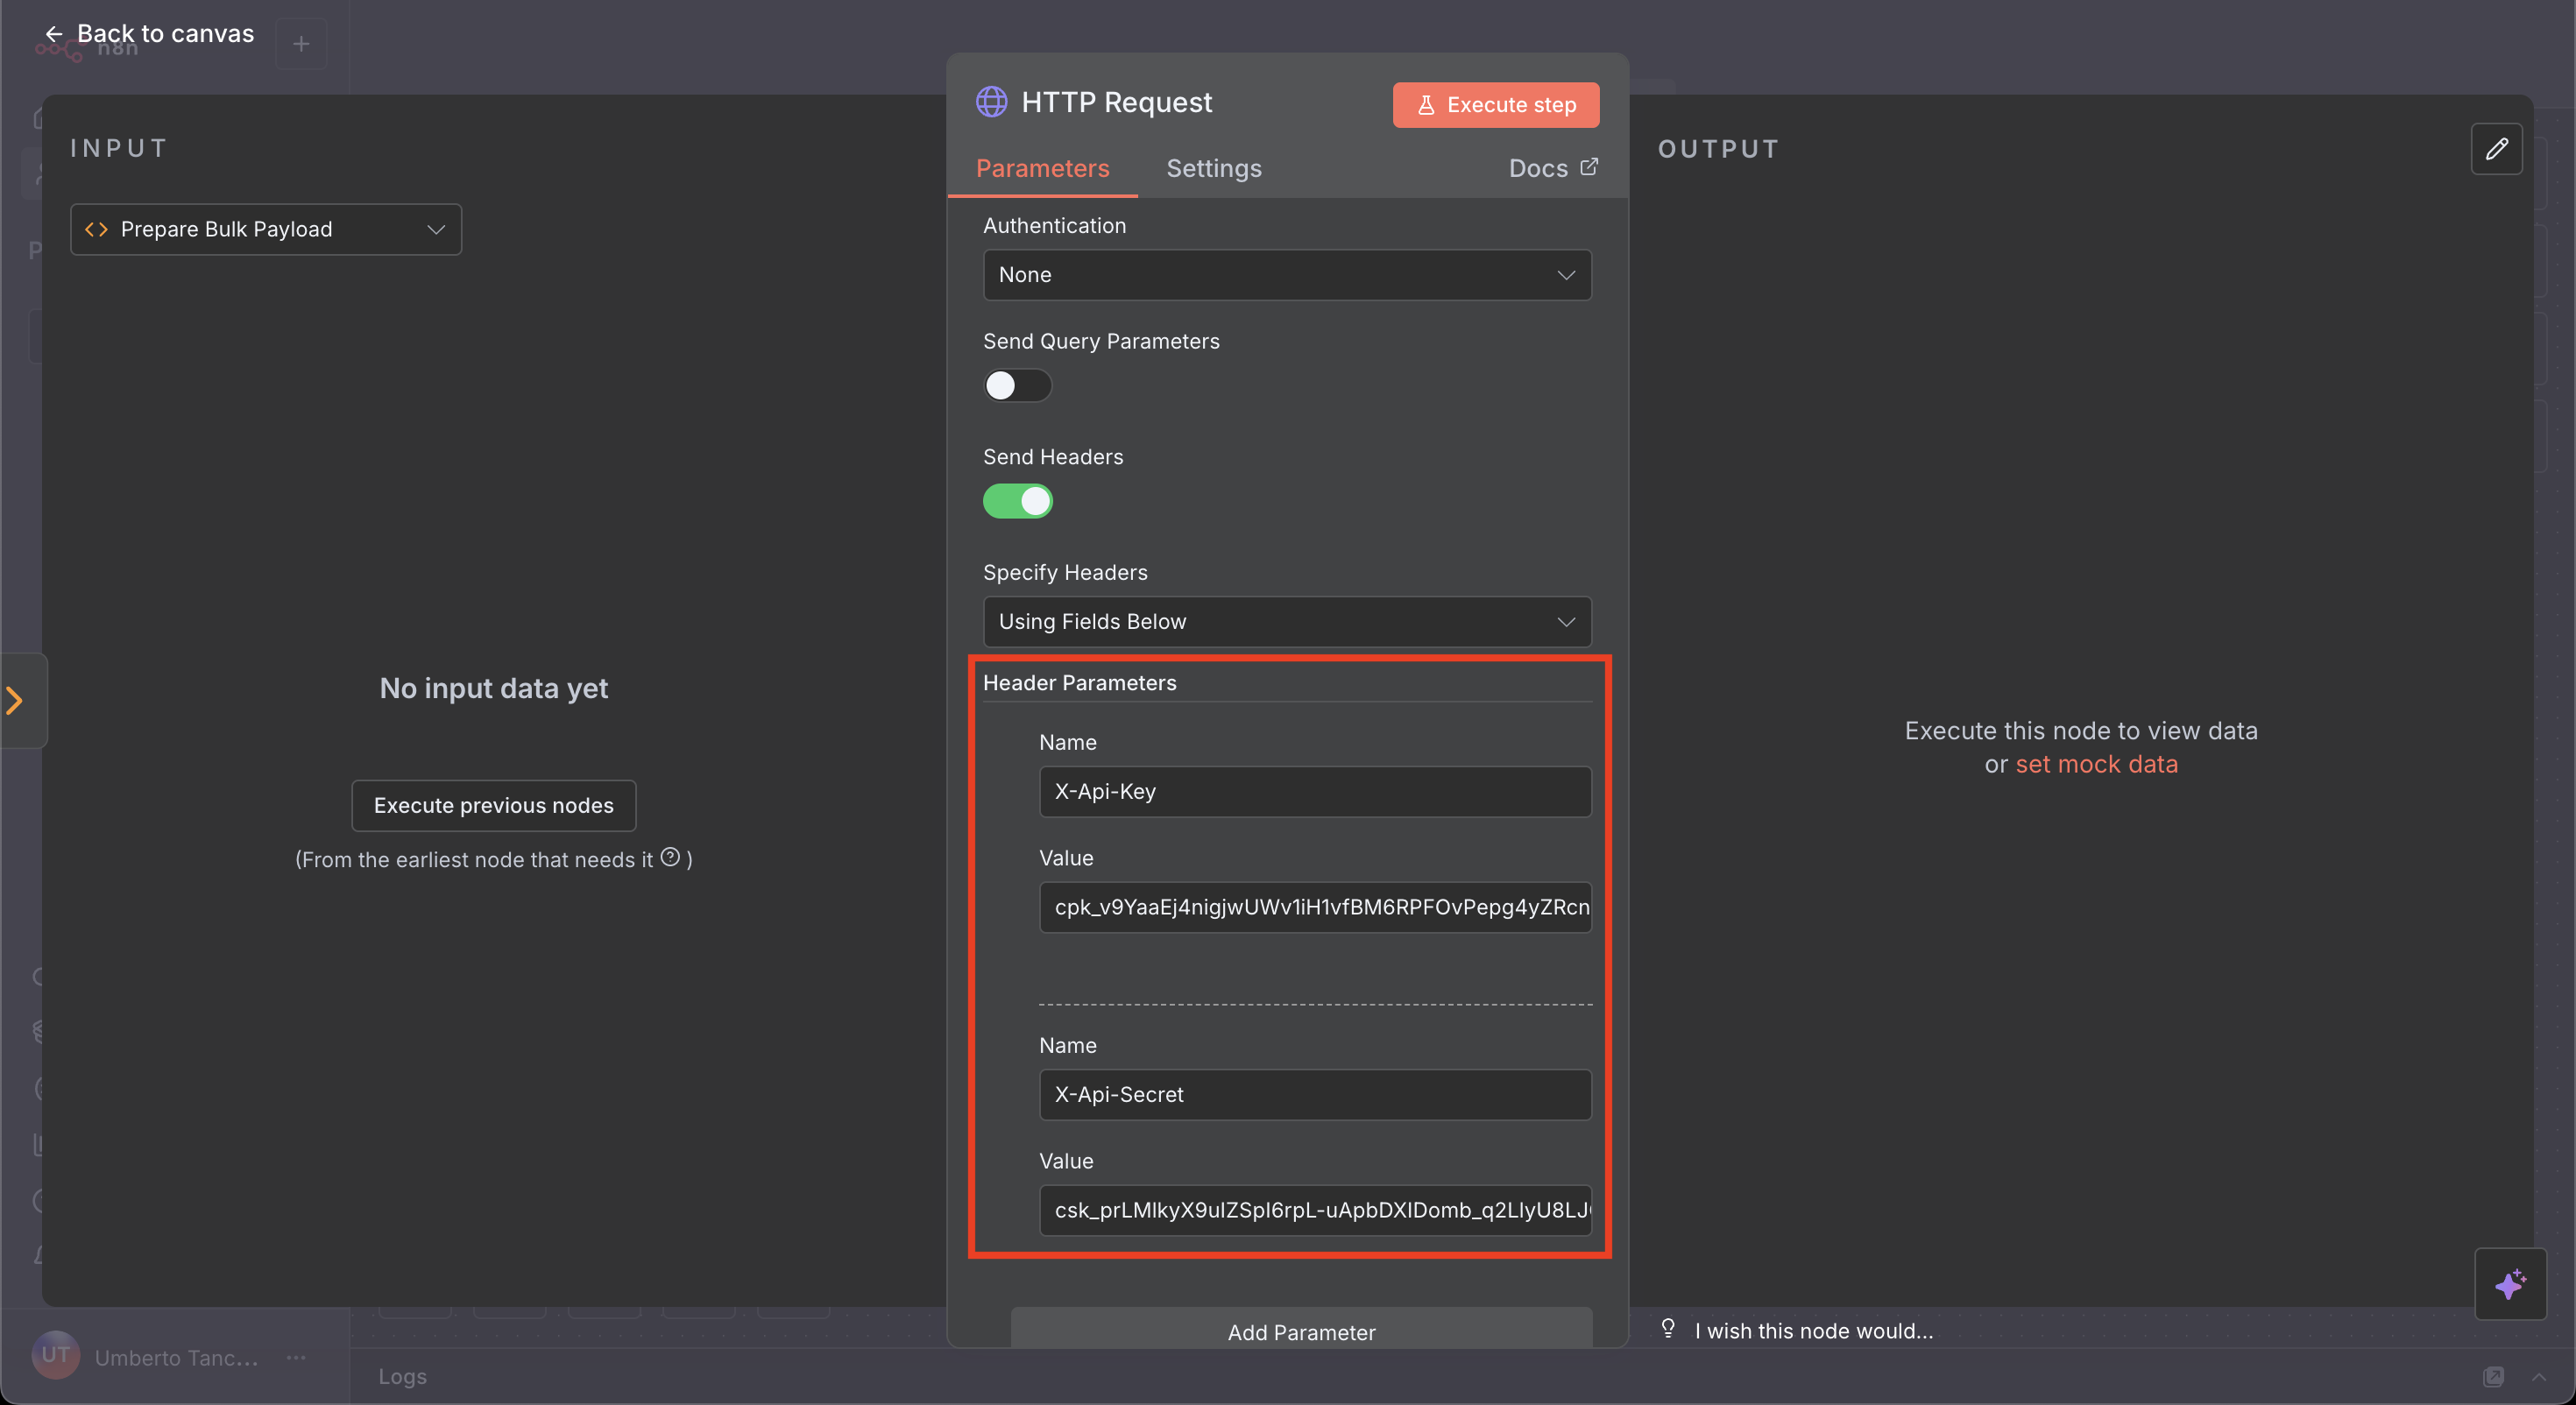
Every request needs two headers:
X-Api-Key — your Public API Key
X-Api-Secret — your Private API Key
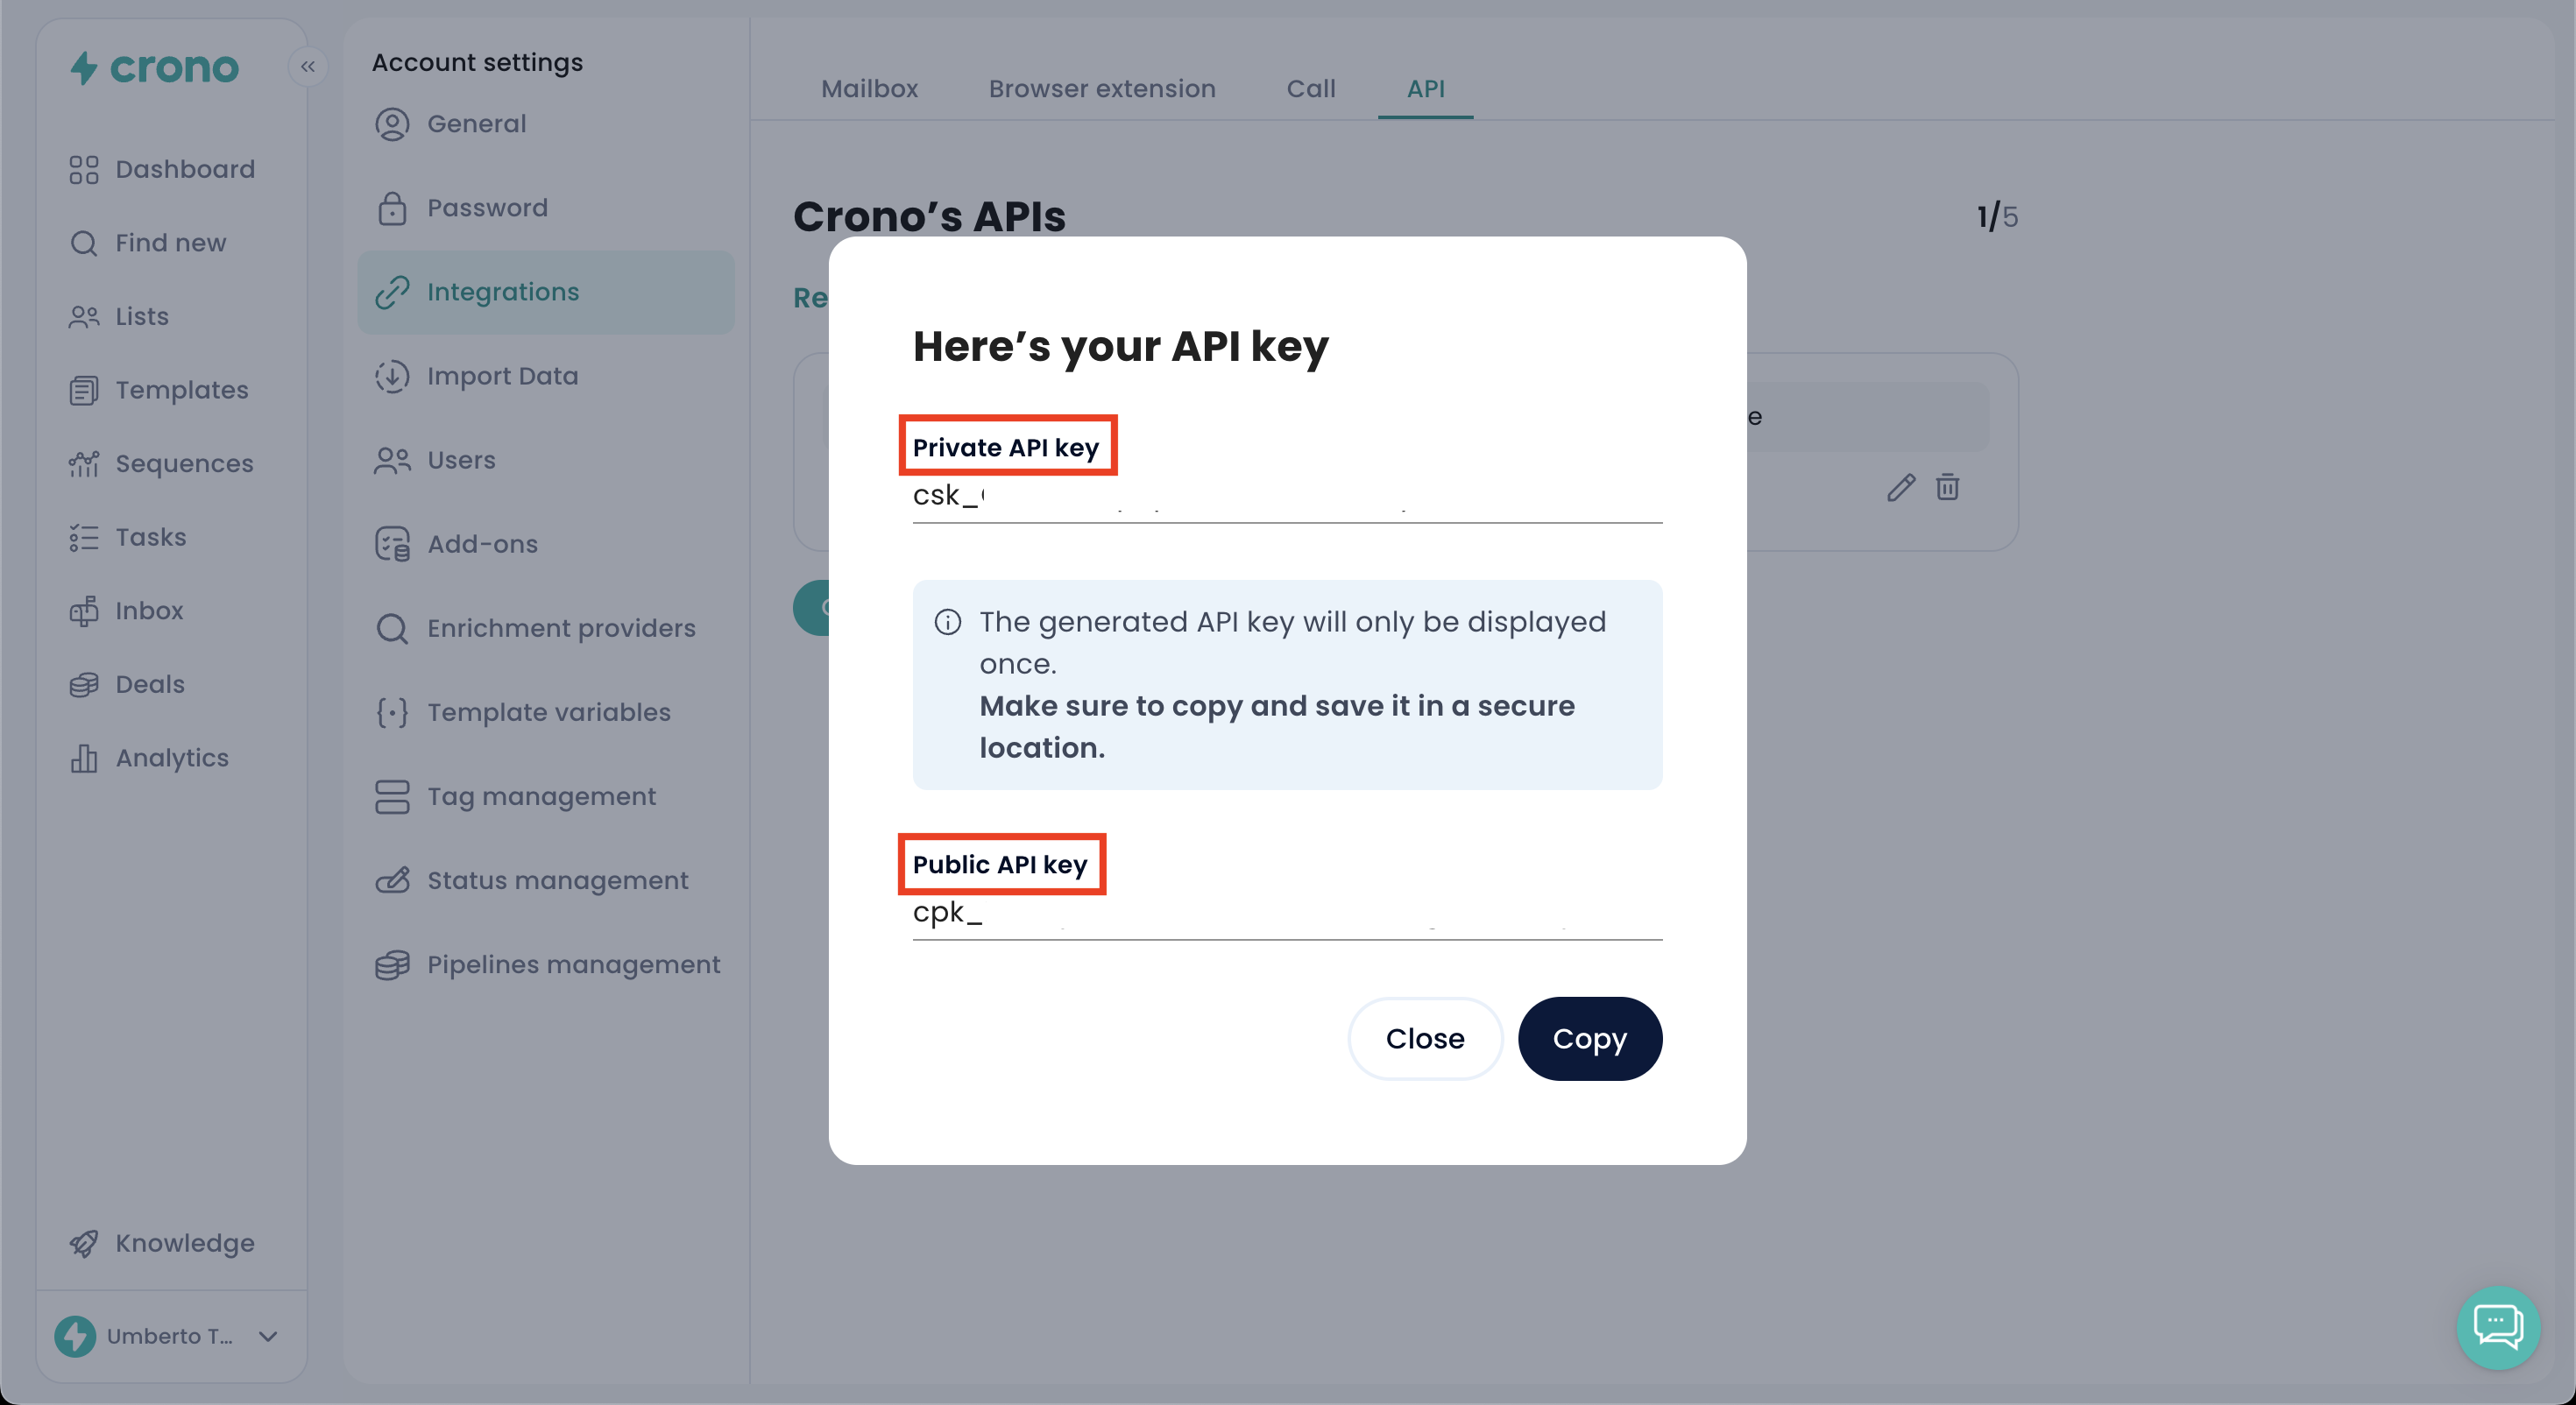
Once you have generated the keys, add them to the HTTP Request node like this:
Set Authentication to None — Crono authenticates on headers, not on n8n's built-in auth.
Turn on Send Headers.
Add both keys under header parameters.
Base URL:
https://ext.crono.one/api/v1Common endpoints:
Create a company: /Accounts
Create a contact: /Contacts
Add items to a List: /Lists/{listId}/Items
Trigger enrichment: /Enrich
Update a record: /Accounts/{id} or /Contacts/{id}
Note the naming: a Company in the Crono interface is an Account in the API, and a Contact is a Prospect in some payloads. See Crono object names: interface vs API. Full endpoint documentation is at ext.crono.one/docs.
Most endpoints need a JSON body. In the HTTP Request node:
Enable Send Body
Set Body Content Type to Raw
Set Content Type to application/json
Insert your payload
To pass data through from an earlier node, use n8n expressions in the payload rather than hard-coded values.
The node returns Crono's response as JSON, which you can feed into further nodes, decision logic, updates to other tools, notifications or logging — which is what makes multi-step workflows possible.
Use the HTTP Request node
Add your API keys as headers
Pick the right endpoint
Send a JSON body where required
Use the response to continue the automation
